Manuals
/
AMX
/
Computer Equipment
/
Switch
AMX
Precis SD
instruction manual
Models:
Precis SD
1
1
64
64
Download
64 pages
54.05 Kb
1
2
3
4
5
6
7
8
Troubleshooting
Specs
Install
RS-232 Pin Diagram
Signal Types & Connectors
Wiring Audio Connectors
Executing Macros Local Presets
Input & Output Connectors
Audio Adjust Keys optional
Applying Power & Startup
Page 1
Image 1
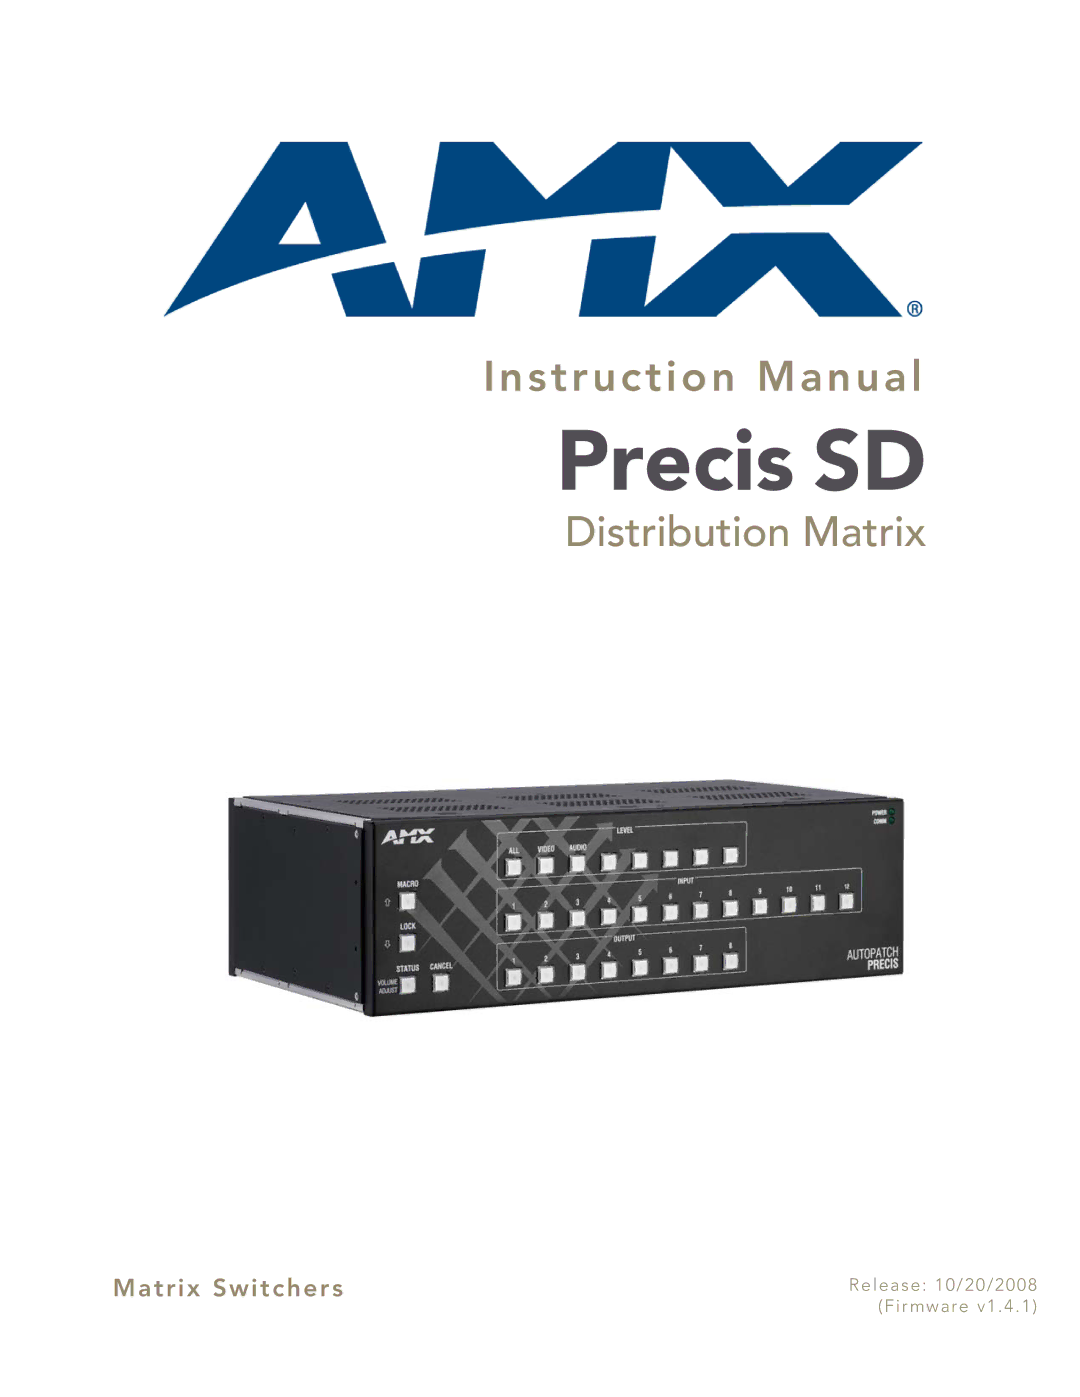
Instruction Manual
Precis SD
Distribution Matrix
Matrix Switchers
Release: 10/20/2008 (Firmware v1.4 .1)
Page 1
Page 2
Page 1
Image 1
Page 1
Page 2
Contents
Precis SD
AMX Limited Warranty and Disclaimer
Software License and Warranty Agreement
Contents
Appendix a Managing Configuration Files
ESD Warning
Important Safety Information & Instructions
Information et directives de sécurité importantes
Liability Notice
Copyright Notice
Usfcc Notice
Trademark Notices
Lithium Batteries Notice
Page
Precis SD Features
Overview & General Specifications
Applicability Notice
Product Notes
Front View
Precis SD Control Features
Rear View Components
Rear View
CPU/Control Hardware
Input & Output Connectors
Power Receptacle & Specifications
System Serial Number
General Specifications
Precis SD General Specifications
Front Control Panel
Configuration Information & Control Options
AMX Control Devices
AMX Control Software
BCS Serial Control Protocol Third-Party Controllers
Overview & General Specifications
General Hazard Precautions
Installation & Setup
Site Recommendations
Circuit Overloading
Unpacking
Reliable Earthing Grounding
Unpacking Tips
Required items for rack installation
Rack Installation & System Setup
Optional items for rack installation
Installation Recommendations
To install and set up a Precis SD system in a rack
Installation Procedure
Additional Installation Options
Attaching External Controllers
Attaching Serial Controllers
RS-232 Pin Diagram
PC Requirements for APControl
PC Requirements for BCS
Change the enclosure’s settings instead, use XNConnect see
Communication Cable Requirements
Attaching External XNNet Controllers
To establish a Remote port connection with an XNNet device
Attaching Inputs & Outputs
Signal Types & Connectors
To connect video inputs and outputs
Cabling Video Connectors
Wiring Sources & Destinations
Wiring Audio Connectors
Attaching Wires
To attach stereo audio input and output wires
Power-Up Sequence To apply power
Applying Power & Startup
APControl
Serial Control Device Startup
APWeb
HyperTerminal
Executing a Test Switch
Executing a Test Switch
Control Panel
To execute a test switch using the control panel
AMX Control Device
APControl 3.0 or APWeb
To disconnect the factory default switch using BCS commands
BCS Commands
To execute a test switch using BCS commands
Troubleshooting
AMX Contact Information
Technical Support
Ultra-Wideband 500 MHz Specifications
Signal Specifications
Sync Specifications
Standard Audio Signal Specifications
Standard Audio Specifications
Overview
Precis SD Control Panel Operation
Control Keys
Audio Adjust Keys optional
Modes of Operation
Virtual Matrices Levels
Switching Level
Executing & Disconnecting Switches
Executing a Switch
To execute a switch selecting input source first
Disconnecting Outputs
To execute a switch selecting output destination first
To disconnect an output
To verify the status of a signal
Verifying Signal Status
Executing Macros Local Presets
Adjusting Output Volume
Adjusting Audio
To adjust output volume
To adjust digital input gain to equalize input levels
Adjusting Digital Input Gain
To adjust digital input gain
Purpose & Uses of Input Gain
To lock the control panel
Locking & Unlocking the Control Panel
To unlock the control panel
Precis SD Control Panel Operation
Applicability Notice
Appendix a Managing Configuration Files
To install XNConnect from the AMX AutoPatch CD
Installing & Launching XNConnect
System Requirements
To launch XNConnect
To discover a system
Discovering a System
To open an .xcl file
Opening an .xcl Configuration File
Hardware View
Navigating the Interface
Virtual Matrix View
Modifying Source & Destination Channel Names
Modifying an .xcl Configuration File
To customize the channel names
To set the control panel password
Setting the Control Panel Password
To create a new local preset
Creating Local Presets Macros
Appendix a Managing Configuration Files
Device Discovery Support
Loading an .xcl Configuration File
System Component Information
Appendix B Programmer’s Interface for System Diagnostics
Example
Using BCS to Access System Diagnostic Information
Display for v1i1 verbosity 1, component
Splash Screen Examples
Display for v3i5 verbosity 3, component
It’s Your World Take Control
Top
Page
Image
Contents