Installation & Setup
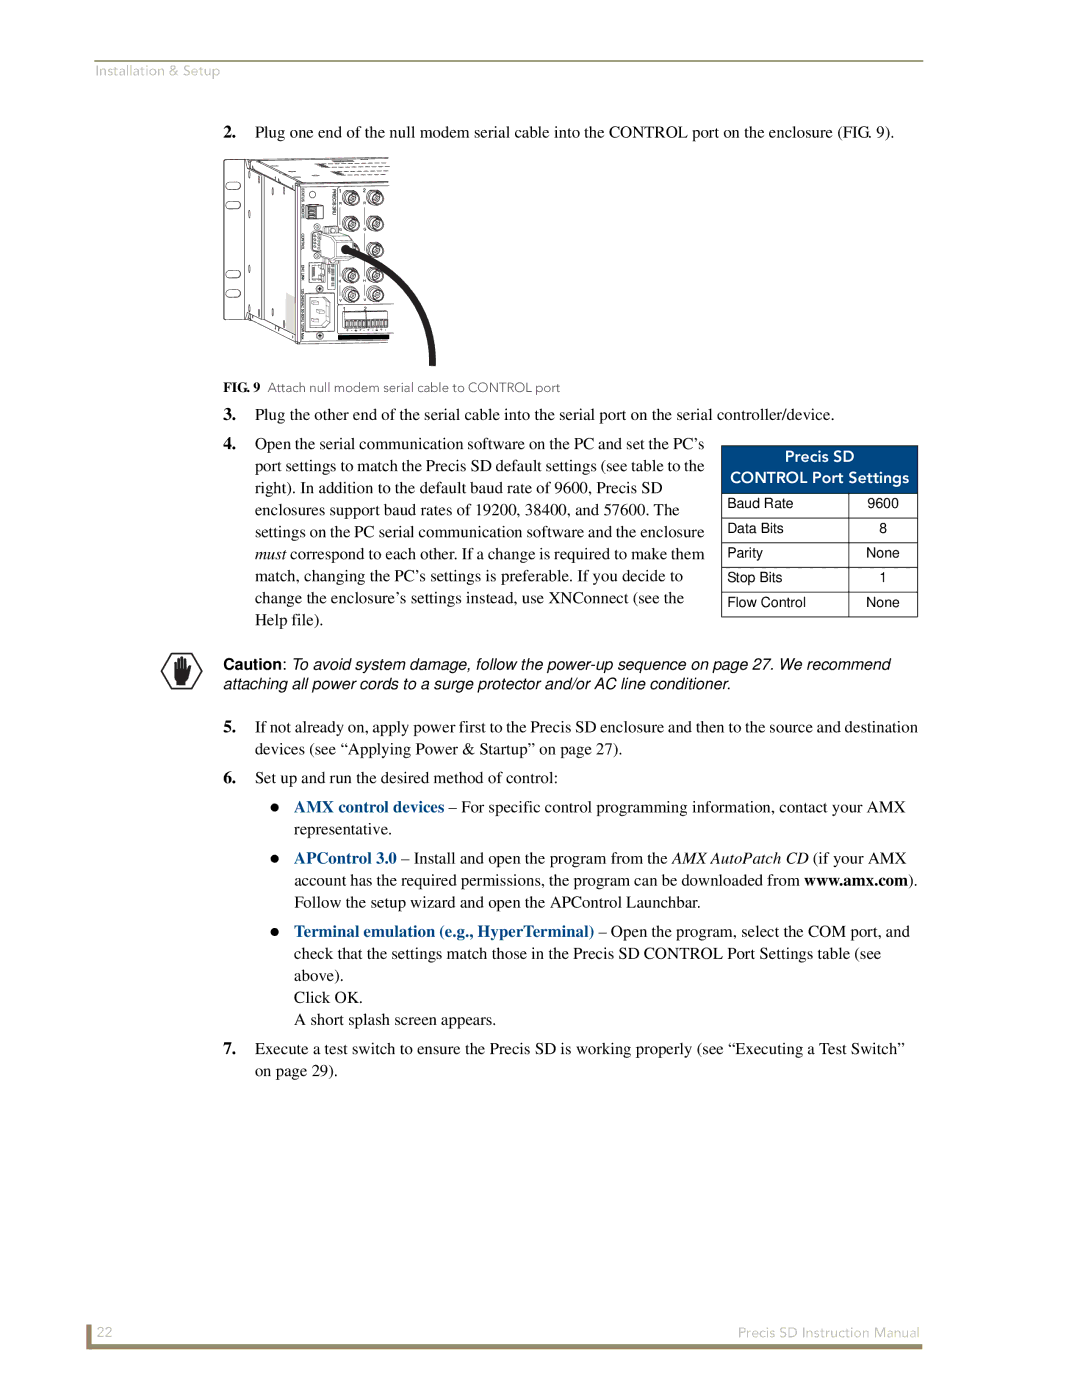
2.Plug one end of the null modem serial cable into the CONTROL port on the enclosure (FIG. 9).
FIG. 9 Attach null modem serial cable to CONTROL port
3.Plug the other end of the serial cable into the serial port on the serial controller/device.
4.Open the serial communication software on the PC and set the PC’s
port settings to match the Precis SD default settings (see table to the | Precis SD |
| ||
CONTROL Port Settings | ||||
right). In addition to the default baud rate of 9600, Precis SD | ||||
|
|
| ||
enclosures support baud rates of 19200, 38400, and 57600. The | Baud Rate |
| 9600 | |
settings on the PC serial communication software and the enclosure | Data Bits |
| 8 | |
must correspond to each other. If a change is required to make them | Parity |
| None | |
match, changing the PC’s settings is preferable. If you decide to |
|
|
| |
Stop Bits |
| 1 | ||
change the enclosure’s settings instead, use XNConnect (see the |
|
|
| |
Flow Control |
| None | ||
Help file). |
|
|
| |
|
|
| ||
Caution: To avoid system damage, follow the
5.If not already on, apply power first to the Precis SD enclosure and then to the source and destination devices (see “Applying Power & Startup” on page 27).
6.Set up and run the desired method of control:
AMX control devices – For specific control programming information, contact your AMX representative.
APControl 3.0 – Install and open the program from the AMX AutoPatch CD (if your AMX account has the required permissions, the program can be downloaded from www.amx.com). Follow the setup wizard and open the APControl Launchbar.
Terminal emulation (e.g., HyperTerminal) – Open the program, select the COM port, and check that the settings match those in the Precis SD CONTROL Port Settings table (see above).
Click OK.
A short splash screen appears.
7.Execute a test switch to ensure the Precis SD is working properly (see “Executing a Test Switch” on page 29).
22 | Precis SD Instruction Manual |