FRYER OPERATING INSTRUCTIONS (Continued)
FRYER PREPARATION FOR USE
“BOIL OUT” INSTRUCTIONS
New ANETS Fryers are
1.Thoroughly wipe the interior of the kettle with clean cloths. Open the front door on the lower portion of the fryer to access the drain ball valve. Open the drain ball valve (by aligning the valve handle with the drain ball valve) and wipe the entire drain line clean.
2.Close the drain ball valve (turn the valve han- dle
3.Perform the Lighting Procedure for the fryer. (Refer to the Lighting Procedure later in this manual.)
4.Set the thermostat to 190°F. Heat, but DO NOT boil the water. Stir the water to dis- solve the cleaning material.
! WARNING
Hot cleaning solution can cause severe burns. Take care when handling hot clean- ing solution to avoid spilling or splashing the solution.
5.Clean the fryer kettle for at least 20 minutes. Use a small hand mop (an optional brush can be ordered for this purpose) to clean the upper portion of the kettle (above the 3“ waterline) and the top rim of the kettle.
6.Shut down the fryer using the Shutdown Procedure for the fryer. (Refer to the Shut- down Procedure later in this manual.) Allow
the water to cool slightly.
FRYER PREPARATION FOR USE
(Continued)
! CAUTION
For fryers with
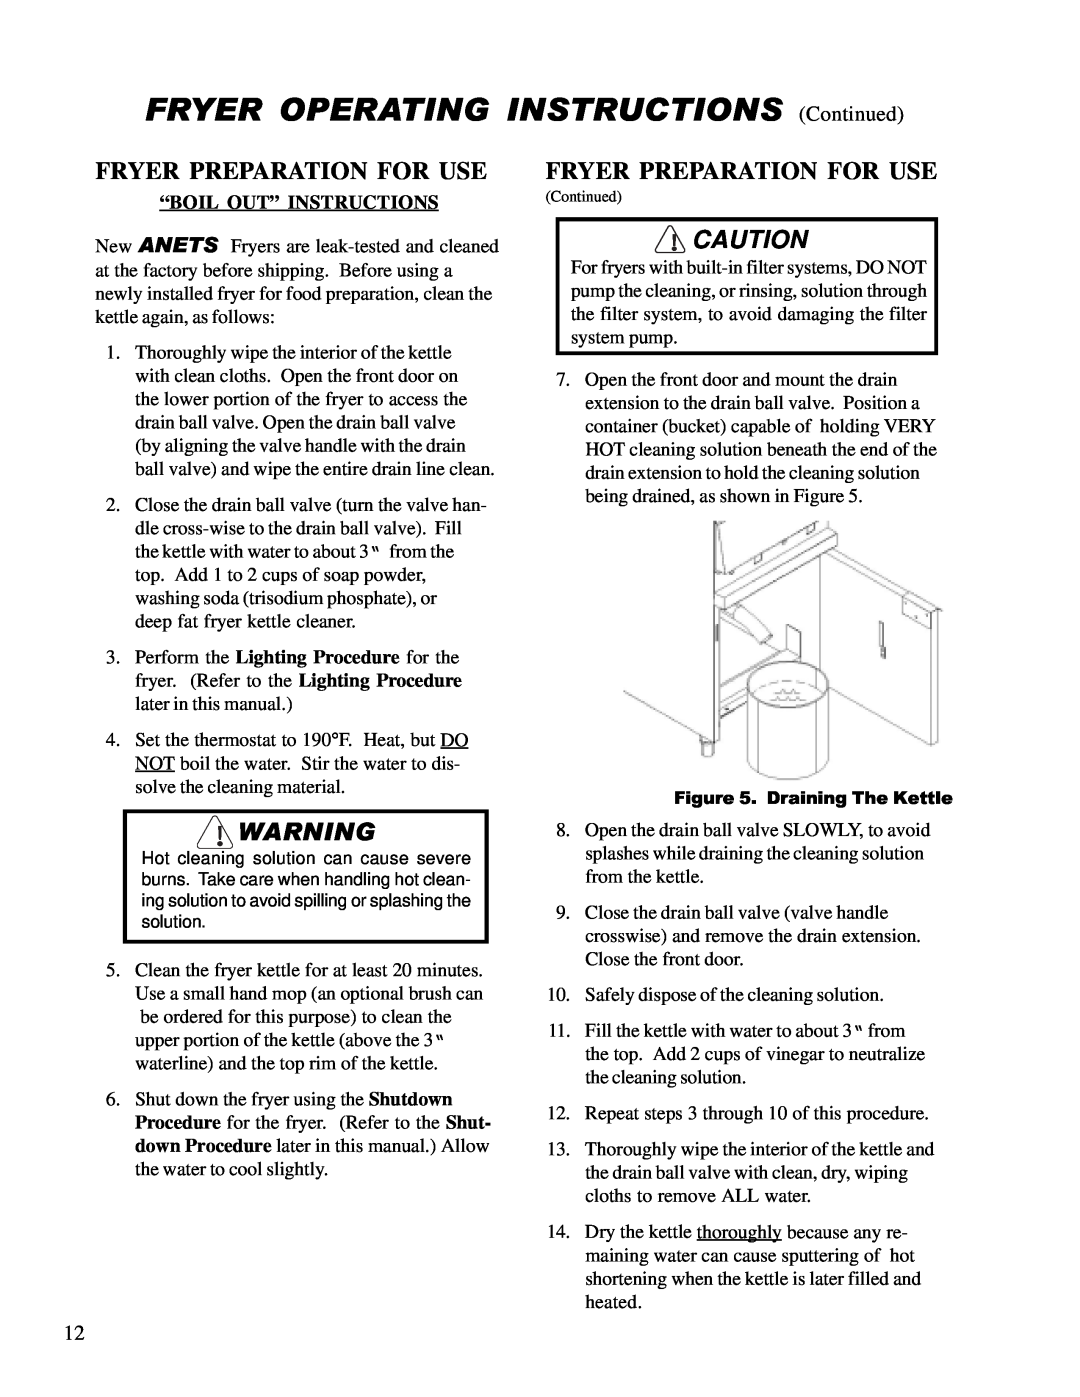
7.Open the front door and mount the drain extension to the drain ball valve. Position a container (bucket) capable of holding VERY HOT cleaning solution beneath the end of the drain extension to hold the cleaning solution being drained, as shown in Figure 5.
Figure 5. Draining The Kettle
8.Open the drain ball valve SLOWLY, to avoid splashes while draining the cleaning solution from the kettle.
9.Close the drain ball valve (valve handle crosswise) and remove the drain extension. Close the front door.
10.Safely dispose of the cleaning solution.
11.Fill the kettle with water to about 3“ from the top. Add 2 cups of vinegar to neutralize the cleaning solution.
12.Repeat steps 3 through 10 of this procedure.
13.Thoroughly wipe the interior of the kettle and the drain ball valve with clean, dry, wiping cloths to remove ALL water.
14.Dry the kettle thoroughly because any re- maining water can cause sputtering of hot shortening when the kettle is later filled and
heated.
12