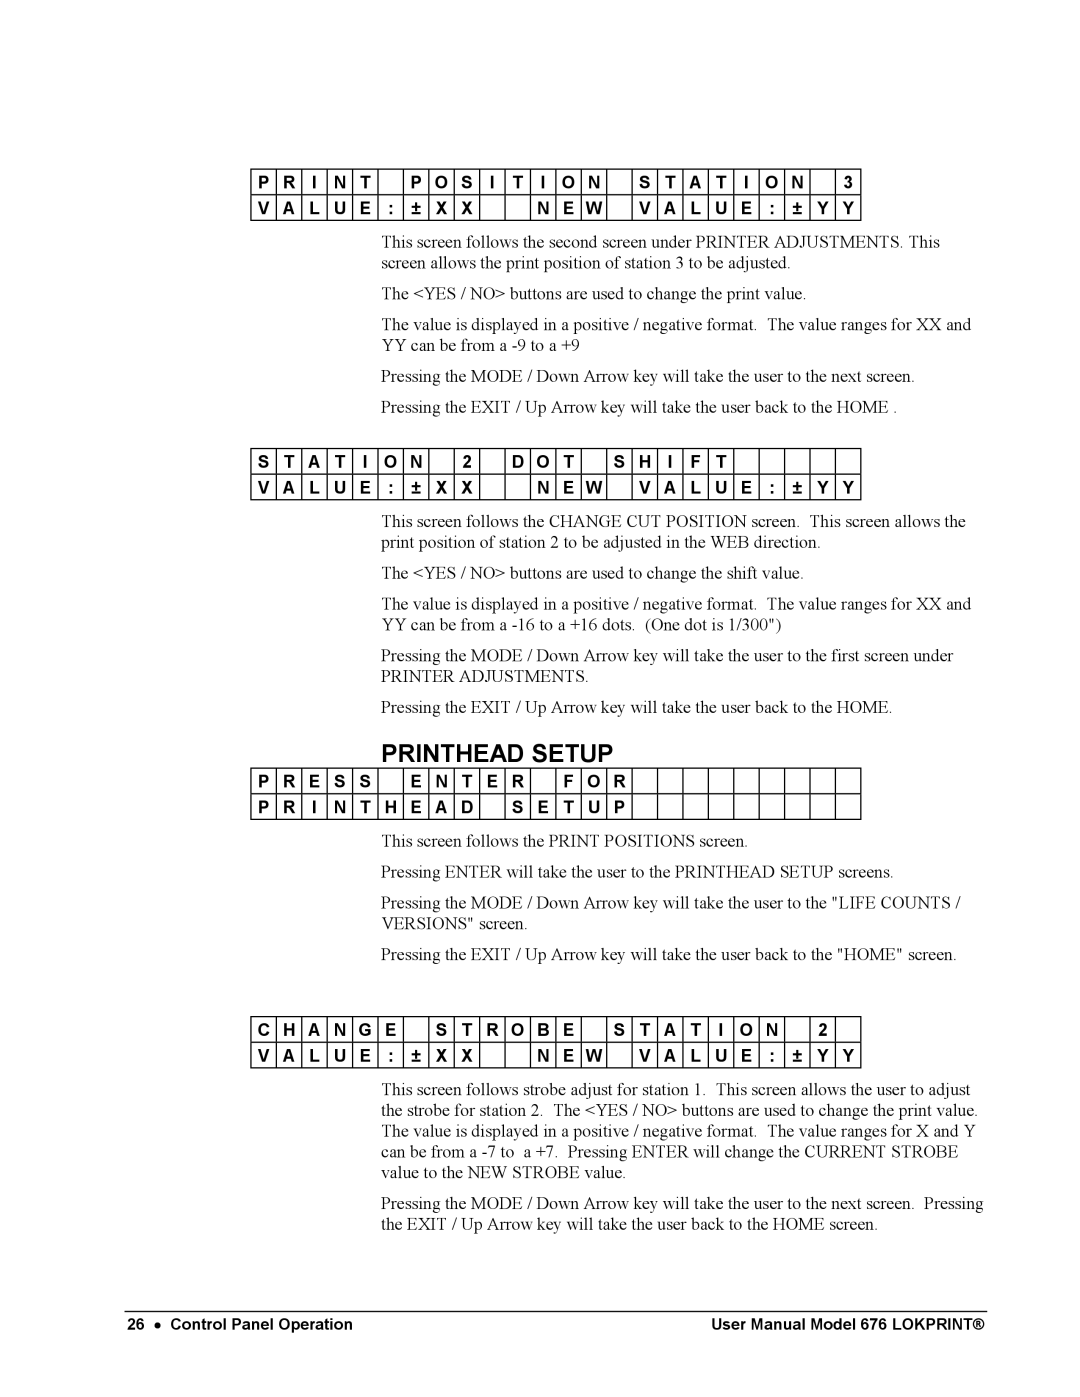
P | R | I | N | T |
| P | O | S | I | T | I | O | N |
| S | T | A | T | I | O | N |
| 3 |
|
|
|
|
|
|
|
|
|
|
|
|
|
|
|
|
|
|
|
|
|
|
|
|
V | A | L | U | E | : | ± | X | X |
|
| N | E | W |
| V | A | L | U | E | : | ± | Y | Y |
|
|
|
|
|
|
|
|
|
|
|
|
|
|
|
|
|
|
|
|
|
|
|
|
This screen follows the second screen under PRINTER ADJUSTMENTS. This screen allows the print position of station 3 to be adjusted.
The <YES / NO> buttons are used to change the print value.
The value is displayed in a positive / negative format. The value ranges for XX and
YY can be from a
Pressing the MODE / Down Arrow key will take the user to the next screen.
Pressing the EXIT / Up Arrow key will take the user back to the HOME .
S | T | A | T | I | O | N |
| 2 |
| D | O | T |
| S | H | I | F | T |
|
|
|
|
|
|
|
|
|
|
|
|
|
|
|
|
|
|
|
|
|
|
|
|
|
|
|
|
|
V | A | L | U | E | : | ± | X | X |
|
| N | E | W |
| V | A | L | U | E | : | ± | Y | Y |
This screen follows the CHANGE CUT POSITION screen. This screen allows the print position of station 2 to be adjusted in the WEB direction.
The <YES / NO> buttons are used to change the shift value.
The value is displayed in a positive / negative format. The value ranges for XX and
YY can be from a
Pressing the MODE / Down Arrow key will take the user to the first screen under
PRINTER ADJUSTMENTS.
Pressing the EXIT / Up Arrow key will take the user back to the HOME.
PRINTHEAD SETUP
P | R | E | S | S |
| E | N | T | E | R |
| F | O | R |
|
|
|
|
|
|
|
|
|
|
|
|
|
|
|
|
|
|
|
|
|
|
|
|
|
|
|
|
|
|
|
|
|
P | R | I | N | T | H | E | A | D |
| S | E | T | U | P |
|
|
|
|
|
|
|
|
|
|
|
|
|
|
|
|
|
|
|
|
|
|
|
|
|
|
|
|
|
|
|
|
|
This screen follows the PRINT POSITIONS screen.
Pressing ENTER will take the user to the PRINTHEAD SETUP screens.
Pressing the MODE / Down Arrow key will take the user to the "LIFE COUNTS /
VERSIONS" screen.
Pressing the EXIT / Up Arrow key will take the user back to the "HOME" screen.
C | H | A | N | G | E |
| S | T | R | O | B | E |
| S | T | A | T | I | O | N |
| 2 |
|
V | A | L | U | E | : | ± | X | X |
|
| N | E | W |
| V | A | L | U | E | : | ± | Y | Y |
|
|
|
|
|
|
|
|
|
|
|
|
|
|
|
|
|
|
|
|
|
|
|
|
This screen follows strobe adjust for station 1. This screen allows the user to adjust the strobe for station 2. The <YES / NO> buttons are used to change the print value. The value is displayed in a positive / negative format. The value ranges for X and Y can be from a
Pressing the MODE / Down Arrow key will take the user to the next screen. Pressing the EXIT / Up Arrow key will take the user back to the HOME screen.
26 • Control Panel Operation | User Manual Model 676 LOKPRINT® |