Configuring the WURE
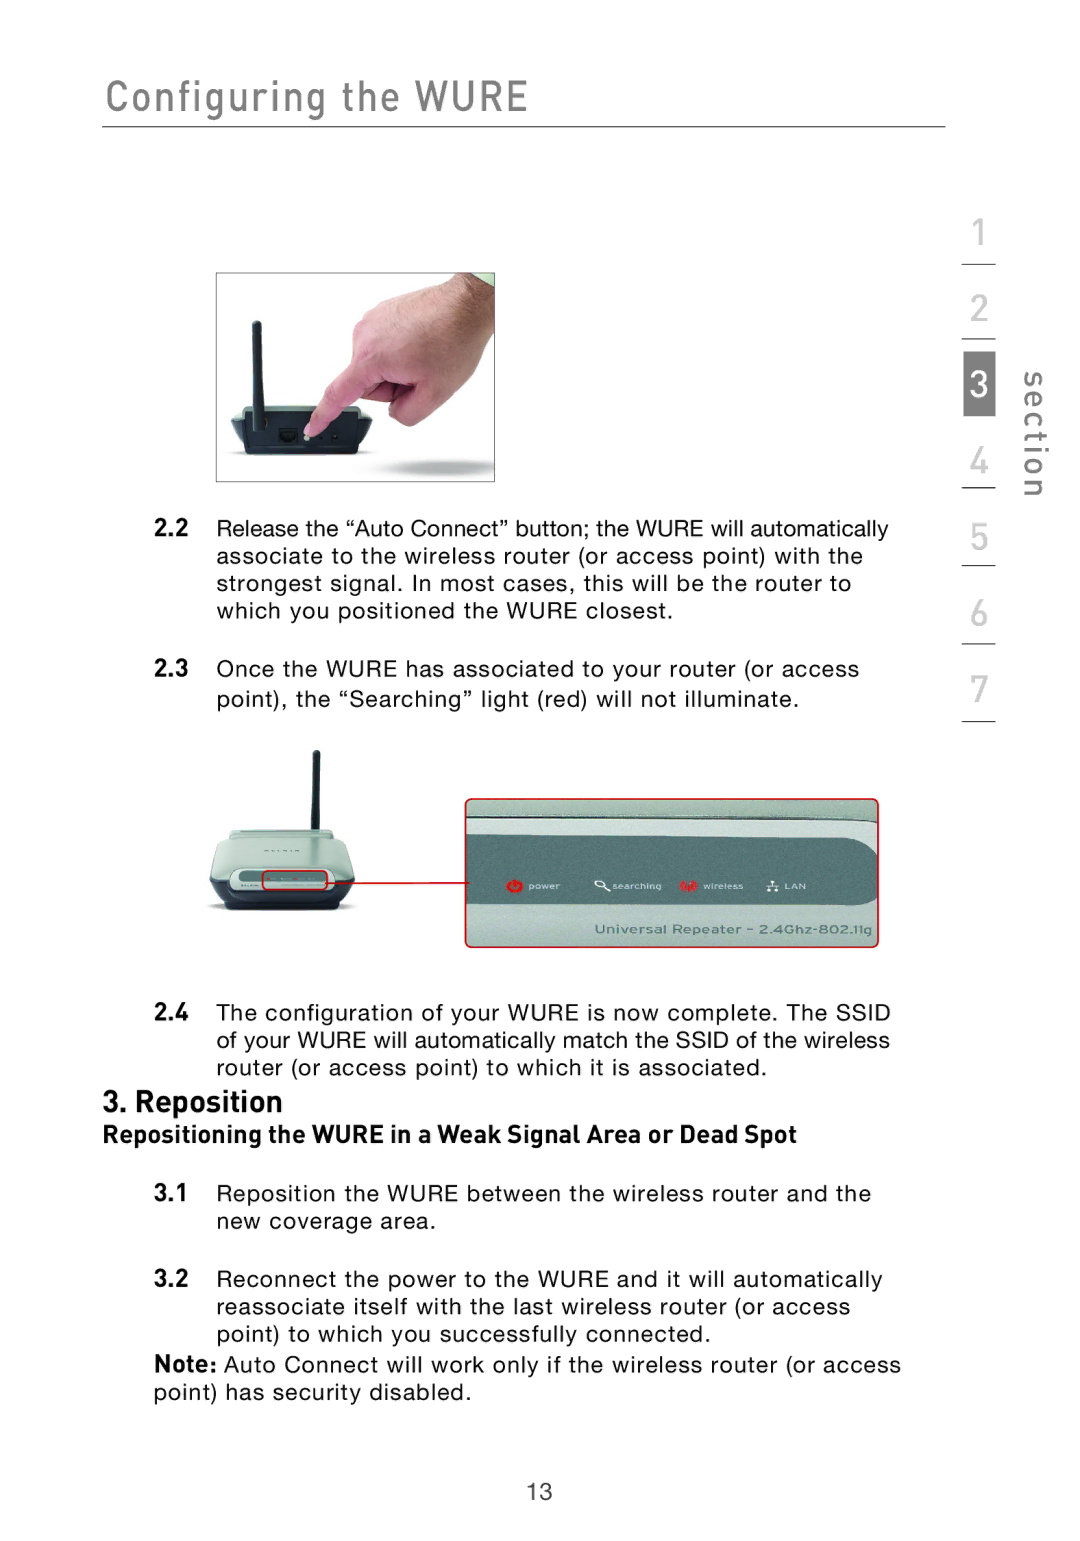
2.2Release the “Auto Connect” button; the WURE will automatically associate to the wireless router (or access point) with the strongest signal. In most cases, this will be the router to which you positioned the WURE closest.
2.3Once the WURE has associated to your router (or access point), the “Searching” light (red) will not illuminate.
2.4The configuration of your WURE is now complete. The SSID of your WURE will automatically match the SSID of the wireless router (or access point) to which it is associated.
3.Reposition
Repositioning the WURE in a Weak Signal Area or Dead Spot
3.1Reposition the WURE between the wireless router and the new coverage area.
3.2Reconnect the power to the WURE and it will automatically reassociate itself with the last wireless router (or access point) to which you successfully connected.
Note: Auto Connect will work only if the wireless router (or access point) has security disabled.
1 |
| |
2 |
| |
3 | section | |
4 | ||
| ||
5 |
| |
6 |
| |
7 |
|
13
