Chapter 3: Windows Client Utility
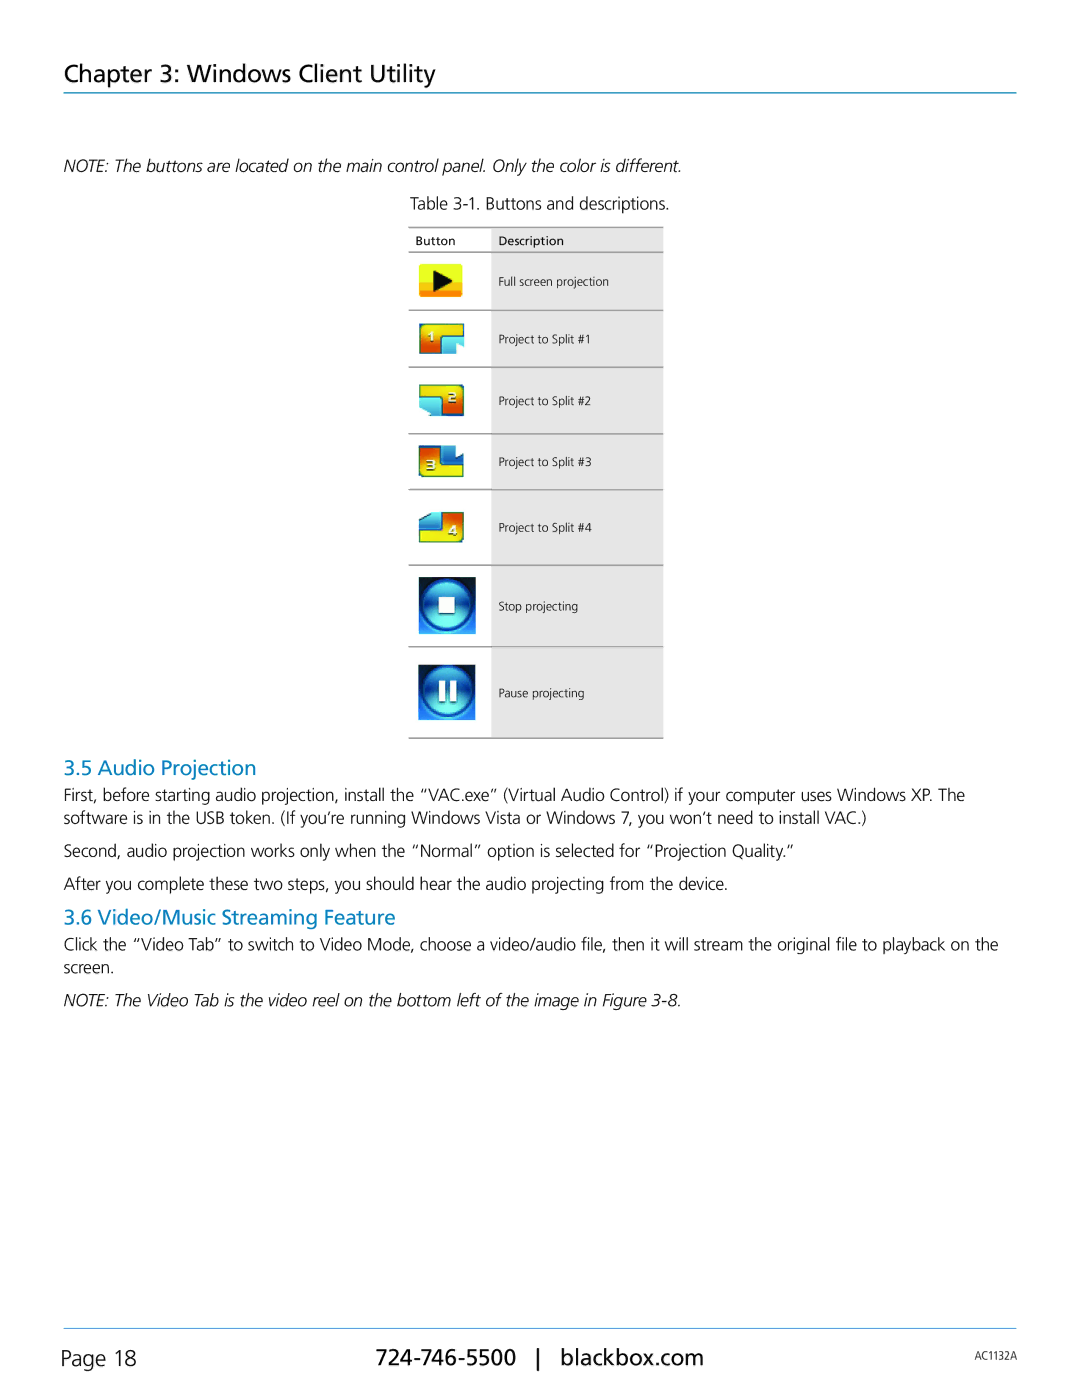
NOTE: The buttons are located on the main control panel. Only the color is different.
Table 3-1. Buttons and descriptions.
Button | Description |
|
|
| Full screen projection |
|
|
| Project to Split #1 |
|
|
| Project to Split #2 |
|
|
| Project to Split #3 |
|
|
| Project to Split #4 |
|
|
| Stop projecting |
|
|
| Pause projecting |
3.5 Audio Projection
First, before starting audio projection, install the “VAC.exe” (Virtual Audio Control) if your computer uses Windows XP. The software is in the USB token. (If you’re running Windows Vista or Windows 7, you won’t need to install VAC.)
Second, audio projection works only when the “Normal” option is selected for “Projection Quality.”
After you complete these two steps, you should hear the audio projecting from the device.
3.6 Video/Music Streaming Feature
Click the “Video Tab” to switch to Video Mode, choose a video/audio file, then it will stream the original file to playback on the screen.
NOTE: The Video Tab is the video reel on the bottom left of the image in Figure
Page 18 | AC1132A | |
|
|
