CHAPTER 4: BASIC OPERATIONS
5.In the Sec column, type the number of seconds (from 3 to 255) of desired time before the scan moves to the next server in the sequence.
6.Move the cursor to the next line or press the Down Arrow and repeat steps
7.Click OK.
To remove a server from the scan list:
1.In the Scan dialog box, click the server to be removed.
2.Press Delete.
Press Shift+Delete to remove the selected server and all entries below it.
3.Click OK.
To start the scan mode:
1.Press Print Screen. The Main dialog box will appear.
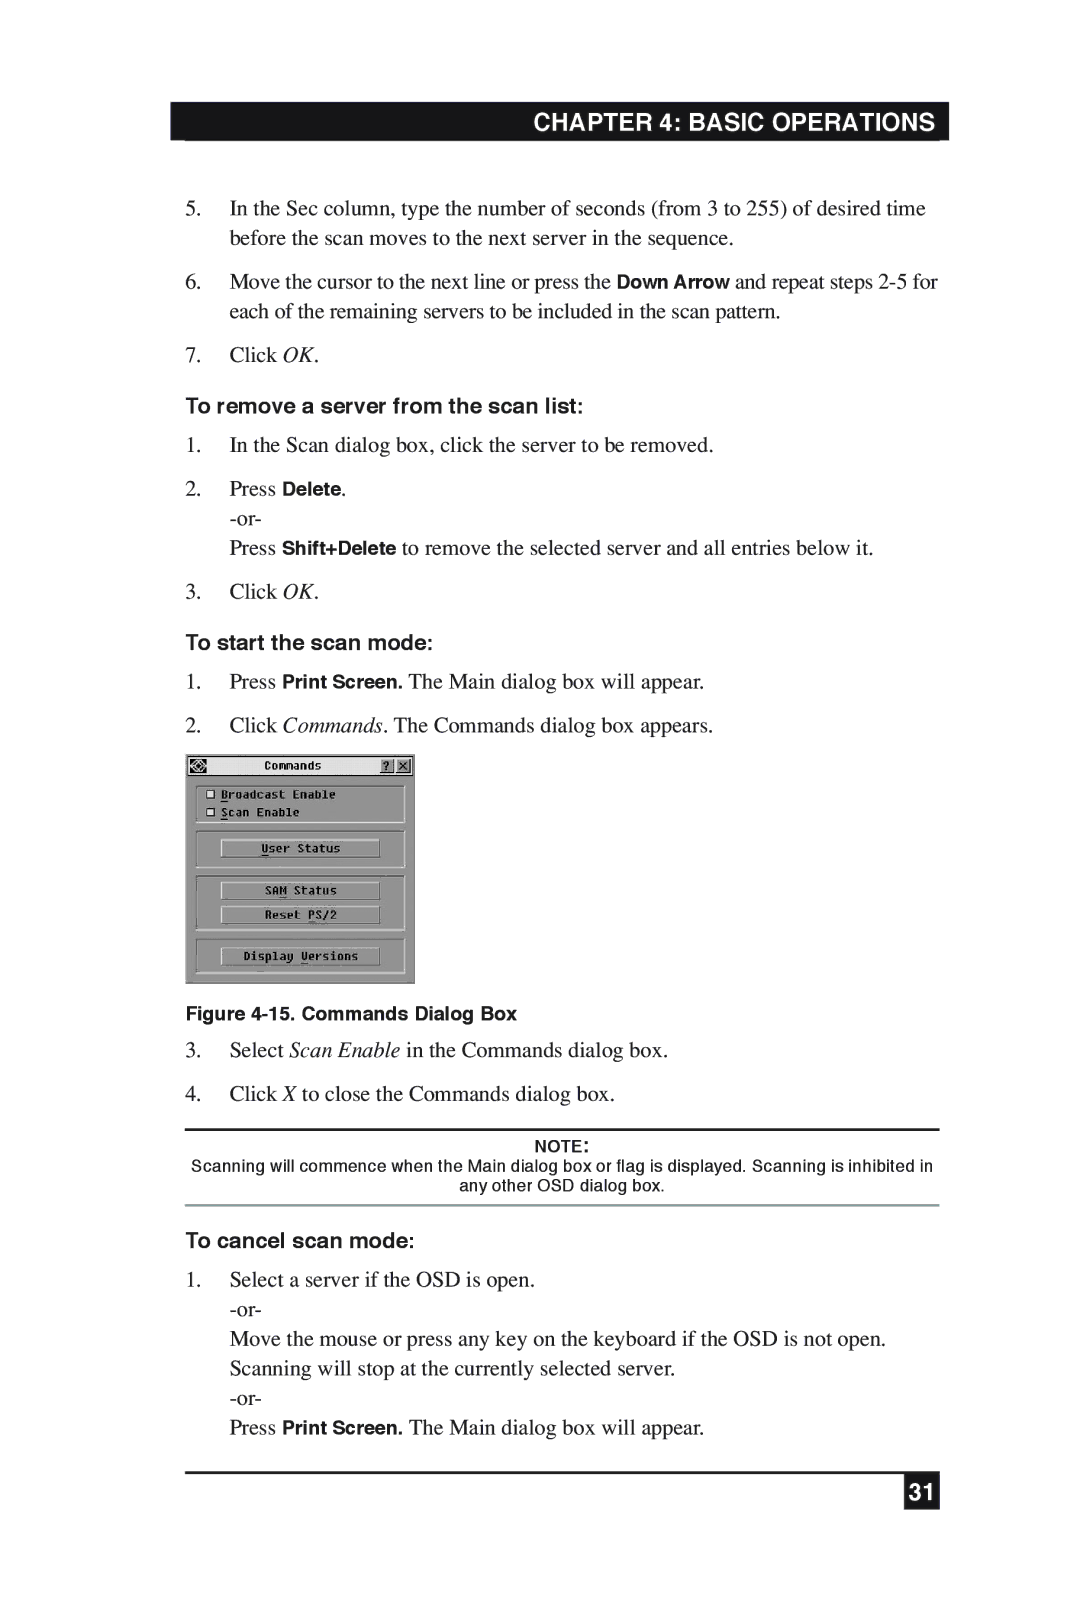
2.Click Commands. The Commands dialog box appears.
Figure 4-15. Commands Dialog Box
3.Select Scan Enable in the Commands dialog box.
4.Click X to close the Commands dialog box.
NOTE:
Scanning will commence when the Main dialog box or flag is displayed. Scanning is inhibited in
any other OSD dialog box.
To cancel scan mode:
1.Select a server if the OSD is open.
Move the mouse or press any key on the keyboard if the OSD is not open. Scanning will stop at the currently selected server.
Press Print Screen. The Main dialog box will appear.
31
