USING DCN AUTOMATIC CAMERA CONTROL
ASSIGNING CAMERAS TO SEAT/UNIT NUMBERS
NOTE: Before you start the installation process make sure that the configu- ration is correctly set.
To start the camera installation process:
• Click on the ‘Start’ button.
3
NOTE: The ‘Start’ button toggles to a ‘Stop’ button when activated. Dur- ing camera installation, all conference activities will be stopped.
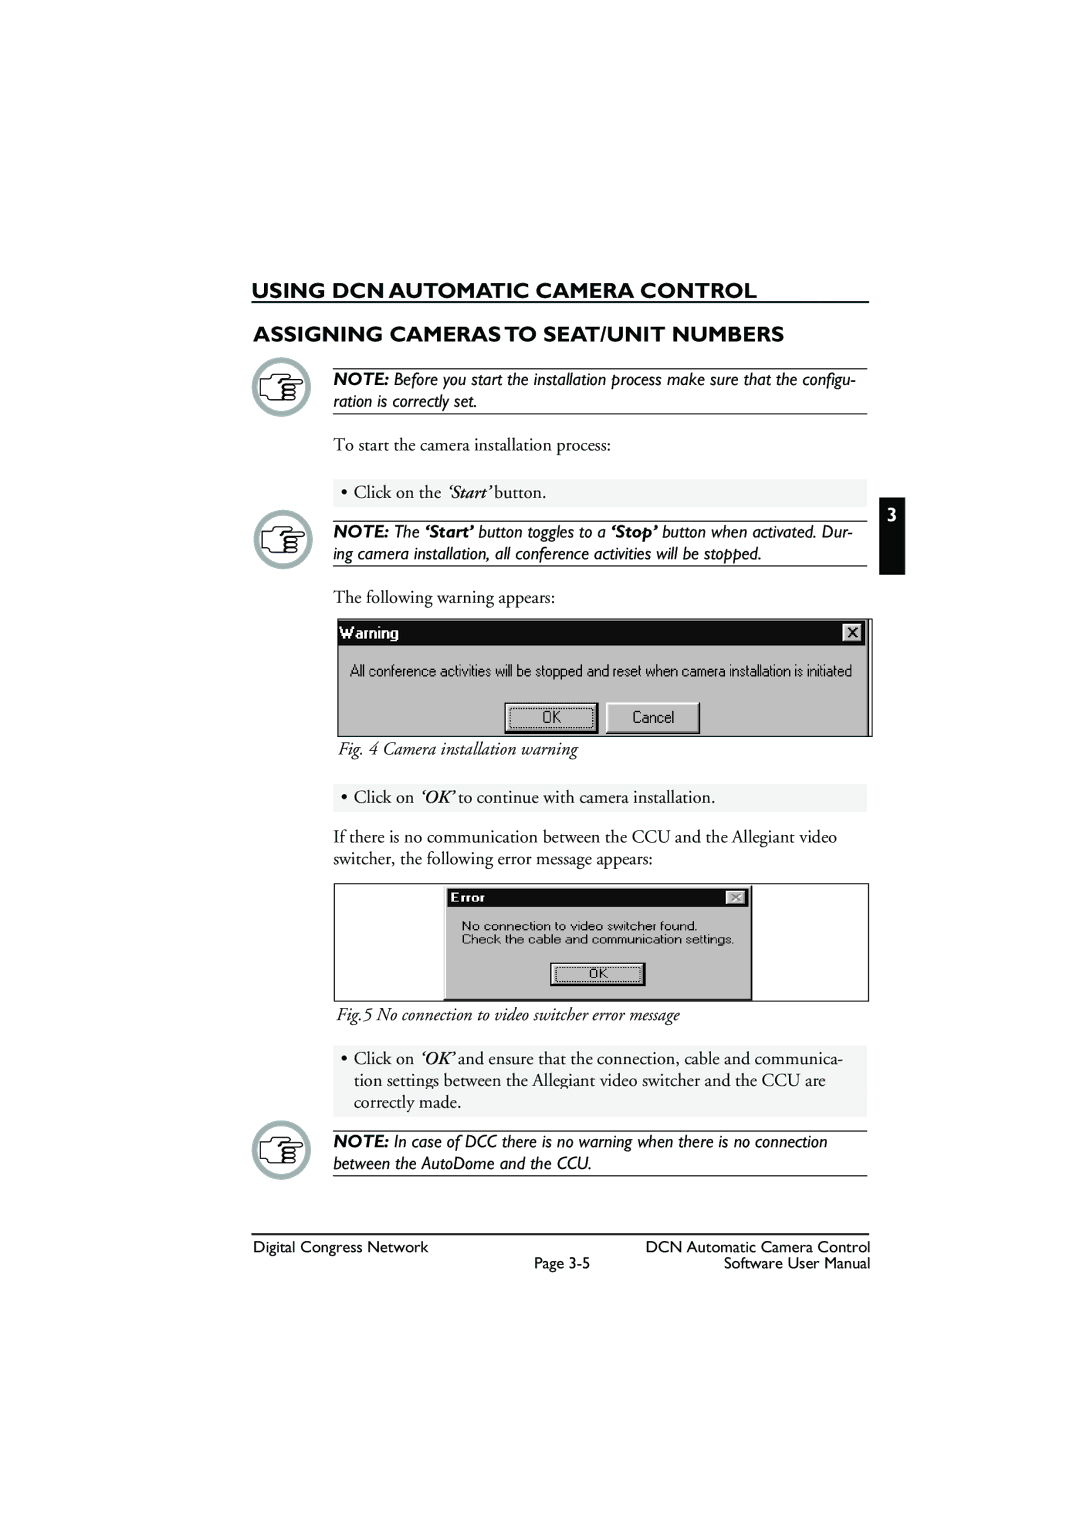
The following warning appears:
Fig. 4 Camera installation warning
• Click on ‘OK’ to continue with camera installation.
If there is no communication between the CCU and the Allegiant video switcher, the following error message appears:
Fig.5 No connection to video switcher error message
•Click on ‘OK’ and ensure that the connection, cable and communica- tion settings between the Allegiant video switcher and the CCU are correctly made.
NOTE: In case of DCC there is no warning when there is no connection between the AutoDome and the CCU.
Digital Congress Network | DCN Automatic Camera Control |
Page | Software User Manual |
