AutoDome 700 Series IP PTZ CameraGetting Started en 5
1 | Getting Started | |||
|
| Install and wire the AutoDome according to the VG5 AutoDome Installation Manual. A typical | ||
|
| system includes an ethernet connection, a video management system, a monitor, and | ||
|
| appropriate wiring connections. Please refer to the individual product manuals for complete | ||
|
| installation and setup instructions for each of the system components. | ||
1.1 | Powering On |
|
| |
|
| When you turn the AutoDome power on there is a ten (10) second pause before the dome | ||
|
| starts its homing phase. During the homing phase the camera pans left and right and tilts up | ||
|
| and down. It also adjusts the lens focus. The entire homing phase lasts approximately 40 | ||
|
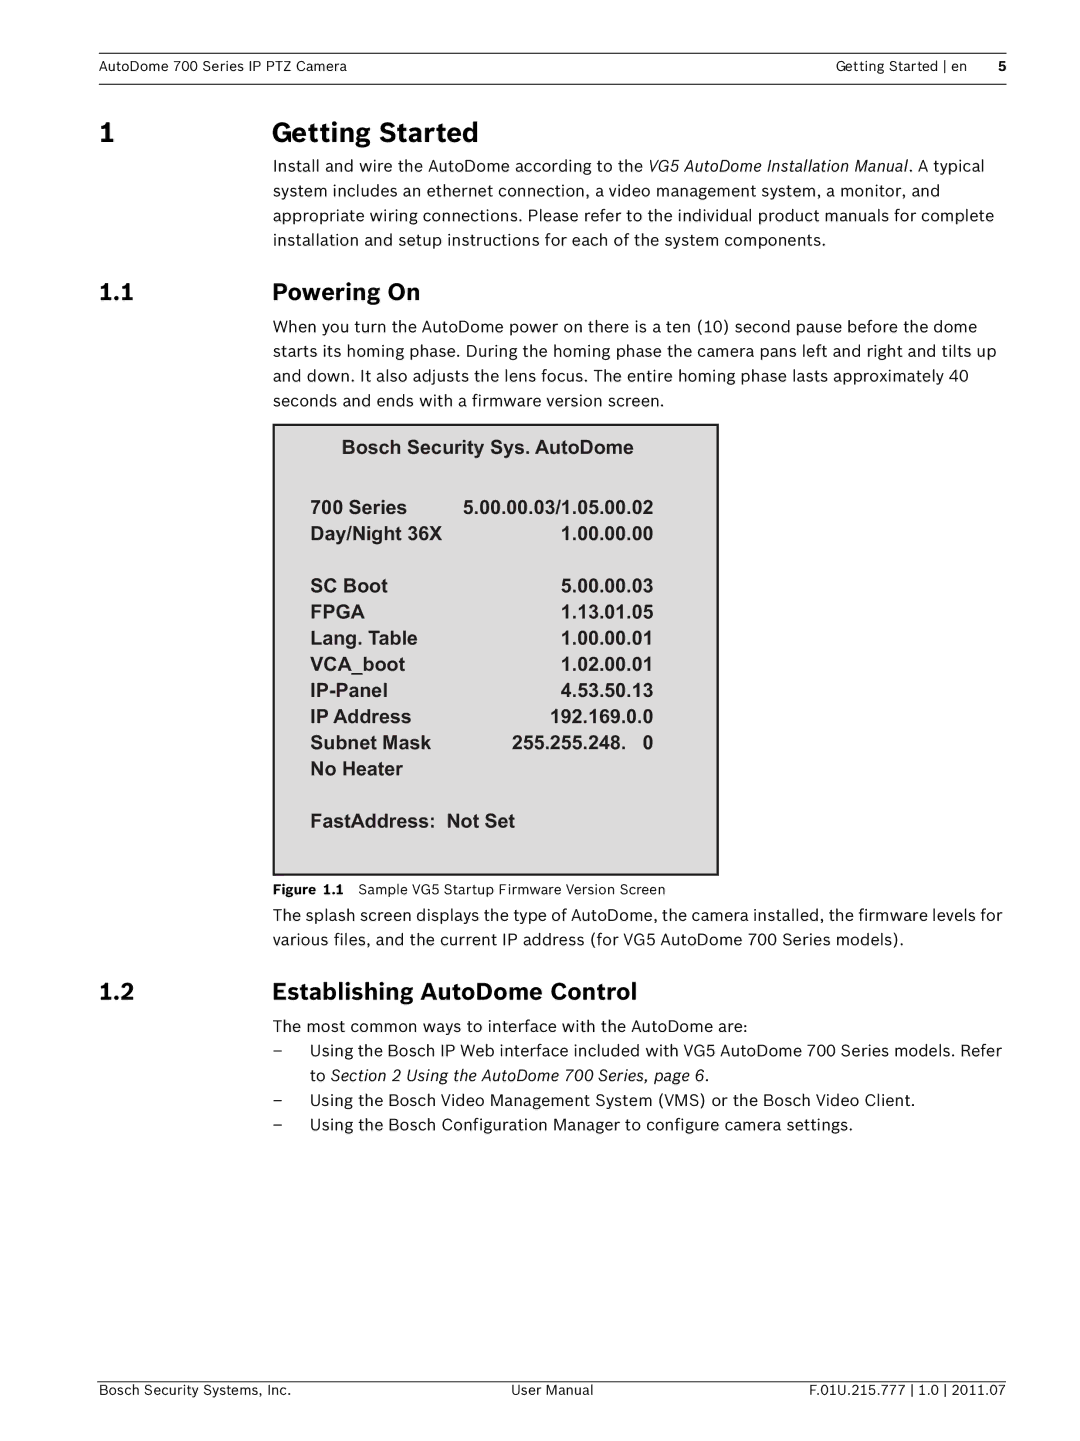
| seconds and ends with a firmware version screen. | ||
|
|
|
| |
|
| Bosch Security Sys. AutoDome | ||
|
| 700 Series | 5.00.00.03/1.05.00.02 |
|
|
| Day/Night 36X | 1.00.00.00 |
|
|
| SC Boot | 5.00.00.03 |
|
|
| FPGA | 1.13.01.05 |
|
|
| Lang. Table | 1.00.00.01 |
|
|
| VCA_boot | 1.02.00.01 |
|
|
| 4.53.50.13 |
| |
|
| IP Address | 192.169.0.0 |
|
|
| Subnet Mask | 255.255.248. 0 |
|
|
| No Heater |
|
|
FastAddress: Not Set
Figure 1.1 Sample VG5 Startup Firmware Version Screen
The splash screen displays the type of AutoDome, the camera installed, the firmware levels for various files, and the current IP address (for VG5 AutoDome 700 Series models).
1.2 | Establishing AutoDome Control |
The most common ways to interface with the AutoDome are:
–Using the Bosch IP Web interface included with VG5 AutoDome 700 Series models. Refer to Section 2 Using the AutoDome 700 Series, page 6.
–Using the Bosch Video Management System (VMS) or the Bosch Video Client.
–Using the Bosch Configuration Manager to configure camera settings.
Bosch Security Systems, Inc. | User Manual | F.01U.215.777 1.0 2011.07 |
