![]() BM 2610021316
BM 2610021316
Adjustments
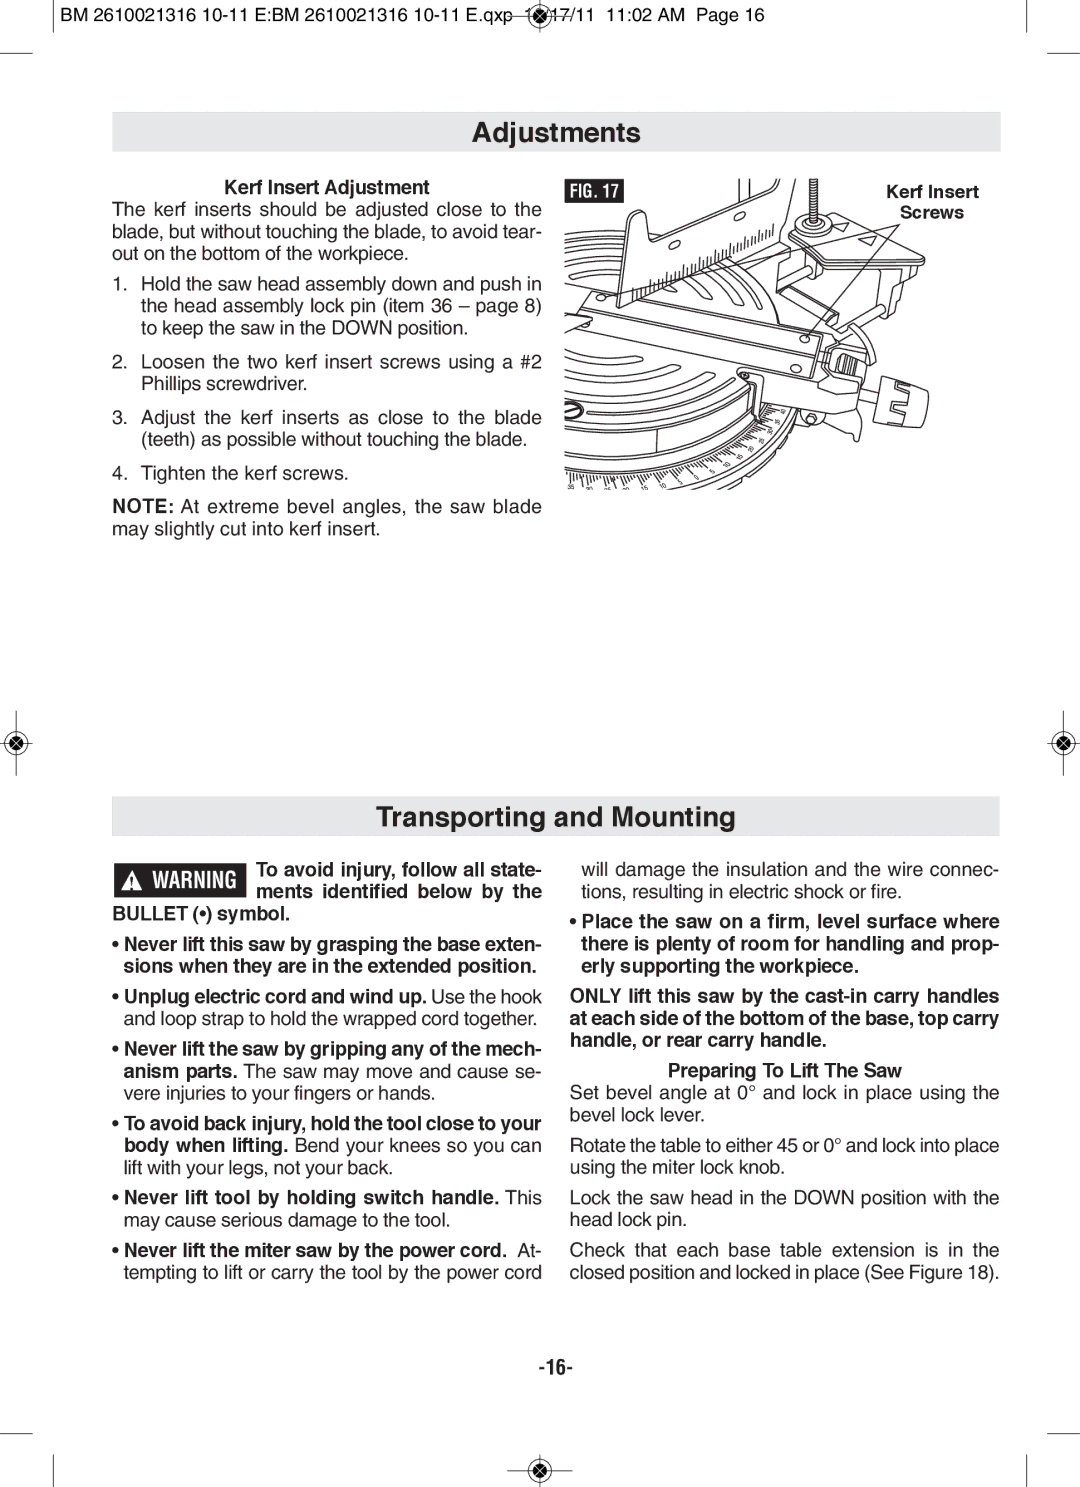
Kerf Insert Adjustment | FIG. 17 |
The kerf inserts should be adjusted close to the blade, but without touching the blade, to avoid tear- out on the bottom of the workpiece.
1. Hold the saw head assembly down and push in the head assembly lock pin (item 36 – page 8) to keep the saw in the DOWN position.
2. Loosen the two kerf insert screws using a #2 Phillips screwdriver.
3. Adjust the kerf inserts as close to the blade (teeth) as possible without touching the blade.
4. Tighten the kerf screws.
NOTE: At extreme bevel angles, the saw blade may slightly cut into kerf insert.
Kerf Insert
Screws
Transporting and Mounting
To avoid injury, follow all state- ments identified below by the
BUllET (•) symbol.
•Never lift this saw by grasping the base exten- sions when they are in the extended position.
•Unplug electric cord and wind up. Use the hook and loop strap to hold the wrapped cord together.
•Never lift the saw by gripping any of the mech- anism parts. The saw may move and cause se- vere injuries to your fingers or hands.
•To avoid back injury, hold the tool close to your body when lifting. Bend your knees so you can lift with your legs, not your back.
•Never lift tool by holding switch handle. This may cause serious damage to the tool.
•Never lift the miter saw by the power cord. At- tempting to lift or carry the tool by the power cord
will damage the insulation and the wire connec- tions, resulting in electric shock or fire.
•place the saw on a firm, level surface where there is plenty of room for handling and prop- erly supporting the workpiece.
ONlY lift this saw by the
preparing To lift The Saw
Set bevel angle at 0° and lock in place using the bevel lock lever.
Rotate the table to either 45 or 0° and lock into place using the miter lock knob.
Lock the saw head in the DOWN position with the head lock pin.
Check that each base table extension is in the closed position and locked in place (See Figure 18).
