![]() BM 2610021316
BM 2610021316
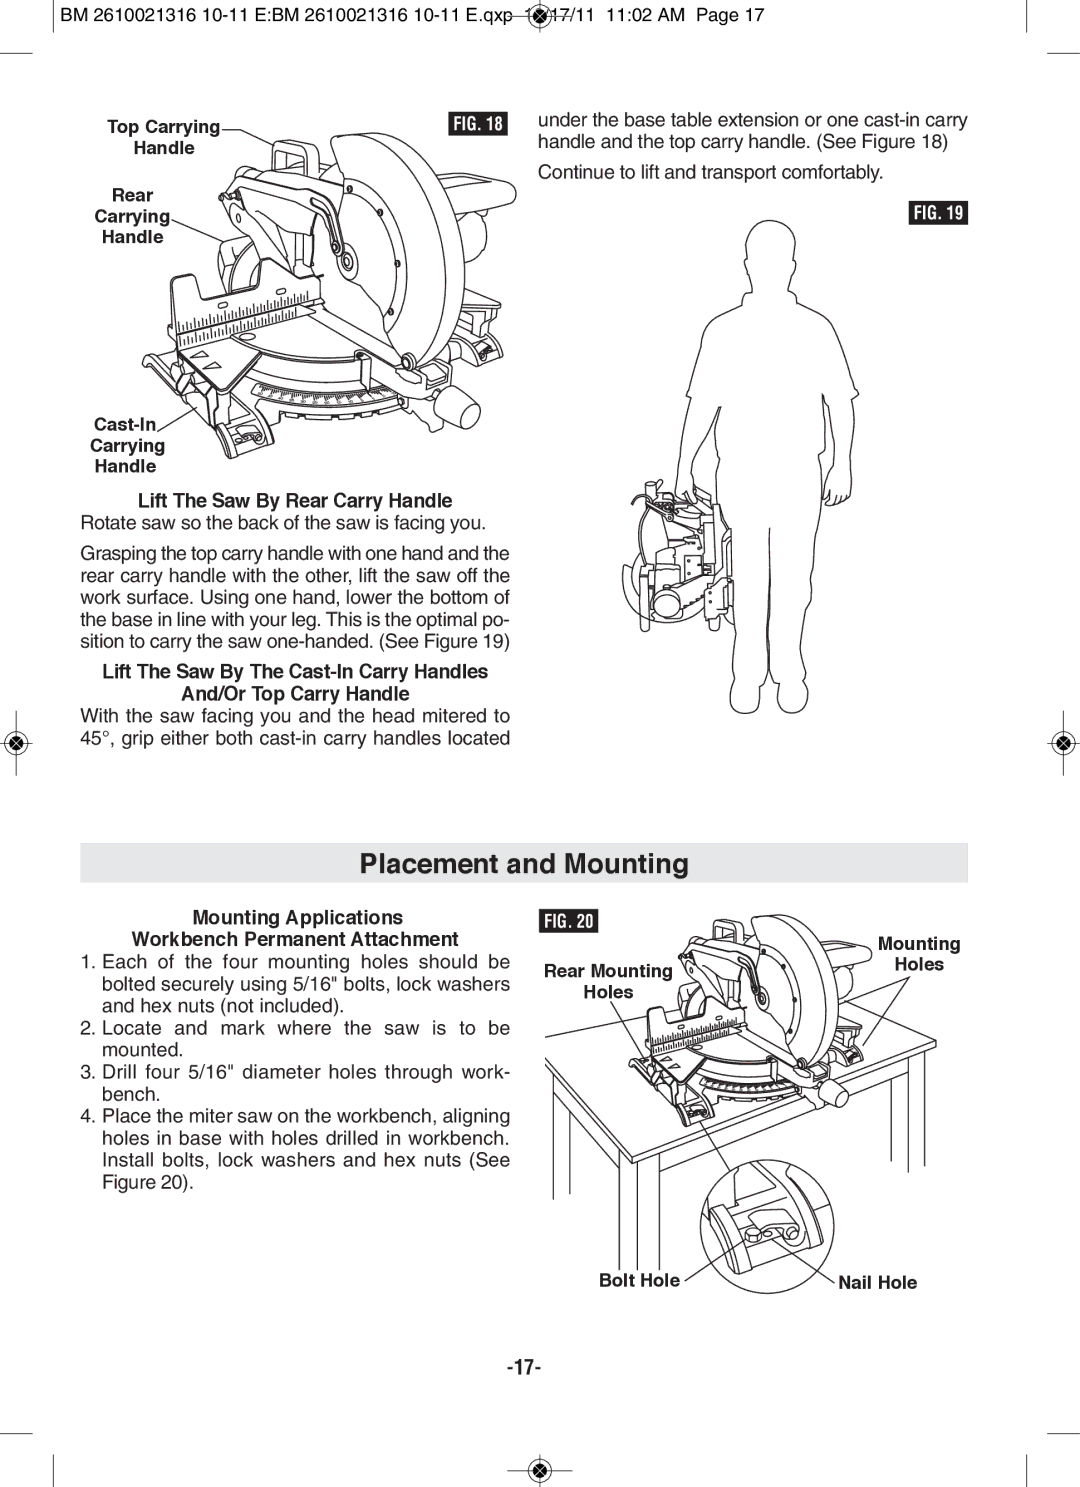
Top Carrying | FIG. 18 |
Handle |
|
Rear
Carrying
Handle
Cast-In


Carrying
Handle
lift The Saw By Rear Carry Handle Rotate saw so the back of the saw is facing you.
Grasping the top carry handle with one hand and the rear carry handle with the other, lift the saw off the work surface. Using one hand, lower the bottom of the base in line with your leg. This is the optimal po- sition to carry the saw
lift The Saw By The
And/Or Top Carry Handle
With the saw facing you and the head mitered to 45°, grip either both
under the base table extension or one
Continue to lift and transport comfortably.
FIG. 19
placement and Mounting
Mounting Applications Workbench permanent Attachment
1.Each of the four mounting holes should be bolted securely using 5/16" bolts, lock washers and hex nuts (not included).
2.Locate and mark where the saw is to be mounted.
3.Drill four 5/16" diameter holes through work- bench.
4.Place the miter saw on the workbench, aligning holes in base with holes drilled in workbench. Install bolts, lock washers and hex nuts (See Figure 20).
FIG. 20 |
|
| Mounting |
Rear Mounting | Holes |
| |
Holes |
|
Bolt Hole | Nail Hole |