Operating the CD Player/Recorder
Recording an audio CD
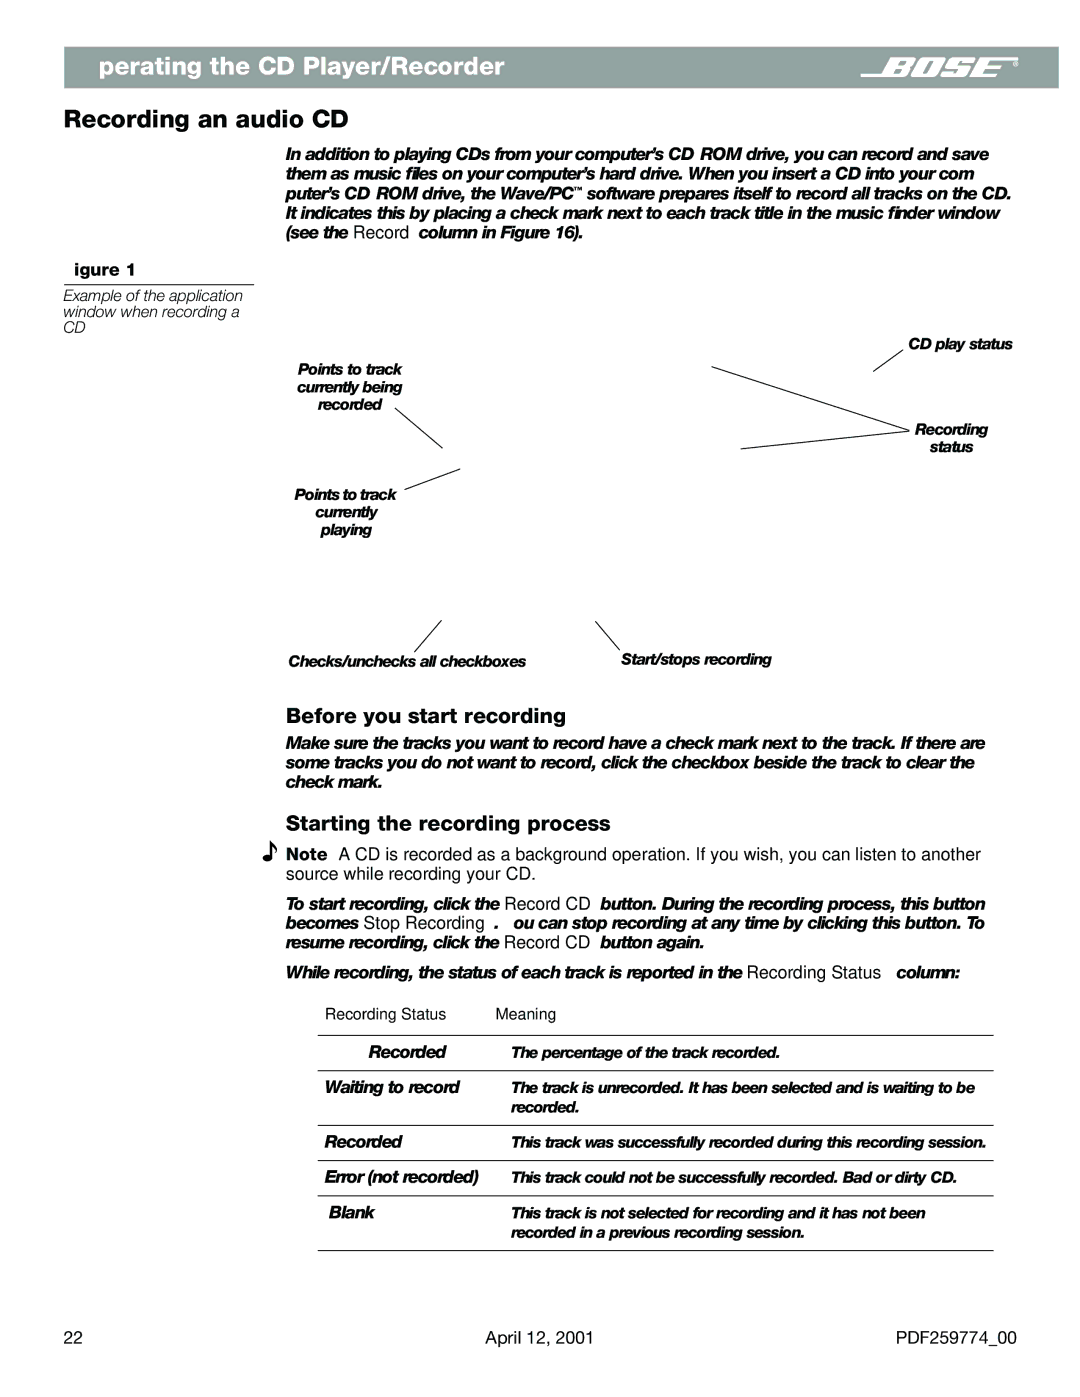
In addition to playing CDs from your computer’s
Figure 16
Example of the application window when recording a
CD
CD play status
Points to track currently being recorded
Recording
status
Points to track currently playing
Checks/unchecks all checkboxes | Start/stops recording |
Before you start recording
Make sure the tracks you want to record have a check mark next to the track. If there are some tracks you do not want to record, click the checkbox beside the track to clear the check mark.
Starting the recording process
![]() Note: A CD is recorded as a background operation. If you wish, you can listen to another source while recording your CD.
Note: A CD is recorded as a background operation. If you wish, you can listen to another source while recording your CD.
To start recording, click the Record CD button. During the recording process, this button becomes Stop Recording. You can stop recording at any time by clicking this button. To resume recording, click the Record CD button again.
While recording, the status of each track is reported in the Recording Status column:
Recording Status | Meaning |
|
|
XX% Recorded | The percentage of the track recorded. |
|
|
Waiting to record | The track is unrecorded. It has been selected and is waiting to be |
| recorded. |
|
|
Recorded | This track was successfully recorded during this recording session. |
|
|
Error (not recorded) | This track could not be successfully recorded. Bad or dirty CD. |
|
|
[Blank] | This track is not selected for recording and it has not been |
| recorded in a previous recording session. |
|
|
22 | April 12, 2001 | PDF259774_00 |
