
Water Transfer Pump specifications
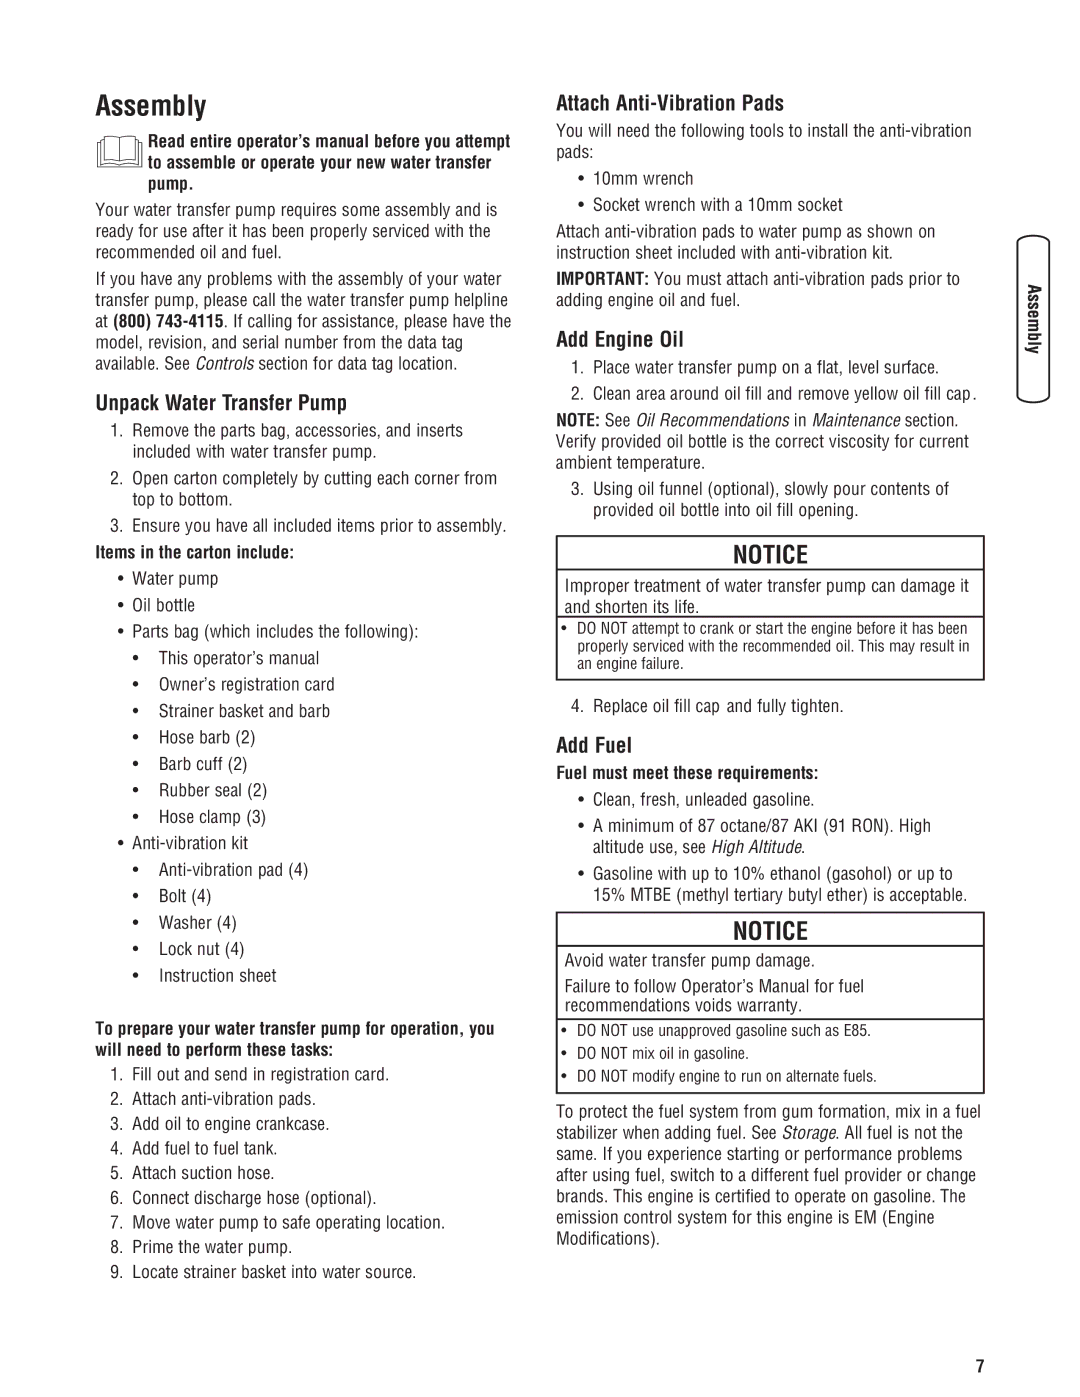
The Briggs & Stratton Water Transfer Pump is an essential tool designed for a variety of water transfer applications, combining efficiency with reliability. This powerhouse is ideal for homeowners, landscapers, and contractors who need to move large volumes of water for tasks like draining pools, emptying flooded basements, or irrigating gardens.One of the standout features of the Briggs & Stratton Water Transfer Pump is its robust engine. The pump typically utilizes a dependable, four-stroke gas engine that provides superior power and fuel efficiency. With a reliable starting system, users can count on it to start quickly and run smoothly, even during extended use. This ensures that no time is wasted when water needs to be moved promptly.
In terms of performance, the water transfer pump is designed to handle significant volumes of water, often capable of transferring up to 3,000 gallons per hour. This impressive flow rate makes it suitable for both small-scale residential needs and larger commercial projects. The pump's lightweight and portable design allows users to easily transport it to various job sites, enhancing its versatility.
The pump's design incorporates a durable, corrosion-resistant construction, ensuring longevity even when exposed to harsh conditions. This resilience is critical for maintaining performance over time, particularly when dealing with muddy or sediment-filled water. Additionally, many models feature a convenient carrying handle, making it even easier to transport from one location to another.
Another significant aspect of the Briggs & Stratton Water Transfer Pump is its user-friendly interface. With intuitive controls, operators can quickly adjust settings and monitor performance without extensive technical knowledge. This focus on ease of use, combined with comprehensive safety features, helps ensure a safe and efficient operation every time.
Moreover, the pump often comes equipped with a variety of hose fittings and attachments, allowing users to customize it for specific tasks. The efficient pump mechanism, combined with these features, makes it an impressive option for all water transfer needs.
In summary, the Briggs & Stratton Water Transfer Pump stands out due to its powerful engine, impressive water-moving capacity, durable construction, portability, and user-friendly design. It's an indispensable tool for anyone needing to move water efficiently and effectively. Whether for landscaping, construction, or managing water in residential settings, this pump provides reliability you can trust.