Print using an LPR port in Microsoft® Windows® XP
![]() Note
Note
●In order to print using LPR, an LPR port must be added. Go to “Start” – “Control Panel” – “Add or Remove programs” – “Add/Remove Windows Components” to start up the Windows Components Wizard. In the “Components” list, select “Other Network File and Print Services”, click [Details], select “Print Services for Unix”, and then click [OK]. In the Windows Components Wizard, click [Next]. After the component is added, click [Finish]. The LPR port is added.
1
2
Go to “Start” – “Control Panel” – “Printers and Other Hardware”, and then click [Add printer] to start up the wizard.
Select “Local printer attached to this computer”. Be sure to clear the “Automatically detect and install my Plug and Play printer” check box.
3
4
In the Select a Printer Port dialog box, select “Create a new port” to create a new port. Select “LPR Port”, and then click [Next].
•If the destination print port was created when the
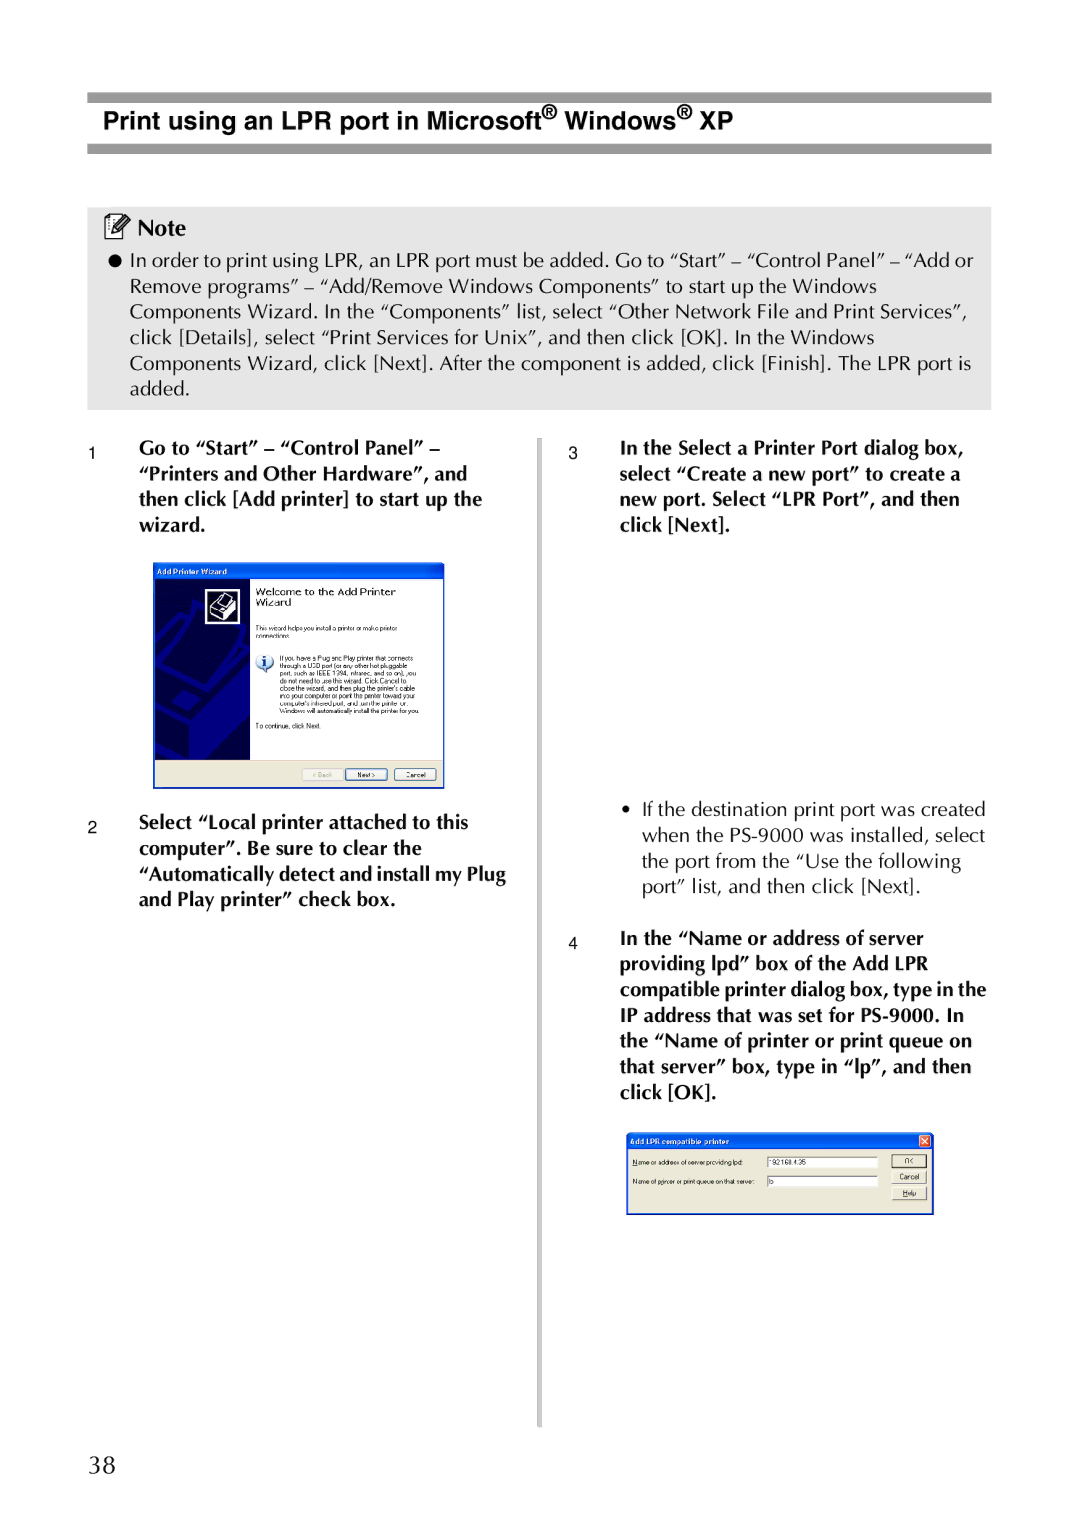
In the “Name or address of server providing lpd” box of the Add LPR compatible printer dialog box, type in the IP address that was set for
38
