Camera User Guide
Precaution
Table of Contents
Erasing All Images Formatting a CF Card
Shooting Selecting Particular Effects
106
100
103
105
Warranty Limitations
Read this First
Test Shots
Page
Read This First
Avoid Condensation Related Problems
Avoid Strong Magnetic Fields
If Condensation Forms Inside the Camera
Remove the lens cap Turn the power on p
Install the Battery p
Charge the Battery p
Install the CF card. p
Shoot p
View the recorded image p
To Immediately Delete the Displayed Image
Front View
Components Guide
Back View
Controls
Upper Indicator
Lower Indicator
Yellow Macro mode / Manual focus mode Flashing Yellow
Main Dial
Main Dial / Mode Dial
Image Zone
Mode Dial
Camera automatically selects settings
Auto p
Display Panel
Setting
Charging the Battery Pack
Insert Battery Pack BP-511 and close the battery cover
Preparing the Camera
Battery Pack Handling Precautions
Battery Status Symbols
Installing the Battery Pack
Number of Images Shot Replay Time
Battery Performance
Electrical outlet
Using a Household Power Source
Attach the power cord to the compact
Power adapter and plug it into an
Connect the DC cable to the camera’s DC in terminal
Using a Charge Adapter / Car Battery Cable Kit Optional
Using a Car Cigarette Lighter Socket as a Power Source
Cable to the charge adapter
Charge adapter
Charging the Battery Pack
Attach the car battery cable to
After charging, remove the battery pack
Charging with the Compact Power Adapter
Installing a CF Card
CF Cards and Estimated Capacities Recordable Images
CF Card Handling Precautions
Set the date and time
Setting the Date/Time
Turn the main dial to or
Press the button
Press Arrow on the omni selector To select Set up menu
Setting the Language
Using the Soft Case Optional
Attaching the Strap
Attaching the Lens Cap
Turn the main dial left or right from
Turning the Power On
Power is off when the main dial is set to
Basic Functions
Replaying
Switching between Shooting and Replaying
Be careful not to touch the lens while in replay mode
Shooting
Using the LCD Monitor
Shooting
Switching between Display Modes
Tilt it 180 degrees toward the lens
Fold the LCD monitor back against the camera body
Index Replay Simple Display No Display
LCD monitor turns on when the main dial is turned to
Information Displayed on the LCD Monitor
Replaying
Overexposure Warning
Simple display mode, the following information displays
M1 M2 S
About the Histogram
Following information may also appear with some image files
Pressing Fully
Shutter button features a two-stage action
Pressing the Shutter Button
Pressing Halfway
Parallax Phenomenon
Using the Optical Viewfinder to Shoot
Viewfinder has a field of vision of approximately 84%
Camera is equipped with an optical viewfinder
Adjusting the Zoom
Telephoto / Wide Angle
Digital Zoom
Pressing
Selecting Menus and Settings
Pressing the button also switches between the menu tabs
Makes the settings take effect
Menu Item Available Settings
Menu Settings and Factory Defaults
Monitor if it is on
Shooting Letting the Camera Select Settings
Auto Mode
Press the shutter button all the way
Pressing the Button
Checking an Image Right after Shooting
Checking the Image
Keeping the Shutter Button Pressed
Rec. menu, select Review
Using the Built-In Flash
Select a Review setting and press the button
Changing the Image Display Duration
Shoot the image
Press the button to switch between
Built-in Flash Settings
Flash modes
About the Red-Eye Reduction Function
Shooting modes
Pan Focus Mode
Portrait Mode
Turn the mode dial to
Landscape Mode
Night Scene Mode
Use this mode to shoot expansive landscape scenes
Select a color effect with the or
Mode dial to
Changing the Color Effect
Open the LCD monitor and turn
Framing a Subject
Stitch Assist Mode
To Shoot a Close Subject
Shooting
LCD monitor will turn on
To Shoot a Distant Subject
Press the button after the last shot
TV cannot be used as the monitor for shooting in this mode
Movie Mode
Shooting and sound recording will start simultaneously
CF card becomes full
Macro mode cannot be selected in the , and shooting modes
Macro Mode
Self-Timer
Rec. menu, select
Continuous Mode
You can cancel the continuous mode by
See Selecting Menus and Settings p
This mode cannot be selected Shooting mode
Digital Zoom
Move it toward the symbol to zoom back out
Shooting Selecting Particular Effects
Changing the Resolution and Compression
Turn the mode dial to a shooting mode
Rec. menu, select Resolution or Compression
Mode
Select a resolution or compression
Setting and press Button
Approximate File Size for One Image
Select RAW and press the button
Turn the mode dial to , , or Rec. menu, select File Format
See Selecting Menus and Settings p Recordable Images
Changing the File Format
Differences and Similarities between the and Modes
Turn the mode dial to Shoot the image
Continuous Mode File Format Settings
Program AE
Panel. It will also appear on the LCD monitor if it is on
Setting the Shutter Speed
Shutter Speed Display
Setting the Aperture
F6.3 F7.1 F8.0
Aperture Setting Display
Manually Setting the Shutter Speed and Aperture
Shutter speed and aperture setting will
On the LCD monitor if it is on
Shooting Selecting Particular Effects
Selected frame will appear green
Selecting an AF Frame
Press Arrow on the omni Selector to chose an AF frame
LCD monitor if it is on
Press the or arrow on the omni selector to select a setting
Adjusting the Exposure Compensation
Directly instead
Setting the White Balance
Please see the next page regarding the custom setting
Press Button twice
Setting a Custom White Balance
Another shooting mode first before selecting the mode
Auto Exposure Bracketing AEB Mode
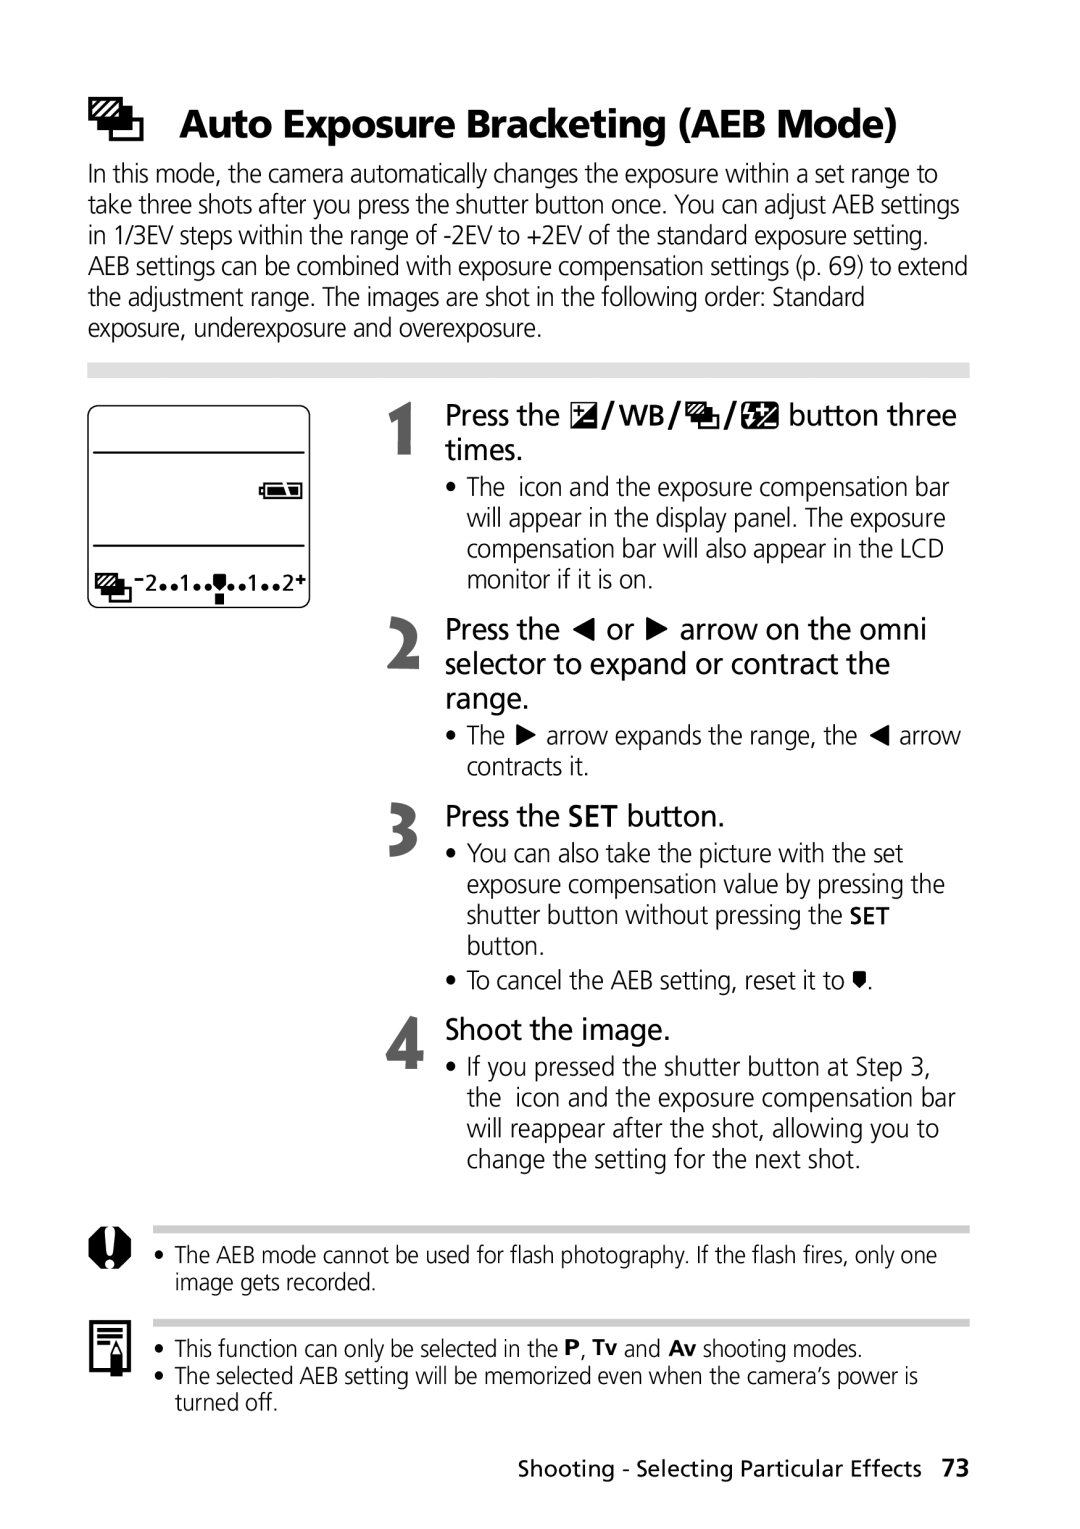
Press Button three Times
Arrow expands the range, the arrow contracts it
Press Button four Times
Icon will appear in the display panel and LCD monitor
Locking the Exposure Setting AE Lock
Recompose the image and shoot
Press the shutter button halfway
AE/FE locks at the exposure metered in the center AF frame
Locking the Flash Exposure Setting FE Lock
To lock the flash exposure setting
Flash exposure compensation setting will
LCD monitor
Switching between Metering Modes
Turn the mode dial to Rec. menu, select Light Metering
Selecting a Light Metering Option
Selecting a Spot AE Point Option
Switching to Spot AE Point Metering
Shooting with Focus Lock
Shooting Problem Subjects for the Autofocus
Focus can be manually set
Shooting in Manual Focus Mode
Press Button to turn LCD monitor on
Or arrow on the omni selector
Select Continuous or Single
Switching between Focus Settings
You can switch between focus settings to shoot
Rec. menu, select AF Mode
Manually Setting Image Characteristics
Above items
Select a value for the item and press
You can select the way file numbers are assigned
Resetting the File Number
Reset
Select On or Off and press the button
Jpeg RAW
Functions Available in Each Shooting Mode
Turn the main dial to
Replaying
Viewing Images Singly Single Image Replay
Open the LCD monitor
Magnifying Images
Move the zoom lever toward the symbol
Single image replay
Viewing Nine Images at a Time Index Replay
Press Arrows on Omni selector to change the image Selection
Up to nine images can be viewed at once in Index Replay
Displayed images will change
Jumping between Images
Either single image replay or index
Replay Press the button
Pausing and Resuming Play
Viewing Movies
Next / Previous
Button again to close the menu
Images can be magnified when rotated p
Rotating Images in the Display
Play menu, select Rotate
Show and press Button
Automated Playback Slide Show
Starting a Slide Show
Play menu, select Slide
Button again to close the menu
Press Button Mark images to include in the show
Press the button to switch to index replay 3 images
Selecting Images for Slide Shows
Press Arrow on
Repeat
Adjusting the Play Time and Repeat Settings
Play Time
Select a play time with the or arrow on the omni selector
Protecting Images
Play menu, select Protect
You can protect important images from accidental erasure
Erase and press the button
Erasing
Erasing Images Singly
Turn the main dial to Press Arrow on the omni
To cancel instead of erasing, select Cancel
Erasing All Images
Play menu, select Erase all
Set up menu, select
Formatting a CF Card
Format and press Button
Print Settings Dpof Settings
Selecting Images for Printing
Play menu, select Print Order and press the button
Select images for printing
Single Images
All the Images on a CF Card
Maximum of 998 images can be marked per CF card
Setting the Print Style
Print Type
Date
File No
Resetting the Print Settings
CP-10Optional
Connecting Card Photo Printer CP-10 to the Camera
Turn the camera’s power off
Printing with Card Photo Printer
Will display when the printer is correctly connected
After the printer is connected, turn
Camera’s main dial to
Press Or arrow on the omni
Cancel Printing
Printing Errors
Printing
Date Press Arrow on the omni Selector to set the selection
Selecting the Number of Copies
Replay mode, press Button Arrow on the omni
Button again Press Arrow on the omni
Button again
Press the button to close the settings menu
Trimming Printing a Portion of an Image
Replay mode, press Button Or arrow on the omni
Changing the Size of the Trimming Frame
Press Button to close Settings menu
Setting the Portion of the Trimming Frame
Trim the Image
File number will not print
Button Set the print style settings as required
Play menu, select Print
Order and press Button
Restarting Printing
List of Menu Options
Rec. Menu
Some items may not appear in certain shooting modes p
Digital Zoom
File No. Reset
Protect
Play Menu
Beep
Set up Menu
Date/Time Sets the date, time and date format
Plug the other ends of the AV cable to
Turn on the TV and switch it to Video
Turn the main dial to Confirm That the TV is turned off
OUT terminal on the camera
Using the Wireless Controller
Installing the Battery
Removing the Battery
Press Button on the camera until
Panel, then replay with the wireless controller
Shooting / Replaying
Replaying
Using an Externally Mounted Flash Optional
Other Canon Flashes
Flash is charged when its pilot lamp lights up
Press the shutter button halfway to focus
Press the shutter button all the way to shoot the image
Macro Lite Adapter 58C
How to Mount Macro Ring Lite MR-14EX
Remove the outer ring on the lens
Macro Ring Lite MR-14EX and fit it into
Using an Externally Mounted Flash Optional
Using Conversion Lenses Optional / Close-up Lenses Optional
Wide Converter WC-DC58
Tele-converter TC-DC58
On the camera body
Mounting the Lenses
Close-up Lens 250D 58 mm
Remove the ring from around the lens
Using Conversion Lenses Optional / Close-Up Lenses Optional
Appendices
Replacing the Date Battery
Negative Terminal
Camera Care and Maintenance
Problem Cause Solution
Troubleshooting
Image is Camera moved
List of Error / Message Codes
Error Codes
Message Codes
List of Messages
Cannot mark image
Readjust trimming
Unidentified Image
Movie shot in another camera
Specifications
Equivalent
When sensitivity is set to ISO
Jpeg compression mode Super fine, Fine or Normal
Cm 3.6 m 2.3 ft. 11.8 ft. T
Weight Approx g 6.3 oz
Battery Cable Kit CR-560 is required
Weight Approx g 15 oz. camera body only
Dimensions
From tip of lens At maximum wide angle Thread diameter
Or 24 V car battery
Charge Adapter CG-560
Supported vehicles
From tip of lens G2 at maximum telephoto Thread diameter
Tele-converter TC-DC58 Optional
Index
Menu Rec
North America
Canon Customer Support
Oceania
147
148
Digital Camera, Model PC1015
FCC Notice
CDI-E022-010 0701NiXX Canon INC

 arrow expands the range, the
  arrow contracts it.