7Look at the third printout
Repeat step 3 for columns a to j.
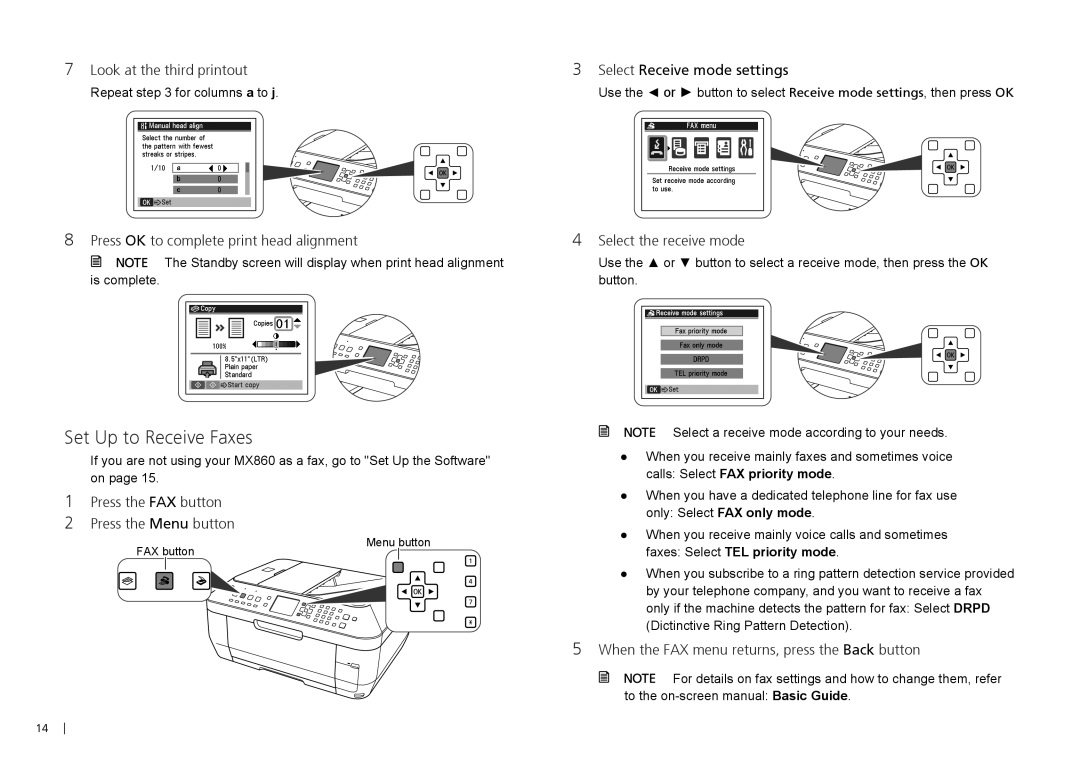
8Press OK to complete print head alignment
![]()
![]()
![]() The Standby screen will display when print head alignment is complete.
The Standby screen will display when print head alignment is complete.
Set Up to Receive Faxes
If you are not using your MX860 as a fax, go to "Set Up the Software" on page 15.
1Press the FAX button
2Press the Menu button
3Select Receive mode settings
Use the ◄ or ► button to select Receive mode settings, then press OK
4Select the receive mode
Use the ▲ or ▼ button to select a receive mode, then press the OK button.
Select a receive mode according to your needs.
●● When you receive mainly faxes and sometimes voice calls: Select FAX priority mode.
●● When you have a dedicated telephone line for fax use only: Select FAX only mode.
●● When you receive mainly voice calls and sometimes
FAX button
Menu button
faxes: Select TEL priority mode.
●● When you subscribe to a ring pattern detection service provided by your telephone company, and you want to receive a fax only if the machine detects the pattern for fax: Select DRPD (Dictinctive Ring Pattern Detection).
5When the FAX menu returns, press the Back button
![]()
![]() For details on fax settings and how to change them, refer to the
For details on fax settings and how to change them, refer to the
14