OTHER RECORDING FUNCTIONS
3.Rock the controller up or down to select the setting you want, and then click.
To do this: | Select this setting: | |
Display images on the monitor |
| |
screen for about a half second | On | |
immediately after they are recorded |
| |
|
| |
Do not display images immediately | Off | |
after they are recorded | ||
| ||
|
|
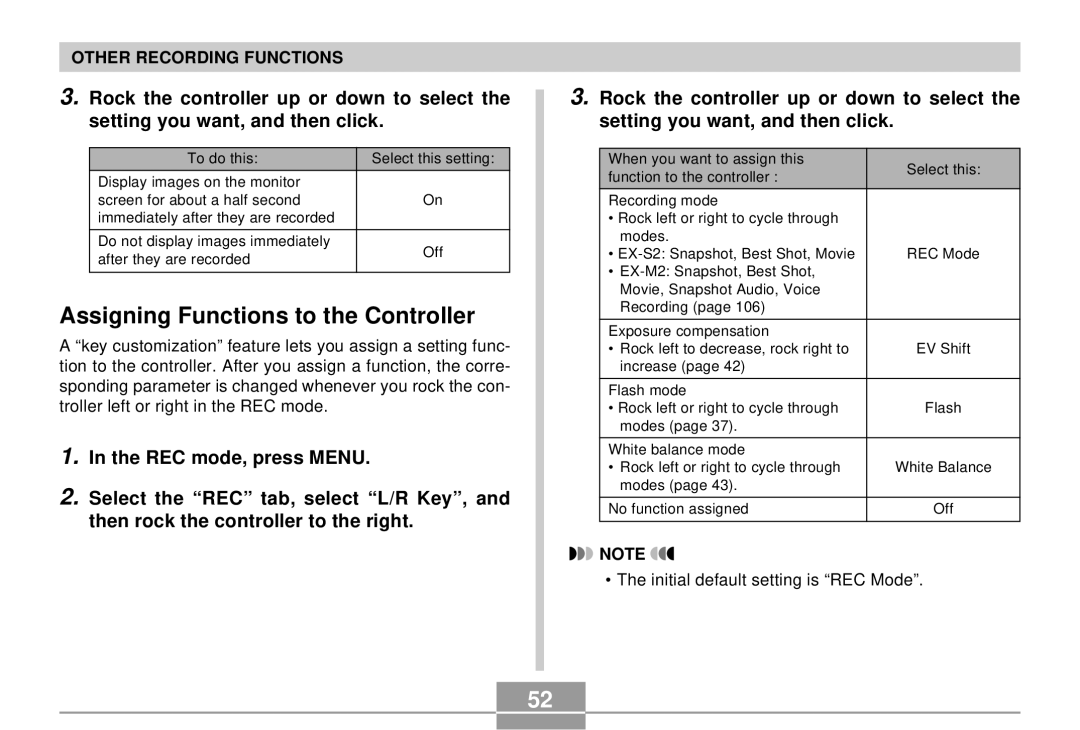
Assigning Functions to the Controller
A “key customization” feature lets you assign a setting func- tion to the controller. After you assign a function, the corre- sponding parameter is changed whenever you rock the con- troller left or right in the REC mode.
1.In the REC mode, press MENU.
2.Select the “REC” tab, select “L/R Key”, and then rock the controller to the right.
3.Rock the controller up or down to select the setting you want, and then click.
When you want to assign this | Select this: | |
function to the controller : | ||
| ||
|
| |
Recording mode |
| |
• Rock left or right to cycle through |
| |
modes. |
| |
• | REC Mode | |
• |
| |
Movie, Snapshot Audio, Voice |
| |
Recording (page 106) |
| |
|
| |
Exposure compensation |
| |
• Rock left to decrease, rock right to | EV Shift | |
increase (page 42) |
| |
|
| |
Flash mode |
| |
• Rock left or right to cycle through | Flash | |
modes (page 37). |
| |
|
| |
White balance mode |
| |
• Rock left or right to cycle through | White Balance | |
modes (page 43). |
| |
|
| |
No function assigned | Off | |
|
|
![]()
![]() NOTE
NOTE ![]()
![]()
• The initial default setting is “REC Mode”.
52
