Chapter 3 Configuring and Managing the IP Camera

Network Setup Windows

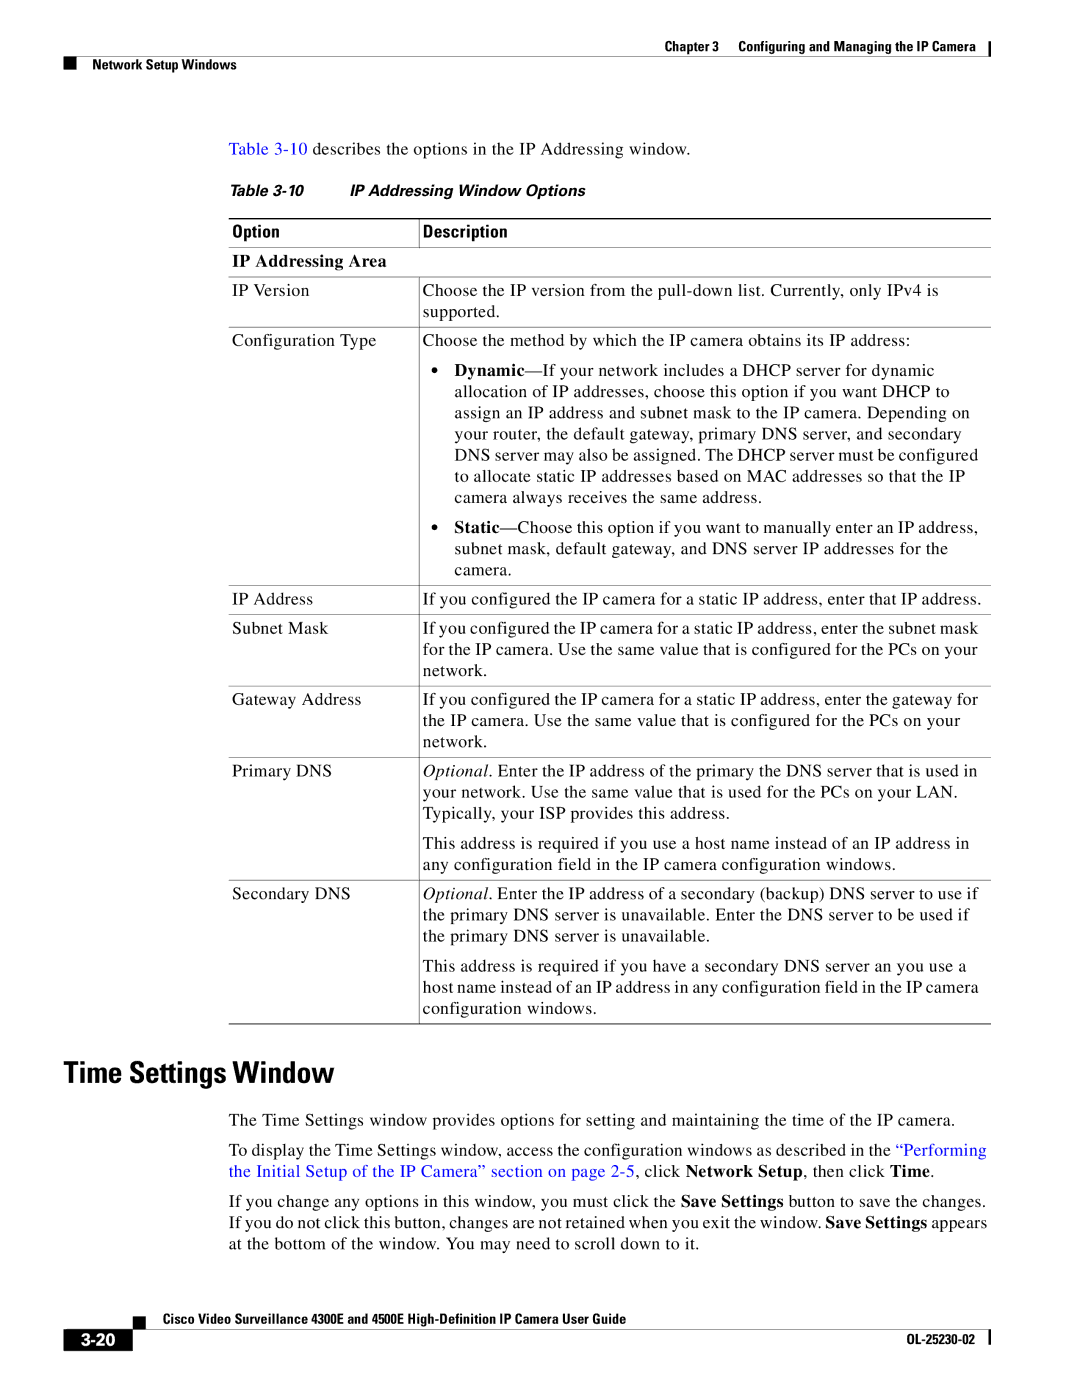
Table 3-10describes the options in the IP Addressing window.

Table 3-10 IP Addressing Window Options

Option

Description


IP Addressing Area


IP Version

Choose the IP version from the pull-down list. Currently, only IPv4 is


supported.


Configuration Type

Choose the method by which the IP camera obtains its IP address:


Dynamic—If your network includes a DHCP server for dynamic


allocation of IP addresses, choose this option if you want DHCP to


assign an IP address and subnet mask to the IP camera. Depending on


your router, the default gateway, primary DNS server, and secondary


DNS server may also be assigned. The DHCP server must be configured


to allocate static IP addresses based on MAC addresses so that the IP


camera always receives the same address.


Static—Choose this option if you want to manually enter an IP address,


subnet mask, default gateway, and DNS server IP addresses for the


camera.


IP Address

If you configured the IP camera for a static IP address, enter that IP address.


Subnet Mask

If you configured the IP camera for a static IP address, enter the subnet mask


for the IP camera. Use the same value that is configured for the PCs on your


network.


Gateway Address

If you configured the IP camera for a static IP address, enter the gateway for


the IP camera. Use the same value that is configured for the PCs on your


network.


Primary DNS

Optional. Enter the IP address of the primary the DNS server that is used in


your network. Use the same value that is used for the PCs on your LAN.


Typically, your ISP provides this address.


This address is required if you use a host name instead of an IP address in


any configuration field in the IP camera configuration windows.


Secondary DNS

Optional. Enter the IP address of a secondary (backup) DNS server to use if


the primary DNS server is unavailable. Enter the DNS server to be used if


the primary DNS server is unavailable.


This address is required if you have a secondary DNS server an you use a


host name instead of an IP address in any configuration field in the IP camera


configuration windows.


Time Settings Window

The Time Settings window provides options for setting and maintaining the time of the IP camera.

To display the Time Settings window, access the configuration windows as described in the “Performing the Initial Setup of the IP Camera” section on page 2-5, click Network Setup, then click Time.

If you change any options in this window, you must click the Save Settings button to save the changes. If you do not click this button, changes are not retained when you exit the window. Save Settings appears at the bottom of the window. You may need to scroll down to it.


Cisco Video Surveillance 4300E and 4500E High-Definition IP Camera User Guide

3-20

OL-25230-02

Page 46
Image 46
Cisco Systems 4300E, 4500E manual Time Settings Window, IP Addressing Area

4500E, 4300E specifications

The Cisco Systems 4300E Series is an advanced integrated service router designed to deliver high-performance, scalable, and secure networking solutions for enterprises. This versatile platform caters to a wide range of applications while ensuring reliability and flexibility in dynamic environments.

One of the standout features of the Cisco 4300E is its modular architecture, which allows organizations to tailor the router to their specific needs by adding or changing modules. This modularity is crucial for enterprises that require agility to adapt to evolving network demands. The router supports various network interface modules (NIMs), service modules (SMs), and high-speed WAN interface cards (HWICs), enabling seamless integration of various interfaces and features.

The Cisco 4300E is designed with performance in mind, capable of delivering high throughput and low latency, which is essential for applications such as voice, video, and data traffic. It supports robust performance with the capability of handling up to 2 Gbps of throughput, making it suitable for mid-sized to large enterprise branch offices.

Another key technology associated with the 4300E is Cisco’s Unified Communications and Collaboration suite. This integration facilitates voice, video, and messaging services across the network, ensuring efficient communication within organizations. Security features include advanced threat protection through Cisco’s integrated security services, such as firewall capabilities, VPN support, and intrusion prevention, ensuring that sensitive data remains secure.

The Cisco 4300E also supports Cisco’s DNA (Digital Network Architecture) capabilities, allowing for automation, analytics, and enhanced network visibility. This integration empowers network administrators to manage their infrastructure proactively, ensuring optimal performance and quick resolution of issues.

Additionally, the router is equipped with enhanced Quality of Service (QoS) capabilities, enabling prioritization of critical applications and traffic types. This feature is vital for maintaining high performance across diverse application requirements.

In conclusion, the Cisco 4300E Series routers stand out for their modular architecture, high performance, integrated security, and support for advanced networking technologies. These characteristics make them ideal for enterprises seeking a robust, flexible, and secure solution to meet their networking needs in an ever-evolving digital landscape. With the ability to seamlessly integrate various services and applications, the 4300E is a reliable choice for any organization looking to future-proof its network infrastructure.