Chapter 3 Installing the Router
Connecting WAN, LAN, and Voice Cables
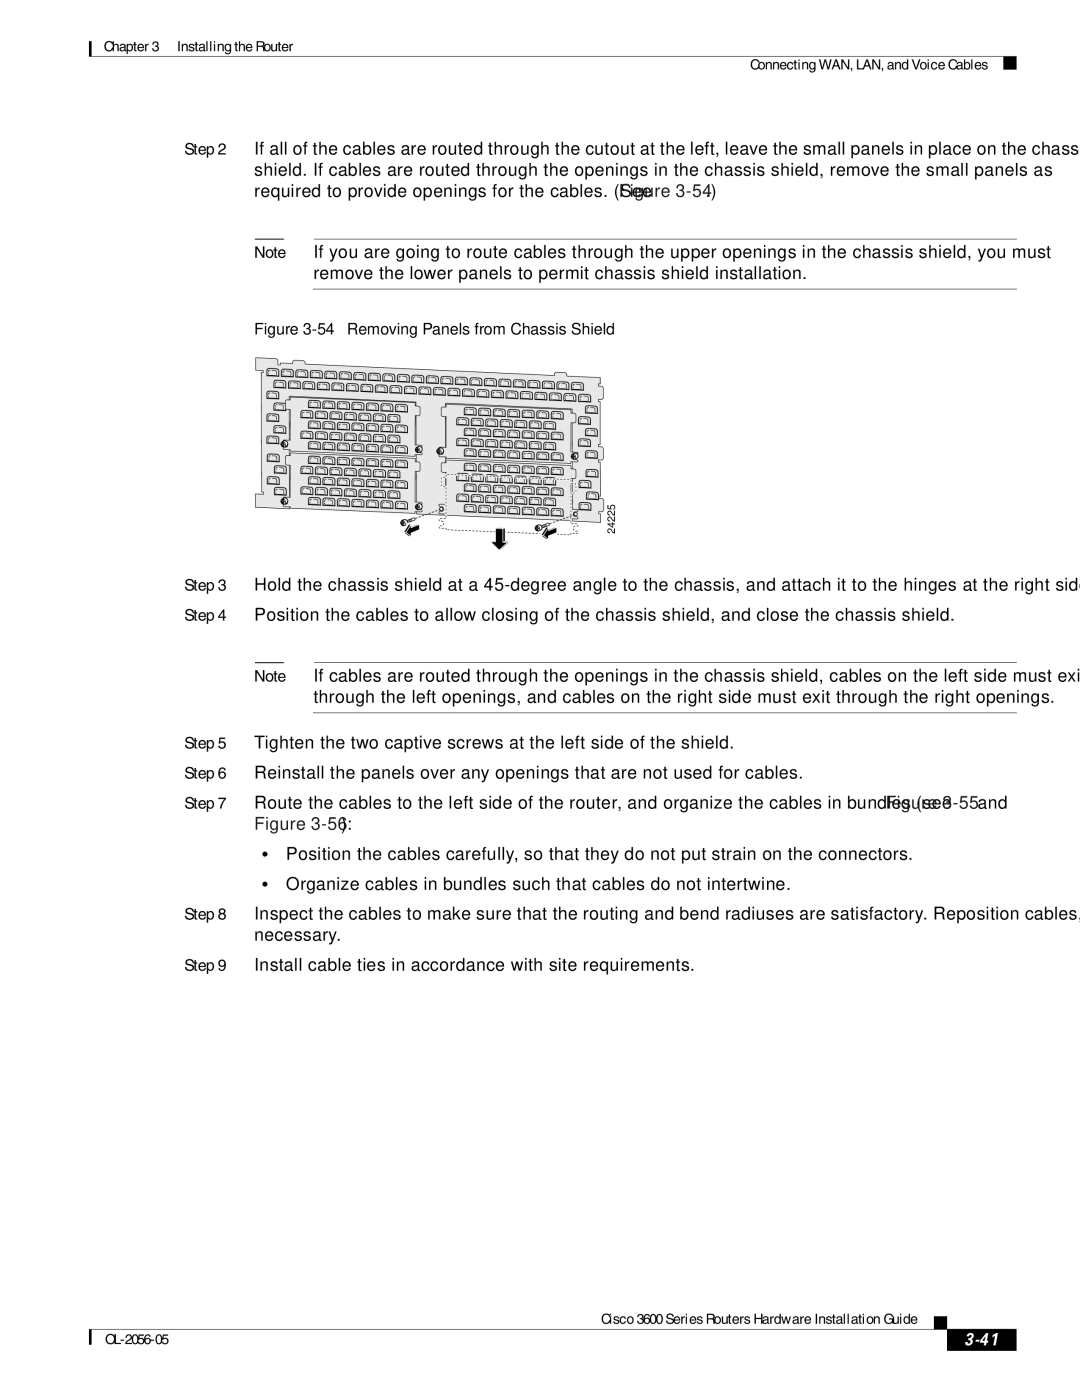
Step 2 If all of the cables are routed through the cutout at the left, leave the small panels in place on the chassis shield. If cables are routed through the openings in the chassis shield, remove the small panels as required to provide openings for the cables. (See Figure
Note If you are going to route cables through the upper openings in the chassis shield, you must remove the lower panels to permit chassis shield installation.
Figure 3-54 Removing Panels from Chassis Shield
24225
Step 3 Hold the chassis shield at a
Note If cables are routed through the openings in the chassis shield, cables on the left side must exit through the left openings, and cables on the right side must exit through the right openings.
Step 5 Tighten the two captive screws at the left side of the shield.
Step 6 Reinstall the panels over any openings that are not used for cables.
Step 7 Route the cables to the left side of the router, and organize the cables in bundles (see Figure
•Position the cables carefully, so that they do not put strain on the connectors.
•Organize cables in bundles such that cables do not intertwine.
Step 8 Inspect the cables to make sure that the routing and bend radiuses are satisfactory. Reposition cables, if necessary.
Step 9 Install cable ties in accordance with site requirements.
Cisco 3600 Series Routers Hardware Installation Guide
|
| ||
|
|