Wireless-G IP Phone
Charging the IP Phone’s Battery
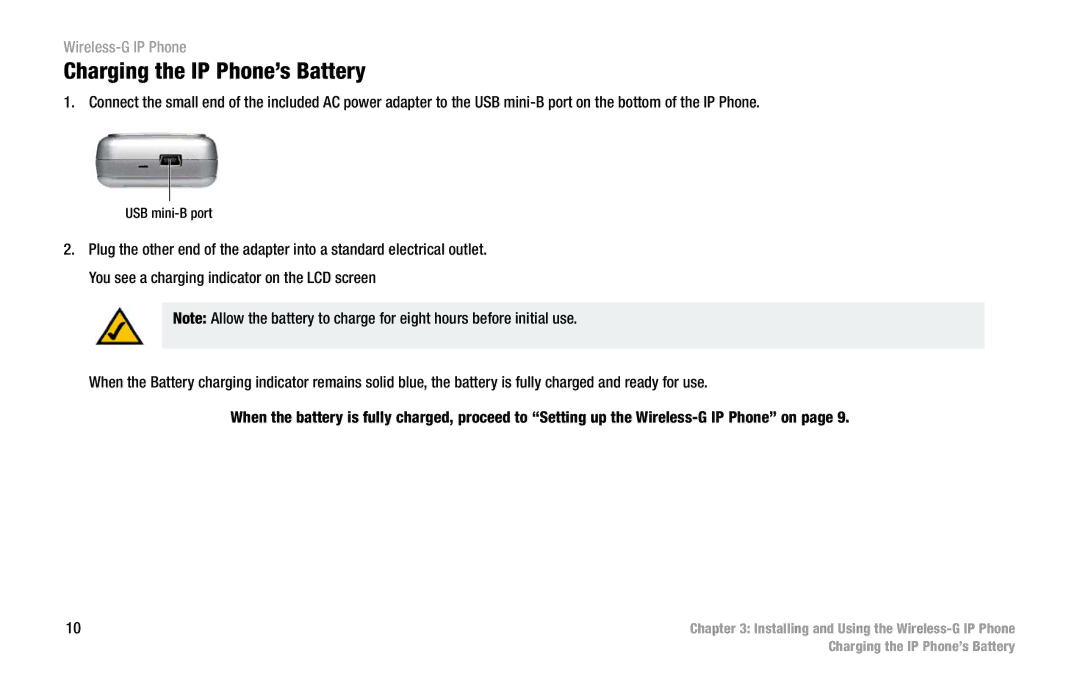
1. Connect the small end of the included AC power adapter to the USB
USB
2.Plug the other end of the adapter into a standard electrical outlet. You see a charging indicator on the LCD screen
Note: Allow the battery to charge for eight hours before initial use.
When the Battery charging indicator remains solid blue, the battery is fully charged and ready for use.
When the battery is fully charged, proceed to “Setting up the
10 | Chapter 3: Installing and Using the |
| Charging the IP Phone’s Battery |