Wireless-G IP Phone
Chapter 3: Installing and Using the Wireless-G IP Phone
Overview
This chapter provides instructions for
Inserting and Charging the Phone’s Battery
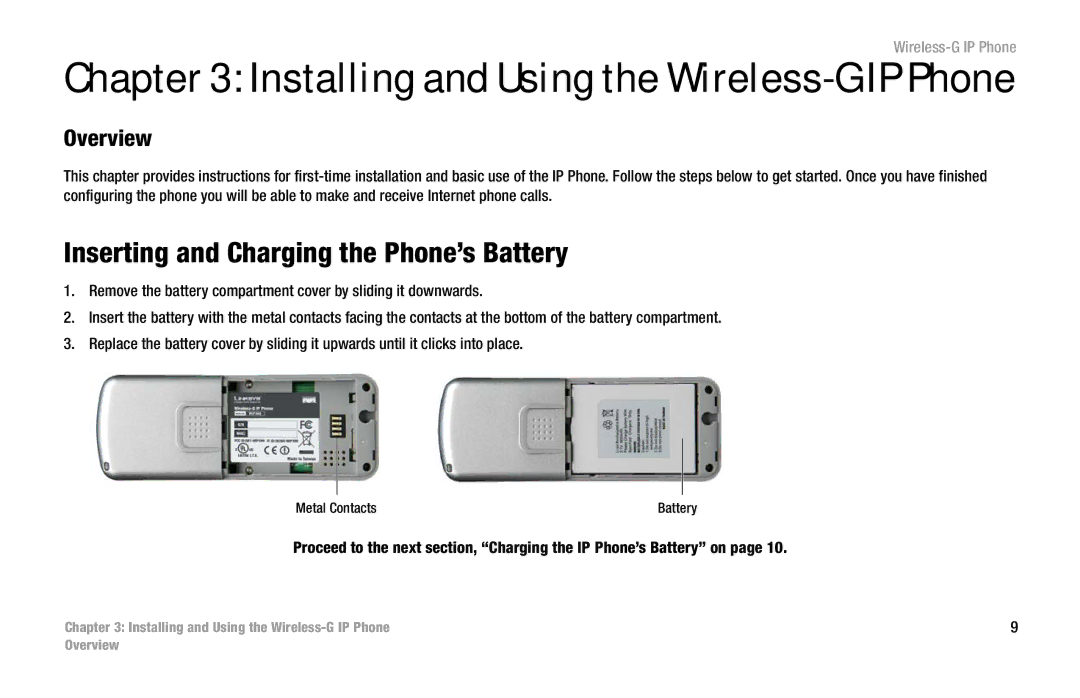
1.Remove the battery compartment cover by sliding it downwards.
2.Insert the battery with the metal contacts facing the contacts at the bottom of the battery compartment.
3.Replace the battery cover by sliding it upwards until it clicks into place.
Metal Contacts | Battery |
Proceed to the next section, “Charging the IP Phone’s Battery” on page 10.
Chapter 3: Installing and Using the | 9 |
Overview