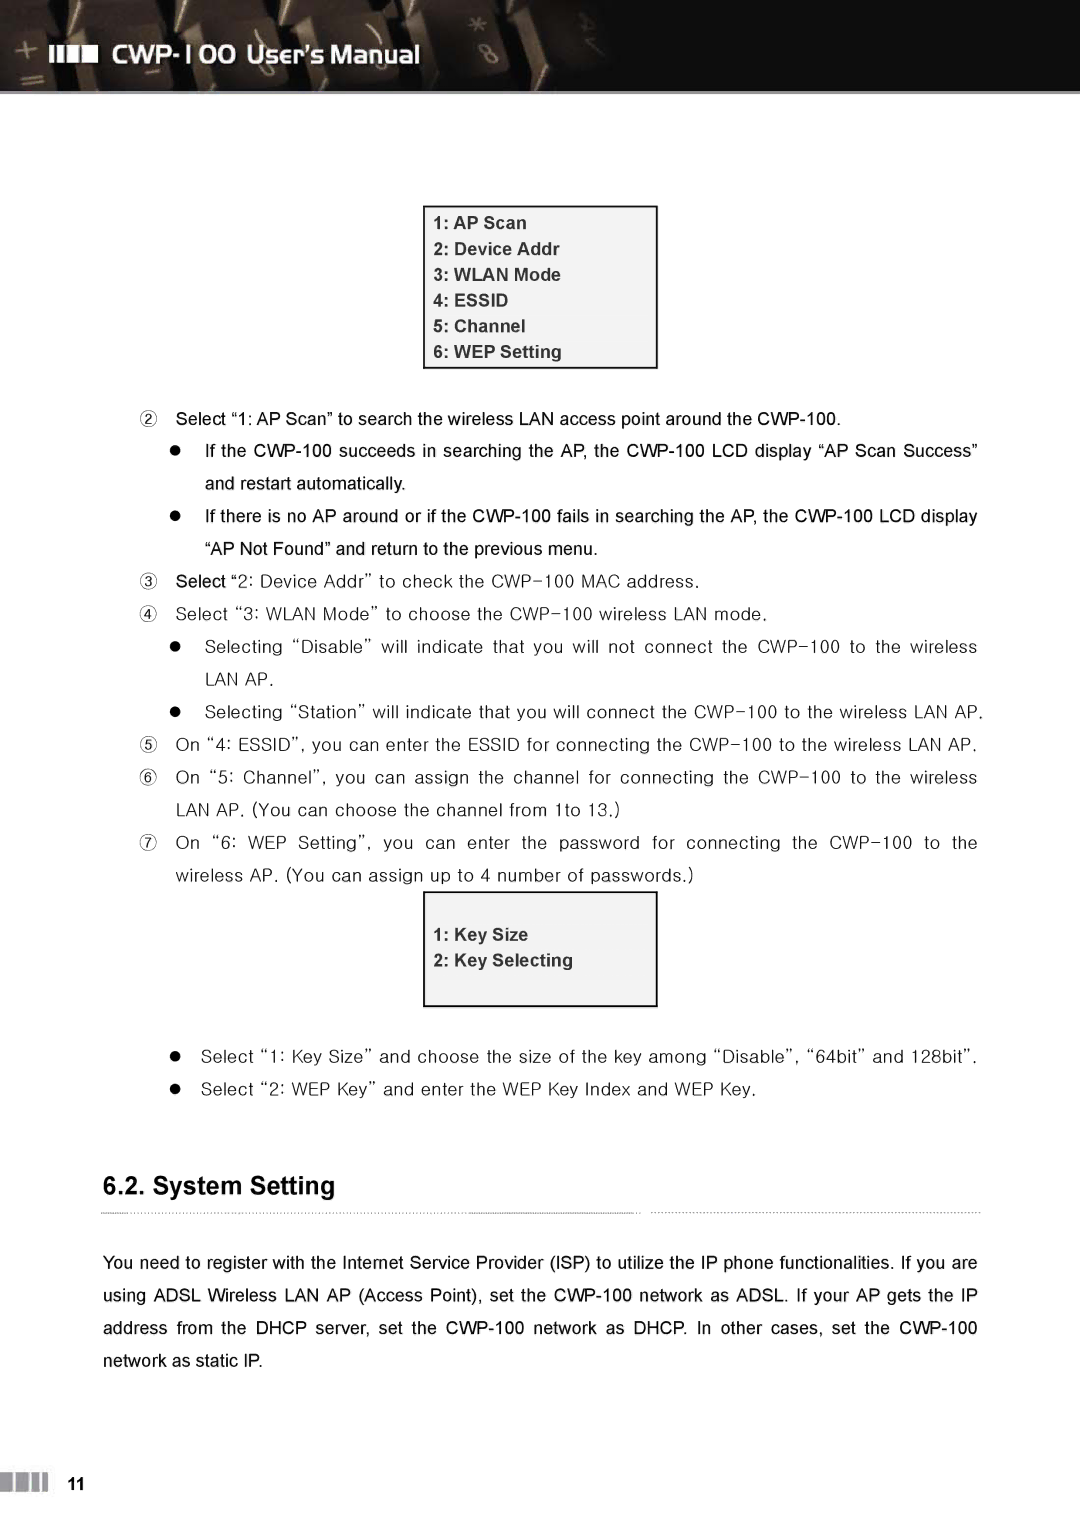
Clicomm CWP-100 manual System Setting, AP Scan Device Addr Wlan Mode, Channel WEP Setting

Models: CWP-100

1 41
Download 41 pages 21.78 Kb
Page 12
Image 12

1:AP Scan

2:Device Addr

3:WLAN Mode

4:ESSID

5:Channel

6:WEP Setting

Select “1: AP Scan” to search the wireless LAN access point around the CWP-100.

If the CWP-100 succeeds in searching the AP, the CWP-100 LCD display “AP Scan Success” and restart automatically.

If there is no AP around or if the CWP-100 fails in searching the AP, the CWP-100 LCD display “AP Not Found” and return to the previous menu.

Select “2: Device Addr” to check the CWP-100 MAC address.

Select “3: WLAN Mode” to choose the CWP-100 wireless LAN mode.

Selecting “Disable” will indicate that you will not connect the CWP-100 to the wireless

LAN AP.

Selecting “Station” will indicate that you will connect the CWP-100 to the wireless LAN AP.

On “4: ESSID”, you can enter the ESSID for connecting the CWP-100 to the wireless LAN AP.

⑥ On “5: Channel”, you can assign the channel for connecting the CWP-100 to the wireless LAN AP. (You can choose the channel from 1to 13.)

⑦ On “6: WEP Setting”, you can enter the password for connecting the CWP-100 to the wireless AP. (You can assign up to 4 number of passwords.)

1:Key Size

2:Key Selecting

Select “1: Key Size” and choose the size of the key among “Disable”, “64bit” and 128bit”.

Select “2: WEP Key” and enter the WEP Key Index and WEP Key.

6.2. System Setting

You need to register with the Internet Service Provider (ISP) to utilize the IP phone functionalities. If you are using ADSL Wireless LAN AP (Access Point), set the CWP-100 network as ADSL. If your AP gets the IP address from the DHCP server, set the CWP-100 network as DHCP. In other cases, set the CWP-100 network as static IP.

11

Page 12
Image 12
Clicomm CWP-100 manual System Setting, AP Scan Device Addr Wlan Mode, Channel WEP Setting, Key Size Key Selecting