4.11.3Removing an External 3.5-Inch Drive
If you are installing a second
If you are installing a
If installing a second ATA hard drive on the primary controller, you must use an 80- conductor ATA cable for optimal performance (spare part number
1. Prepare the computer for disassembly (Section 4.2).
WARNING: Power is continuous to the system board and power supply even when the power switch is turned off. To prevent damage to the unit, disconnect the power cord from the power source or the unit before beginning disassembly procedures.
2.Lay the computer down on its large base for greater stability.
3.Remove the access panel (Section 4.6).
4.Remove the front bezel (Section 4.7).
✎The primary diskette drive is always installed in drive bay 3.
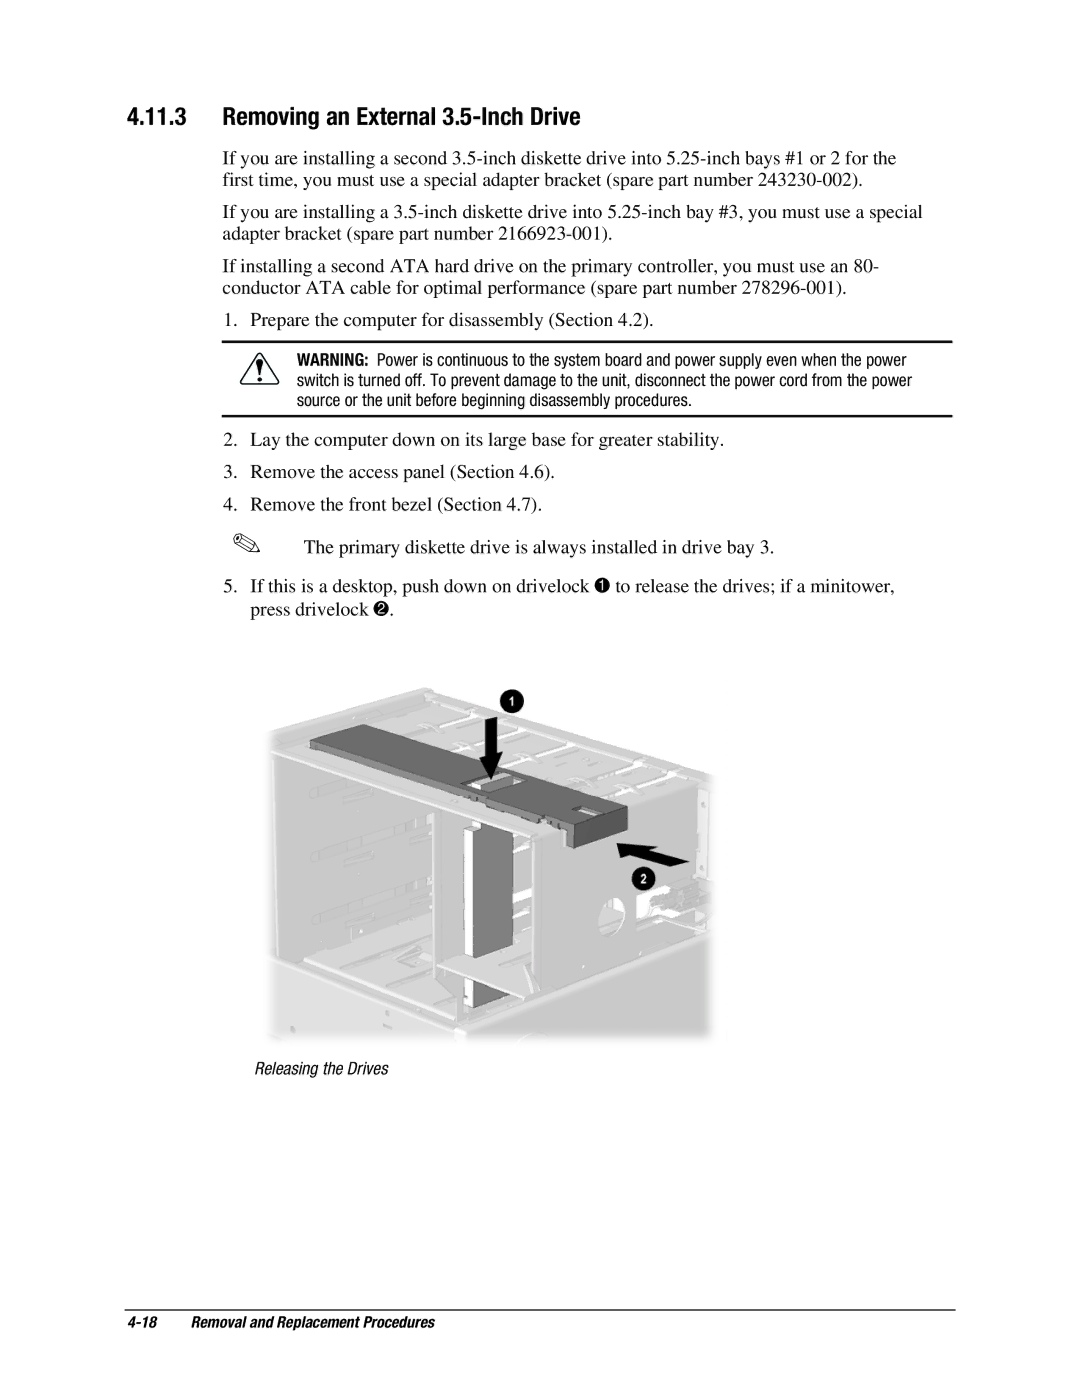
5.If this is a desktop, push down on drivelock 1 to release the drives; if a minitower, press drivelock 2.
Releasing the Drives