4.18System Board
1. Prepare the computer for disassembly (Section 4.2).
WARNING: Power is continuous to the system board and power supply even when the power switch is turned off. To prevent damage to the unit, disconnect the power cord from the power source or the unit before beginning disassembly procedures.
2.Lay the computer down on its large base for greater stability.
3.Remove the access panel (Section 4.6).
4.Remove all expansion boards (Section 4.13.3).
5.Disconnect any cables that are attached to the system board, noting their location for reinstallation.
6.Remove the DIMMs (optional) (Section 4.15).
7.Remove the AGP graphics board (Section 4.16.1).
8.Remove the processor (Section 4.17.1).
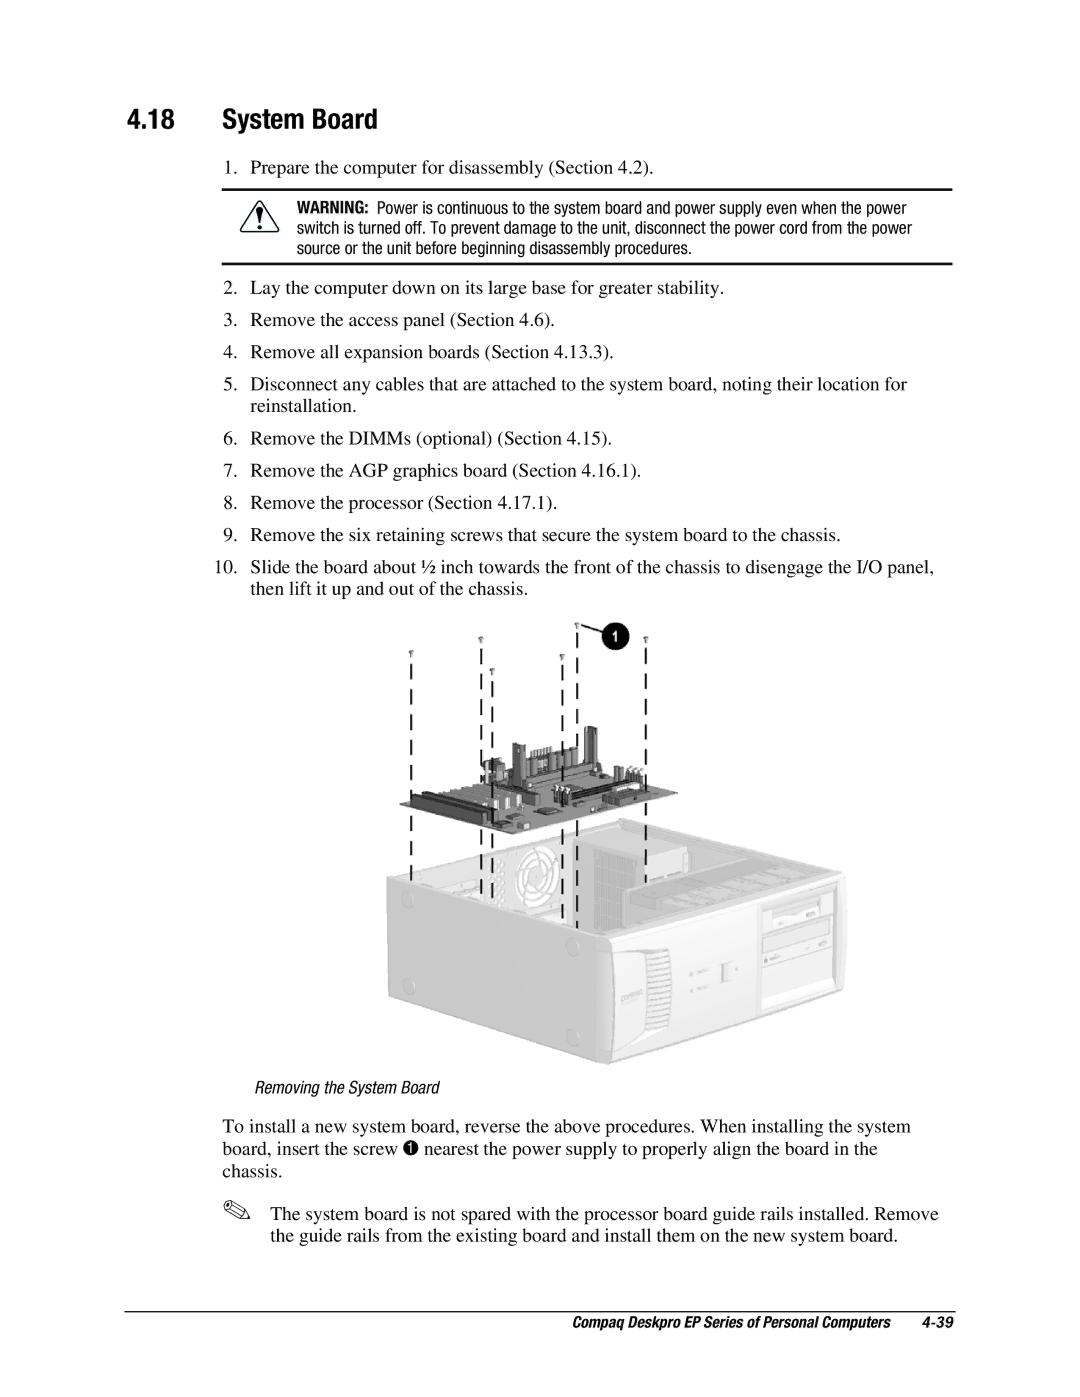
9.Remove the six retaining screws that secure the system board to the chassis.
10.Slide the board about ½ inch towards the front of the chassis to disengage the I/O panel, then lift it up and out of the chassis.
Removing the System Board
To install a new system board, reverse the above procedures. When installing the system board, insert the screw 1 nearest the power supply to properly align the board in the chassis.
✎The system board is not spared with the processor board guide rails installed. Remove the guide rails from the existing board and install them on the new system board.
Compaq Deskpro EP Series of Personal Computers |
