3.12.3 Interface Signals & Cables
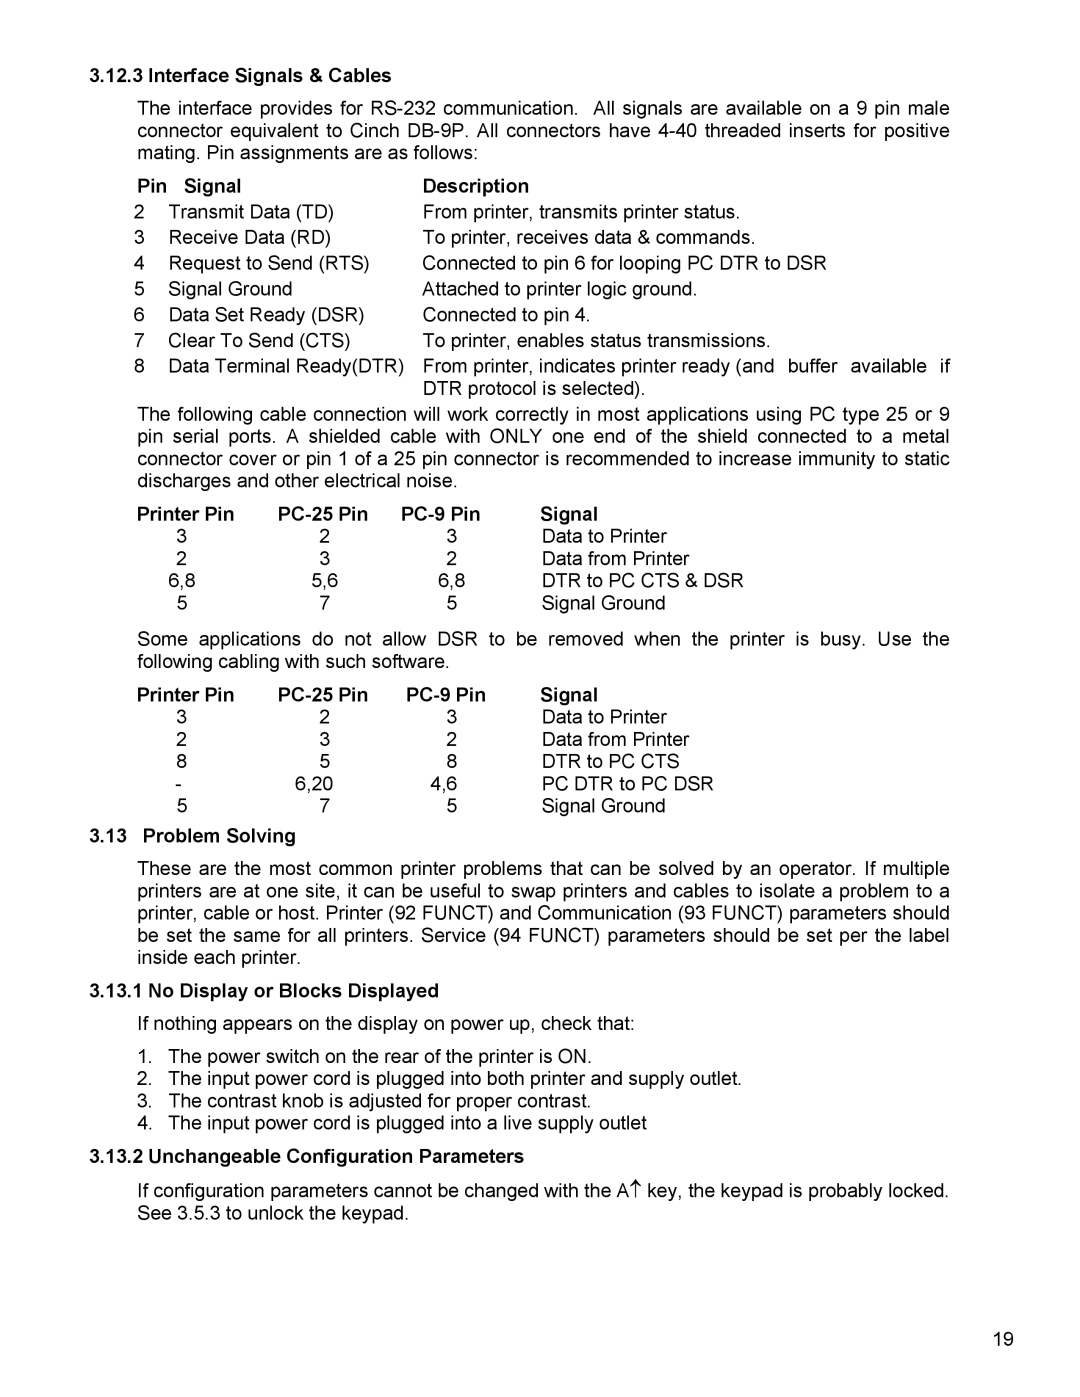
The interface provides for
Pin | Signal | Description |
2 | Transmit Data (TD) | From printer, transmits printer status. |
3 | Receive Data (RD) | To printer, receives data & commands. |
4 | Request to Send (RTS) | Connected to pin 6 for looping PC DTR to DSR |
5 | Signal Ground | Attached to printer logic ground. |
6 | Data Set Ready (DSR) | Connected to pin 4. |
7 | Clear To Send (CTS) | To printer, enables status transmissions. |
8 | Data Terminal Ready(DTR) | From printer, indicates printer ready (and buffer available if |
|
| DTR protocol is selected). |
The following cable connection will work correctly in most applications using PC type 25 or 9 pin serial ports. A shielded cable with ONLY one end of the shield connected to a metal connector cover or pin 1 of a 25 pin connector is recommended to increase immunity to static discharges and other electrical noise.
Printer Pin |
|
| Signal |
3 | 2 | 3 | Data to Printer |
2 | 3 | 2 | Data from Printer |
6,8 | 5,6 | 6,8 | DTR to PC CTS & DSR |
5 | 7 | 5 | Signal Ground |
Some applications do not allow DSR to be removed when the printer is busy. Use the following cabling with such software.
Printer Pin | Signal | ||
3 | 2 | 3 | Data to Printer |
2 | 3 | 2 | Data from Printer |
8 | 5 | 8 | DTR to PC CTS |
- | 6,20 | 4,6 | PC DTR to PC DSR |
5 | 7 | 5 | Signal Ground |
3.13 Problem Solving
These are the most common printer problems that can be solved by an operator. If multiple printers are at one site, it can be useful to swap printers and cables to isolate a problem to a printer, cable or host. Printer (92 FUNCT) and Communication (93 FUNCT) parameters should be set the same for all printers. Service (94 FUNCT) parameters should be set per the label inside each printer.
3.13.1 No Display or Blocks Displayed
If nothing appears on the display on power up, check that:
1.The power switch on the rear of the printer is ON.
2.The input power cord is plugged into both printer and supply outlet.
3.The contrast knob is adjusted for proper contrast.
4.The input power cord is plugged into a live supply outlet
3.13.2Unchangeable Configuration Parameters
If configuration parameters cannot be changed with the A↑ key, the keypad is probably locked. See 3.5.3 to unlock the keypad.
19
