
536.88155 specifications
The Craftsman 536.88155 is a snowblower that has gained a reputation for its efficiency and reliability in tackling winter’s harsh conditions. Designed for residential use, this model stands out with its powerful engine and user-friendly features, making it a popular choice among homeowners looking to keep their driveways and walkways clear of snow.One of the standout features of the Craftsman 536.88155 is its potent 27-inch clearing width. This allows users to cover a larger area in less time, reducing the physical effort required when dealing with heavy snowfall. The snowblower is equipped with a powerful engine that provides outstanding performance, ensuring that it can handle even the most challenging snow conditions with ease.
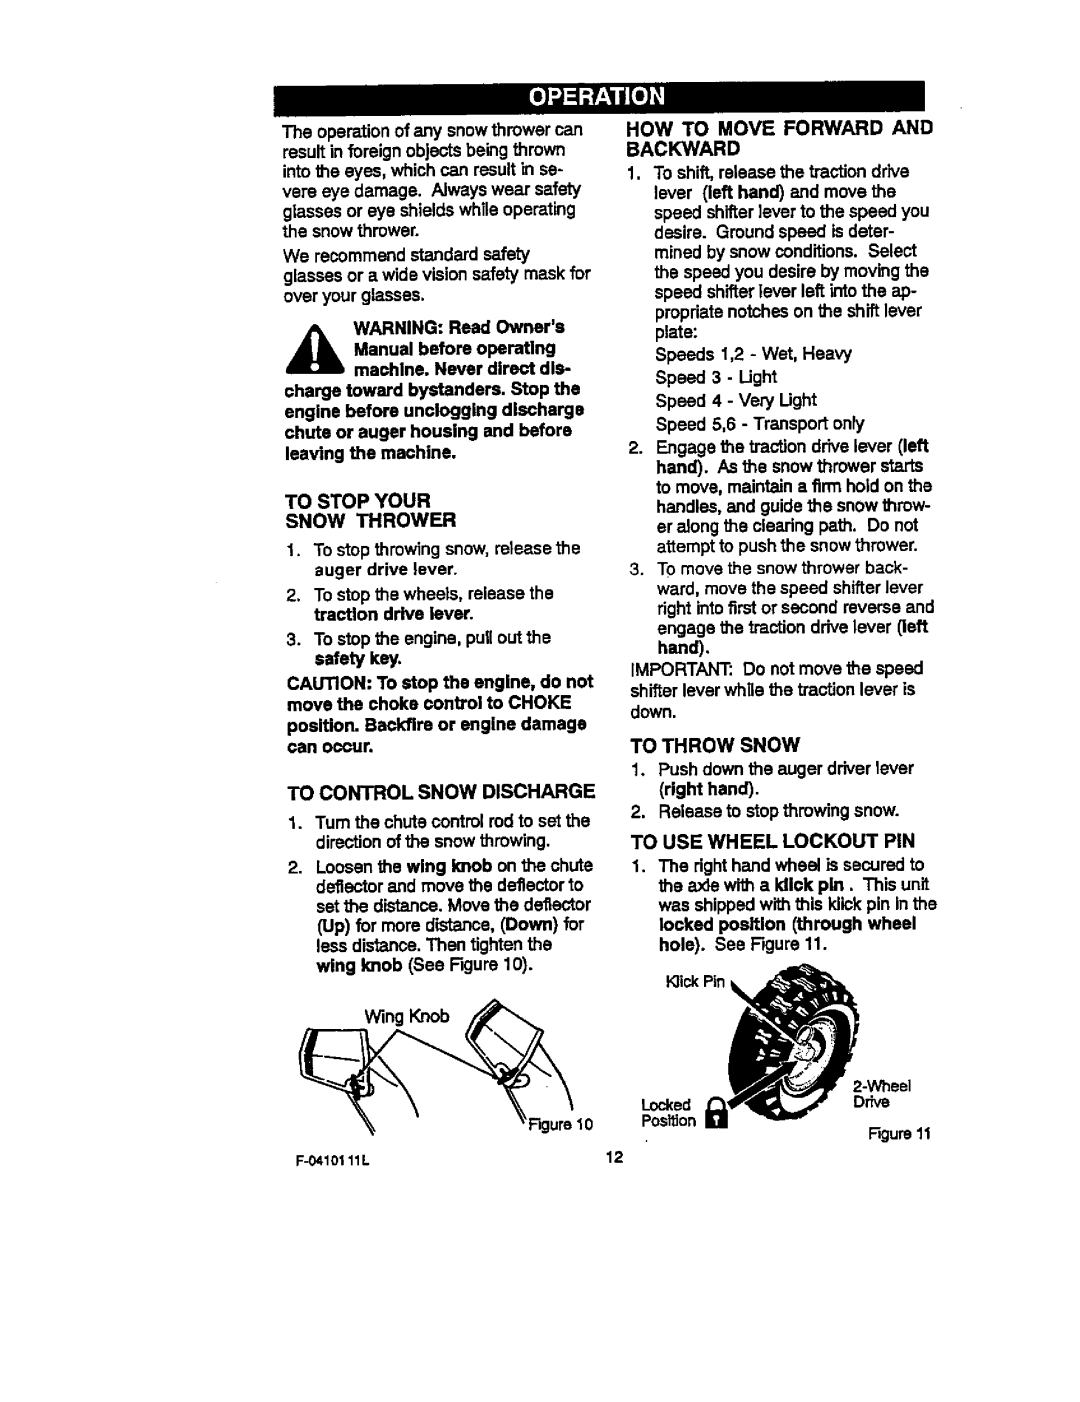
A key characteristic of the Craftsman 536.88155 is its capability to throw snow at impressive distances. The machine is designed with an adjustable chute that allows users to direct snow where they want it. This feature is particularly useful for preventing snow from being thrown back onto cleared paths, ensuring a cleaner finish. The chute can be easily adjusted from the operator's position, adding to the overall convenience in usage.
The Craftsman 536.88155 employs a user-friendly design that includes electric start capability. This feature eliminates the hassle of struggling with pull cords on cold mornings, allowing users to simply plug in and start the machine with the push of a button. Additionally, the ergonomic handles and controls enhance comfort and ease of use, making it suitable for individuals of varying physical abilities.
In terms of build quality, the Craftsman 536.88155 boasts a durable construction designed to withstand harsh winter conditions. The snowblower is made from high-quality materials that promote longevity while reducing maintenance needs. Its heavy-duty construction ensures stability, enabling it to navigate through both light and heavy snow effectively.
With its combination of power, user-friendly features, and durable construction, the Craftsman 536.88155 serves as an excellent tool for ensuring winter mobility and safety. Whether you are dealing with light flurries or a significant snowfall, this reliable snowblower is equipped to handle the task efficiently, making it a worthwhile investment for homeowners facing the challenges of winter weather.