User’s Guide
Basic
Introduction
Key benefits
Environmentally friendly
Key benefits
Features by models
Features B1260dn Hi-Speed USB
Operating System B1260dn Windows Macintosh Linux Unix
IPv6 Google Cloud Print Eco printing Double-sided printing
Useful to know
Status LED flashes or remains constantly on
About this user’s guide
General icons
Conventions
Icon Text Description
Safety information
Important safety symbols
Operating environment
Operating method
Installation / Moving
Maintenance / Checking
Supply usage
Accessories
Machine overview
Front view
Rear view
Control panel overview
Turning on the machine
Installing the driver locally
Windows
Installing the driver locally
Select Connect to the computer using USB Cable. Click Next
Reinstalling the driver
Learning the Basic Usage
Printing a test
To print a test
Media and tray
Tray overview
Power voltage Available paper
Paper type available for duplex printing
Loading paper in the tray
Tips on using the manual feeder
Loading in manual feeder
Media and tray
Envelope
Printing on special media
Printing the special media Face up
Acceptable
Transparency
Labels
Card stock/ Custom-sized paper
Preprinted paper
Setting the paper size and type
Using the output support
Canceling a print job
Basic printing
Printing
Using a favorite setting
Opening printing preferences
Click Properties or Preferences
Using help
Eco printing
Setting eco mode on the control panel
Setting eco mode on the driver
Maintenance
Ordering supplies and accessories
Available supplies
High yield toner cartridge
Storing the toner cartridge
Handling instructions
Toner cartridge usage
Estimated cartridge life
Redistributing toner
Replacing the toner cartridge
Cleaning the machine
Cleaning the outside
Cleaning the inside
Cleaning the machine
Cleaning the pickup roller
Tips for moving & storing your machine
Troubleshooting
Tips for avoiding paper jams
Clearing paper jams
Tray
Manual feeder
Inside the machine
Exit area
Duplex area
Understanding the status LED
Status LED
Toner LED/ Power LED
Eco button Green Printing on Off Eco mode is off
Appendix
Specifications
General specifications
Print media specifications
Thin paper Refer to the Plain
Paper section Transparency Letter, A4
Labels c Letter, Legal, US
Folio, A4, JIS B5, ISO
Operating system Requirement recommended
Free HDD space Windows
Windows XP
Windows Server
Macintosh
Operating system Requirements Recommended
Free HDD space
Mac OS X
Linux
Unix
Items Requirements
Operating system
Items Specifications Network interface
Network environment
Network operating system
Network protocols
Dell technical support policy
Contacting Dell
Ftp.dell.com
Mobilesupport@us.dell.com Support@us.dell.com
Warranty and return policy
Copyright
REV
Advanced
Advanced
Software installation
Installation
Open the Applications folder Utilities Print Setup Utility
Click Continue
Click Continue on the User Options Pane
Reinstallation for Macintosh
Print Setup Utility Or Print & Fax
Installation for Linux
Installing the Unified Linux Driver
Reinstallation for Linux
Click Uninstall
Using a network- connected machine
Embedded Web Service
SetIP
Wired network setup
IPv4 configuration using SetIP Windows
Printing a network configuration report
Setting IP address
Wired network setup
IPv4 configuration using SetIP Linux
Preferences or Administrator
Report
Open /opt/Dell/mfp/share/utils
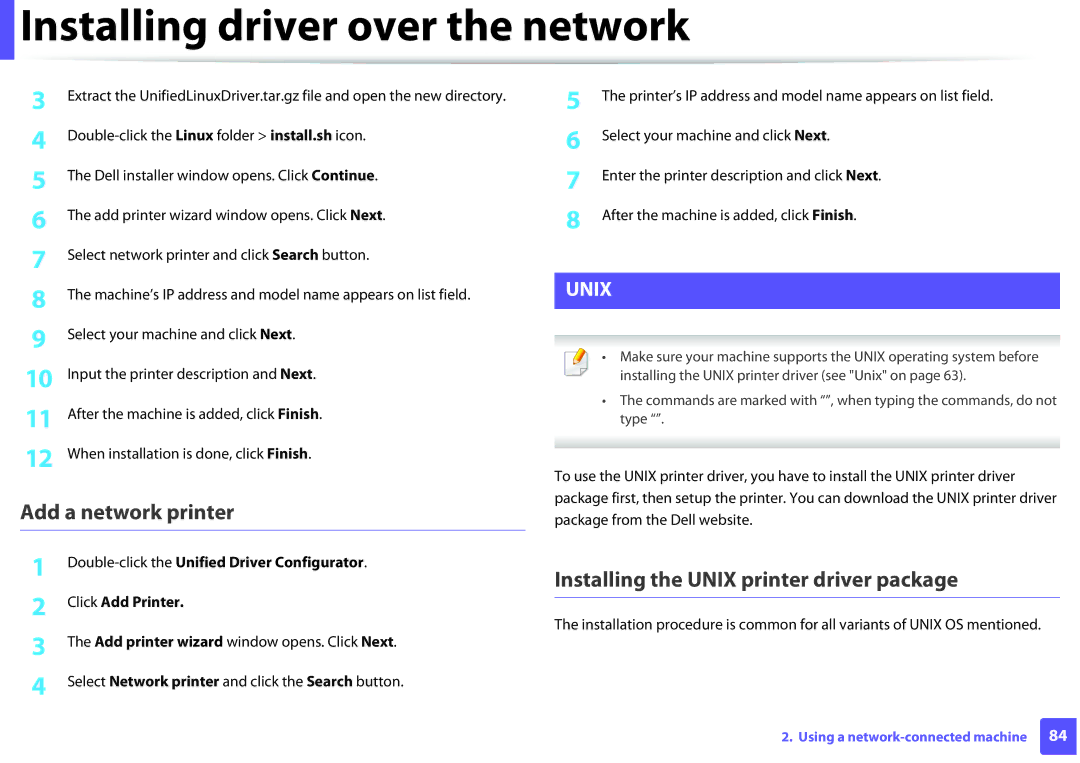
Installing driver over the network
Select Connect a network printer to the computer. Click Next
Macintosh
Install the Linux driver and add network printer
Linux
Select HP Jetdirect Socket in Protocol
Installing the Unix printer driver package
Add a network printer
Uninstalling the printer driver package
Accept printername enable printername
It will open the Uninstall Printer Wizard
Setting up the printer
IPv6 configuration
From the Embedded Web Service
From the control panel
Using Embedded Web Service
Settings
Network Settings
AirPrint
Printing via AirPrint
Click Raw TCP/IP, LPR, IPP or mDNS
Google Cloud Print
Registering your Google account to the printer
Click Register
Printing from an application on mobile device
Printing with Google Cloud Print
Click Finish printer registration
Click Manage your printers
Printing from the Chrome browser
Select Print with Google Cloud Print
Useful management tools
Using Firmware Update Utility
Click Update Firmware
Using Dell Supplies Ordering Utility
Dell Supplies Ordering Utility window opens
Using Embedded Web Service
Logging into Embedded Web Service
Accessing Embedded Web Service
Embedded Web Service overview
Settings tab
Maintenance tab
Security tab
Using Dell Printer Manager
Understanding Dell Printer Manager
Device Settings
Alert Settings Windows only
Advanced settings user interface overview
Using Dell Printer Status
Dell Printer Status overview
Icon Mean Description
Toner Level
Changing the Dell Printer Status Program Settings
Option
User’s Guide
Close
Using the Linux Unified Driver Configurator
Opening Unified Driver Configurator
Printers configuration
Switches to Printers configuration
Printers tab
Classes tab
Ports configuration
Switches to Ports configuration
Special features
Altitude adjustment
Changing the default print settings
For Windows 7, select Control Panel Devices and Printers
Preferences
Setting your machine as a default machine
Using advanced print features
Understanding special printer features
Printing to a file PRN
Multiple Pages per Side
Poster Printing
Booklet Printinga Description
Reverse Double-Sided Printing Check this
Paper Options
Watermark
Creating a watermark
Message box
Editing a watermark
Overlaya
Overlay
Creating a new Printing Preferences
List
Using a page overlay
Overlay List box
Click Yes
Changing printer settings
Macintosh printing
Printing a document
Printing multiple pages on one sheet
Printing on both sides of the paper
Linux printing
Printing from applications
Configuring Printer Properties
Open the Unified Driver Configurator
Printing files
Changing the machine settings
Unix printing
General tab
Proceeding the print job
Printer-Specific Settings tab
Image tab
Text tab
Margins tab
Troubleshooting
Paper feeding problems
Power and cable connecting problems
Printing problems
Print
Machine selects print
Paper source
Print job is extremely
Slow Half the page is blank
Blank
Photos is not good
Images are not clear Before printing,
Machine emits vapor near
Printing quality problems
Condition Suggested Solutions Dropouts
White Spots
Condition Suggested Solutions Black background
Toner smear
Vertical repetitive defects
Characters or pictures
Misformed characters
Condition Suggested Solutions Skew
Curl or wave
Wrinkles or creases
Loose toner
Horizontal stripes
Curl
Appears on a few sheets
Light print or contamination occurs
Operating system problems
Common Windows problems
Common Macintosh problems
Condition Suggested solutions
Print incorrectly
Common Linux problems
Access point
802.11
802.11b/g/n
AppleTalk
Default
Coverage
Collation
Control Panel
Duplex
Dot Matrix Printer
Duty Cycle
Emulation
Ethernet
EtherTalk
Fuser Unit
Halftone
Ieee
Intranet
IP address
ITU-T No chart
IPX/SPX
MAC address
Modem
NetWare
Originals
PostScript
Printer Driver
Print Media
Resolution
PRN file
Protocol
Subnet Mask
Toner Cartridge
UNC Path
USB
Watermark
Index
Manual feeder/multi-purpose tray
Unix

 Installing driver over the network