Руководство по системе
System Information Guide
Page
System Information Guide
Abbreviations and Acronyms
Contents
Contents
General
Power
Battery
EMC Instructions
Air Travel
California Residents
When Using Your Computer
Ergonomic Computing Habits
When Working Inside Your Computer
Protecting Against Electrostatic Discharge
Battery Disposal
Documentation
Finding Information and Assistance
Devices Dell Documents
Setting Up Your Computer
Power button System Information Guide
About Your Computer
Front View
Left Side View
Right Side View
Back View
Bottom View
Installing a Battery
Removing a Battery
Drivers and Utilities CD
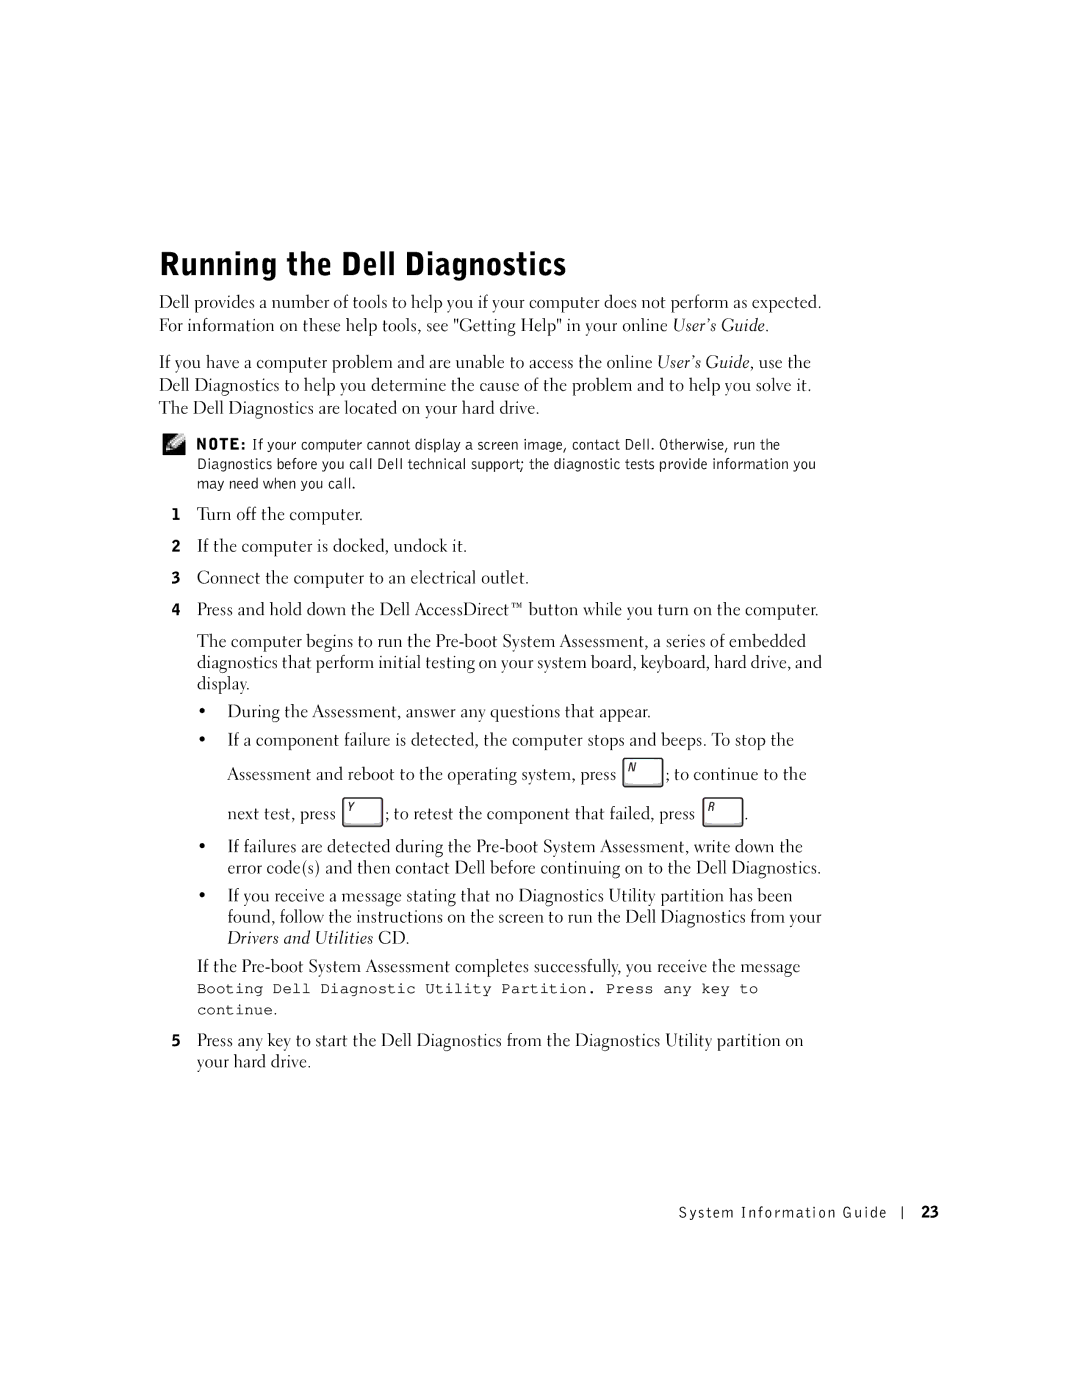
Running the Dell Diagnostics
Regulatory Notices
Příručka k zařízení
Zkratky a značky
Poznámky, upozornění a výstrahy
Klepne na tlačítko
Obsah
S a h
Obecné
Bezpečnostní pokyny
Napájení
Bezpečnostní pokyny pokračování
Baterie udržujte mimo dosah d
Baterie
Teplotám vyšším než 60C. Phri
Horký plyn či kapalina. Hrozí tak nebezpečí požáru
Pokyny k elektromagnetické kompatibilitě EMC
Letecká doprava
Pro obyvatele Kalifornie
Práce s počítačem
Ergonomické zásady při práci s počítačem
Práce s počítačem pokračování
Práce uvnitř počítače
Vlhkosti mplej poškodit. Displej
Likvidace baterií
Ochrana před elektrostatickými výboji
Ppravjprve citlivé součásti ul
Zdroj informací Obsah Práce se zdrojem
Získání informací a podpory
Zdroj informací Obsah Práce se zdrojem
Instalace počítače
Podrobnormace o počítači naleznete v elektronické
Váš počítač
Nejčasttazy k počítači
Bateriemi a „ení spotby v elektronické
Pohled zepředu
Zásuvka pro baterii
Pohled zleva
Pohled zprava
Pohled zezadu
Pohled zdola
Instalace baterie
Vyjmutí baterie
Novou baterii zatlačte do zásuvky, až uslyšíte zacvaknutí
Stiskne klávesu
Diagnostika počítačů Dell
Právní předpisy
Pučka k zaení
50 Pučka k zaení
Systeminformation
Forkortelser og akronymer
Bemærkninger, meddelelser og advarsler
Indhold
Indhold
Generelt
Strøm
Batteri
EMC-instruktioner
Flyrejser
Borgere i staten Californien
Ved brug af computeren
Ergonomiske computervaner
Ved brug af computeren fortsat
Når du arbejder inden i computeren
Beskyttelse mod statisk elektricitet
Brugte batterier
Sådan finder du oplysninger og hjælp
Ressource Indhold Sådan bruges ressourcen Service- og
Opstilling af computeren
Page
Om computeren
Forside
Venstre side
Højre side
Bagside
Underside
Isættelse af batteri
Fjernelse af batteri
Kørsel af Dell Diagnostics Dell Diagnosticering
Systeminfor mation
Lovgivningsmæssige meddelelser
Systeminfor mation
Järjestelmätiedot
Lyhenteet
Huomautukset, varoitukset ja laitteistovaroitukset
Sisällysluettelo
Sisällysluettelo
Yleistä
Varoitus Turvallisuusohjeet
Tehonkulutus
Varoitus Turvallisuusohjeet jatkuu
Akku
EMC-tiedot
Lentomatkustus
Kalifornian asukkaat
Tietokonetta käytettäessä
Ergonomiset työtavat
Tietokonetta käytettäessä jatkuu
Tietokoneen komponenttien käsittely
Akkujen hävittäminen
Staattiselta sähköltä suojaaminen
Tietojen ja avun etsiminen
Ja Dellin teknisen tuen kanssa Dell Talk
Tietokoneen käyttöönotto
Page
Tietokone edestä katsottuna
Tietoja tietokoneesta
Näytön salpa Moduulipaikka Näyttö Kosketuslevy
Tietokone vasemmalta katsottuna
Tietokone oikealta katsottuna
Tietokone takaa katsottuna
Tietokone alta katsottuna
Akun asentaminen
Akun irrottaminen
Dell-diagnostiikkaohjelman suorittaminen
Säädöksistä
Järjestelmätiedot 101
102 Järjestelmätiedot
Οδηγός Πληροφοριών Συστήµατος
Συντοµεύσεις και ακρωνύµια
«Σηµείωση», «Ειδοποίηση» και «Προσοχή»
Icrosoft
Windows
Περιεχόµενα
Page
Γενικά
Προσοχη Οδηγίες ασφαλείας
AC µ C µ
Ισχύς
Οδηγίες ασφαλείας συνέχεια
AWG C
Ini PCI/µ
Μπαταρία
Ταξίδι µε αεροπλάνο
Ederal Aviation Administration Μll µ
050 µ 10.000
111
Κατά τη χρήση του υπολογιστή
Συνήθειες εργονοµικής εργασίας
Κατά τη χρήση του υπολογιστή συνέχεια
Κατά την εργασία στο εσωτερικό του υπολογιστή
Προστασία από ηλεκτροστατική αποφόρτιση
Πληροφορίες και βοήθεια
Sing a Battery
Απόρριψη µπαταρίας
116
117
PC, µ
Εγκατάσταση του υπολογιστή
119
Ing Sufficient Power for Your Computer
Sing a Battery ower Management
Docking Power Considerations olving Problems
Πληροφορίες σχετικά µε τον υπολογιστή
Μπροστινή όψη
Αριστερή όψη
∆εξιά όψη
Πίσω όψη
Κάτω όψη
Εγκατάσταση µπαταρίας
Αφαίρεση µπαταρίας
Dell AccessDirect
User’s Guide, ll Diagnostics Ll Diagnostics
Boot System Assessment, µ Μll, ll Diagnostics
5ll Diagnostics agnostics Utility
Boot System Assessment
Diagnostics
Ll Di Agnostics
Egulatory Notices User’s Guide
Σηµειώσεις κανονισµών
130
Rendszerinformációs Kézikönyv
Rövidítések és betűszók
Megjegyzések, figyelmeztetések és óvintézkedések
Tartalom
Ta r t a l o m
Általános
VIGYÁZAT! Biztonsági óvintézkedések
Tápellátás
Megfelellyre kerüljön
Akkumulátor
Az akkumulátort tartsa gyerekektl távol
Elektromágneses kompatibilitási óvintézkedések
Légi közlekedés
Az egyesült államokbeli Kalifornia állam lakosai számára
Hséklett, illetve ne tegye ki túlzott napsütésnek
Számítógép használata során
Ergonómiai szokások a számítógép előtt
Számítógép használata során folytatva
Számítógép szerelése közben
Az elhasznált akkumulátorok elhelyezése
Védelem elektrosztatikus kisülés ellen
Forrás Tartalom Forrás használata
Információforrások és egyéb segédanyagok
143
Számítógép üzembe helyezése
Számítógépéről
Elölnézet
147
Bal oldali nézet
Jobb oldali nézet
Hátulnézet
Alulnézet
Az akkumulátor behelyezése
Az akkumulátor eltávolítása
Diagnostics eszközöknek az illesztegédprogramokat
Dell Diagnostics program futtatása
Futtatásához
Ha az elleneresen befejezt, a következenet jelenik meg
Szabályozó rendelkezések
155
Rendszerinformációs kézikönyv
Systeminformasjonsveiledning
OBS!, merknader og advarsler
Innhold
160 Innhold
Systeminfor masjonsveiledning 161
162 Systeminfor masjonsveiledning
Systeminfor masjonsveiledning 163
EMC-instruksjoner
Flyreiser
Innbyggere i California
Bruk av datamaskinen
Ergonomisk bruk
Bruk av datamaskinen fortsatt
Arbeide inne i datamaskinen
Avhending av batteri
Beskytte mot elektrostatisk utladning
Dokumentasjon for
Finne informasjon og hjelp
Søkbar database
Konfigurere datamaskinen
Page
Sett forfra
Om datamaskinen
AccessDirect-knapp
Sett fra venstre
Sett fra høyre
Sett fra baksiden
Sett fra undersiden
Fjerne et batteri
Installere et batteri
Kjøre Dell Diagnostics
Spesielle bestemmelser
Systeminfor masjonsveiledning 181
182 Systeminfor masjonsveiledning
Przewodnik z informacjami o systemie
Skróty i skrótowce
Uwagi, przypomnienia i ostrzeżenia
Systemowe i utkownika
Spis treści
Spis trei
Ogólne
Ostrożnie Instrukcje dotyczące bezpieczeństwa
Oparze
Zasilanie
Ostrożnie Instrukcje dotyczące bezpieczeństwa ciąg dalszy
Komputer jest zasilany z akumulatora
Akumulator
Mowoi korzystania z urzeED obowiych w danej linii lotniczej
Podróż samolotem
Mieszkańcy Kalifornii
Instrukcje EMC
Zwizane z płodnoi
Przy odłaniu kabla naleia wtyczkb umieszczona niej pe
Podczas korzystania z komputera
Ergonomiczne korzystanie z komputera
Podczas korzystania
Odka do czyszczenia okien
Ochrona przed wyładowaniami elektrostatycznymi
Podczas pracy wewnątrz komputera
Utylizacja zużytych akumulatorów
Zasób Spis treści Używanie zasobu
Wyszukiwanie informacji i uzyskiwanie pomocy
197
Rozpakuj pojemnik z akcesoriami
Konfigurowanie komputera
Podłasilacz do zła zasilacza oraz do gniazda elektrycznego
Informacje o komputerze
Widok z przodu
201
Widok z lewej strony
Widok z prawej strony
Widok z tylu
Widok z dołu
Wyjmowanie akumulatora
Instalowanie akumulatora
Uruchamianie programu Dell Diagnostics
Wsuwaj akumulator do wnatrzaia zatrzasku zwalniajo
Operacyjny, naciawisz
Zgodność z normami
Przewodnik z informacjami o systemie
Руководство по системе
Сокращения и аббревиатуры
Примечания, замечания и предупреждения
Содержание
Содержание
Общие положения
Предупреждения Инструкции по технике безопасности
Электропитание
Аккумуляторная батарея
Инструкции по электромагнитной совместимости
Перевозка воздушным транспортом
Пользователи в Калифорнии, США
Работа с компьютером
Полезные навыки при работе на компьютере
Работа с компьютером продолжение
Работа внутри компьютера
Получение справки Руководства пользователя
Защита от электростатического разряда
Утилизация аккумуляторных батарей
Как получить информацию и помощь
223
224
Установка компьютера
226
Компьютере
Вид спереди
Вид слева
Вид справа
Вид сзади
Вид снизу
Установка аккумуляторной батареи
Удаление аккумуляторной батареи
Продвигайте батарею в отсек, пока не услышите щелчок
Запуск программы Dell Diagnostics
Законодательство и стандарты
Diagnostics Utility жесткого диска
236
Príručka systémové informácie
Skratky a akronymy
Poznámky, Upozornenia, Výstrahy
Pod, aký
Na pracovnej
Ako získat’ informácie a pomoc 248
S a h
Všeobecné
Bezpečnostné pokyny
Napájanie
Bezpečnostné pokyny pokračovanie
Lište napájania
Batéria
Inštrukcie EMC
Cestovanie lietadlom
Obyvatelia štátu Kalifornia
Zásady používania počítača
Ergonomické návyky pri práci s počítačom
Zásady používania počítača pokračovanie
Zásady práce vnútri počítača
Likvidácia batérie
Ochrana proti elektrostatickému vybitiu
Prostriedok Obsah Využitie
Ako získat’ informácie a pomoc
249
Inštalácia počítača
Informácie o počítači
Používateej príručke
Pohľad spredu
253
Pohľad zľava
Pohľad sprava
Pohľad zozadu
Pohľad zospodu
Inštalácia batérie
Ako vyberat’ batériu
Batériu zasúvajte dnu, kým uvovacia západka neklikne
Na pevnom disku
Spustenie programu Dell Diagnostics
Regulačné upozornenia
261
262 Príručka systémové informácie
Priročnik z informacijami o sistemu
Okrajšave in kratice
Opombe, obvestila in opozorila
Kazalo
Kaza l o
Splošno
Varnostna navodila
Napajanje
Varnostna navodila nadaljevanje
269
Navodila glede elektromagnetne združljivosti
Potovanje z letalom
Prebivalci Kalifornije
Uporaba računalnika
Ergonomska uporaba računalnika
Uporaba računalnika nadaljevanje
Pri posegih v notranjost računalnika
Odlaganje baterij in akumulatorjev
Zaščita pred elektrostatično razelektritvijo
Sredstvo Vsebina Uporaba sredstva
Iskanje informacij in pomoči
275
Namestitev računalnika
Računalniku
Pogled od spredaj
279
Pogled z leve strani
Pogled z desne strani
Pogled s hrbtne strani
Pogled s spodnje strani
Odstranjevanje akumulatorja
Namestitev akumulatorja
Uporaba diagnostičnih orodij Dell Diagnostics
Računalnik, vnesite ali označite Exit Končaj in pritisnite
Upravna obvestila
287
Priročnik z informacijami o sistemu
Systeminformationsguide
Förkortningar och akronymer
Kommentarer av typen Obs!, Viktigt! och Varning
Innehåll
292 N e h å ll
Allmänna
Varning! Säkerhetsanvisningar
Strömförsörjning
Varning! Säkerhetsanvisningar fortsättning
Systeminfor mationsguide 295
EMC-anvisningar
Flygresor
Boende i Kalifornien
När du använder datorn
Ergonomiska datorvanor
När du använder datorn fortsättning
När du arbetar inuti datorn
Batteriavfallshantering
Skydd mot elektrostatisk urladdning
Din Användarhandboken
Som medföljde datorn
Söka efter information och hjälp
Gå till premiersupport.dell.com
Installera datorn
Page
Framifrån
Om datorn
Användarhandboken
Page
Från vänster
Från höger
Bakifrån
Undersida
Sätta in ett batteri
Ta bort ett batteri
Köra Dell Diagnostics
Föreskrifter
Systeminfor mationsguide 313
Systeminformationsguide
‰È˜˙ ˙Âڄ‰
Dell Diagnostics ˙ÏÚÙ‰ Dell Ï˘ ÔÂÁ·‡‰ ˙ÂÈÎÂ˙
‰ÏÏÂÒ ˙‡ˆÂ‰
‰ËÓÏÓ Ë·Ó
∂ ∑ ∏
Ôèóèó Ë·Ó
‡Ó˘Ó Ë·Ó
‚Ó ÁˢÓ
ÌÈÙÏÓ Ë·Ó
ÍÏ˘ ·˘ÁÓ‰ ˙„‡
·˘ÁÓ‰ ˙˜˙‰
·‡˘Ó· ˘ÂÓÈ˘
Úâèòâ Ú„ÈÓ ¯Â˙ȇ
˘Ó‰ ·˘ÁÓ· ˘ÂÓÈ˘‰ ˙Ú·
·˘ÁÓ ÌÚ ‰„·ÚÏ ÌÈÈÓ‚¯‡ ÌÈÏ‚¯‰
·˘ÁÓ· ˘ÂÓÈ˘‰ ˙Ú·
˘Ó‰ ˙ÂÁÈË· ˙‡¯Â‰ ‰‡¯˙‰
‰ÏÏÂÒ
ÏÓ˘Á
˙ÂÁÈË· ˙‡¯Â‰ ‰‡¯˙‰
ÌÈÈÈÚ ÔÎÂ˙
ÌÈÈÈÚ ÔÎÂ˙
˙·È˙ È˘‡¯Â ÌȯˆȘ
˙ίÚÓ Ú„ÈÓ Íȯ„Ó
Page
04R028A02