3.Perform the following steps:
a.Open the I/O port press latch door.
b.Remove the thumb screws that secure the I/O port module to the computer.
Figure 26.
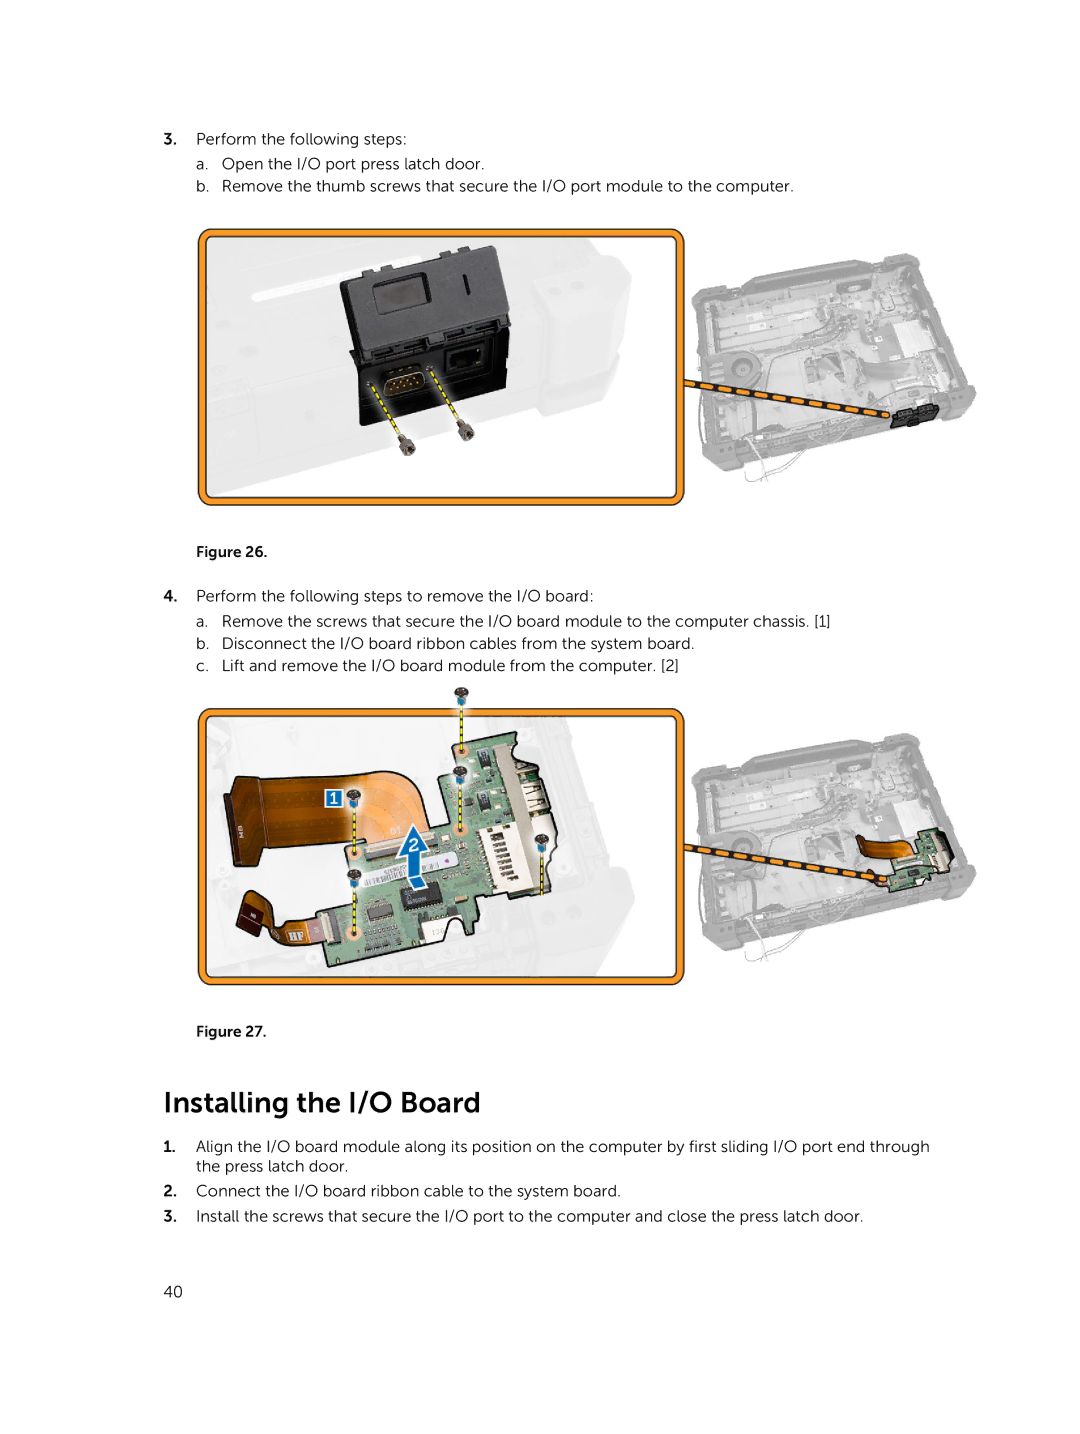
4.Perform the following steps to remove the I/O board:
a.Remove the screws that secure the I/O board module to the computer chassis. [1]
b.Disconnect the I/O board ribbon cables from the system board.
c.Lift and remove the I/O board module from the computer. [2]
Figure 27.
Installing the I/O Board
1.Align the I/O board module along its position on the computer by first sliding I/O port end through the press latch door.
2.Connect the I/O board ribbon cable to the system board.
3.Install the screws that secure the I/O port to the computer and close the press latch door.
40