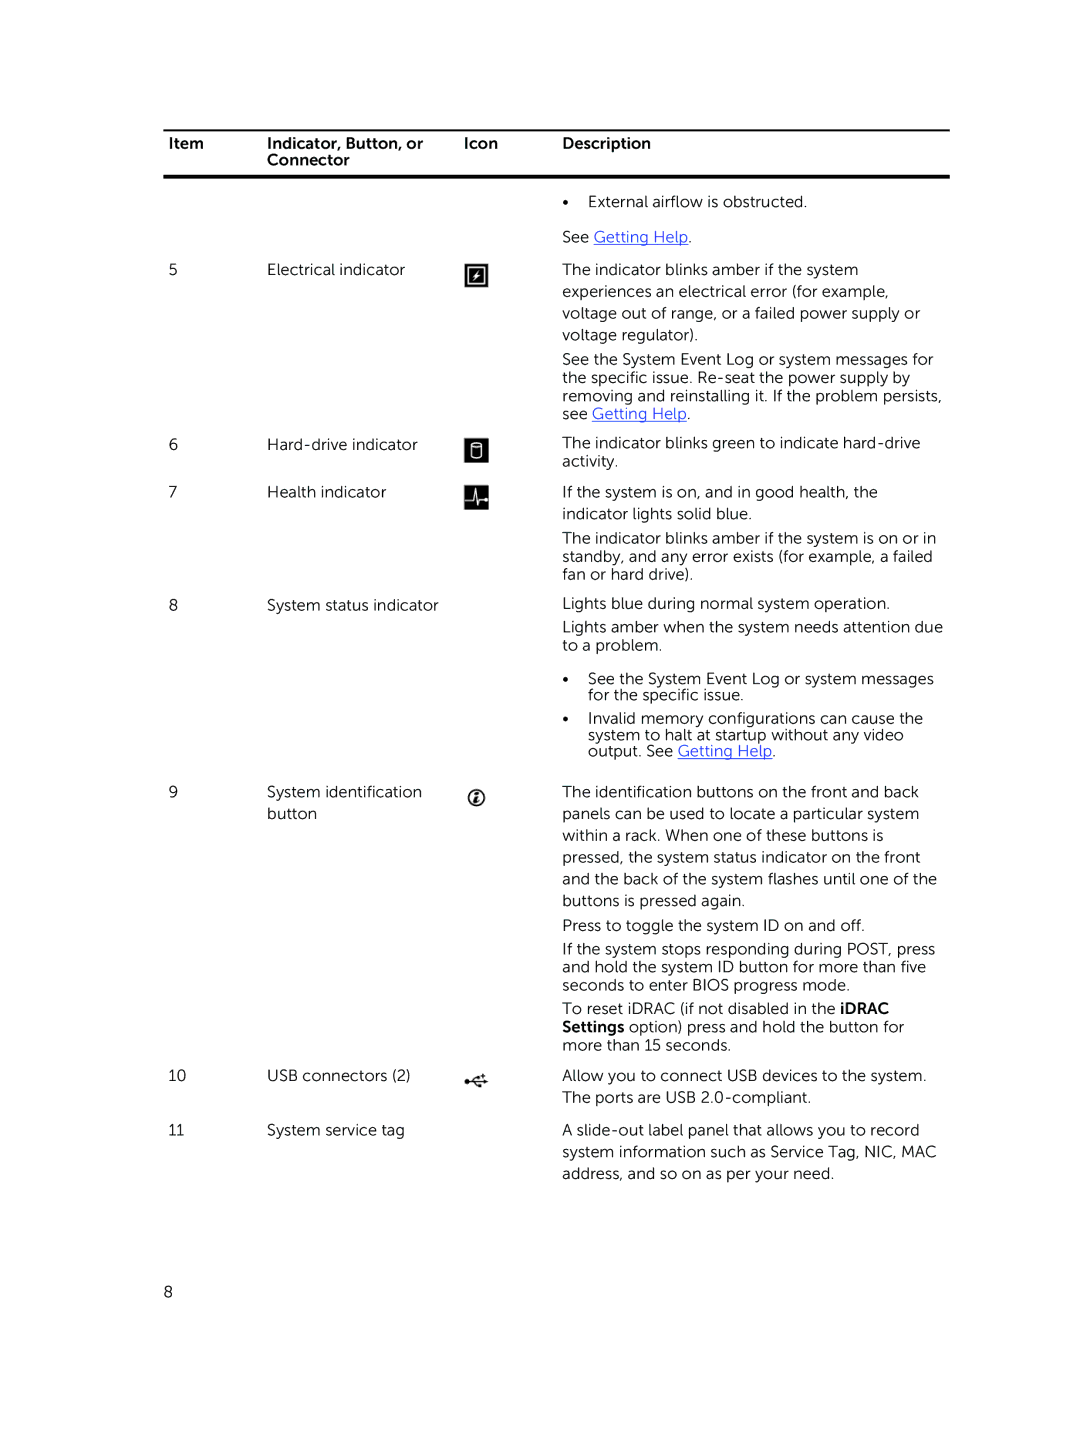
Item | Indicator, Button, or | Icon | Description |
| Connector |
|
|
|
|
|
|
5 | Electrical indicator |
6
7Health indicator
8System status indicator
•External airflow is obstructed.
See Getting Help.
The indicator blinks amber if the system experiences an electrical error (for example, voltage out of range, or a failed power supply or voltage regulator).
See the System Event Log or system messages for the specific issue.
The indicator blinks green to indicate
If the system is on, and in good health, the indicator lights solid blue.
The indicator blinks amber if the system is on or in standby, and any error exists (for example, a failed fan or hard drive).
Lights blue during normal system operation.
Lights amber when the system needs attention due to a problem.
•See the System Event Log or system messages for the specific issue.
•Invalid memory configurations can cause the system to halt at startup without any video output. See Getting Help.
9 | System identification | The identification buttons on the front and back |
| button | panels can be used to locate a particular system |
|
| within a rack. When one of these buttons is |
|
| pressed, the system status indicator on the front |
|
| and the back of the system flashes until one of the |
|
| buttons is pressed again. |
|
| Press to toggle the system ID on and off. |
|
| If the system stops responding during POST, press |
|
| and hold the system ID button for more than five |
|
| seconds to enter BIOS progress mode. |
|
| To reset iDRAC (if not disabled in the iDRAC |
|
| Settings option) press and hold the button for |
|
| more than 15 seconds. |
10 | USB connectors (2) | Allow you to connect USB devices to the system. |
|
| The ports are USB |
11 | System service tag | A |
|
| system information such as Service Tag, NIC, MAC |
|
| address, and so on as per your need. |
8
