R720XD, R720 specifications
The Dell PowerEdge R720 and R720xd are powerful rack servers designed to deliver exceptional performance, reliability, and scalability for a wide range of data center applications. As part of Dell's 12th generation of PowerEdge servers, they come equipped with advanced features and technologies that cater to diverse workloads.Both models are built on the Intel Xeon processor E5-2600 family, supporting dual-socket configurations. This allows for an impressive maximum memory capacity of up to 768 GB with 32 DIMM slots, enabling efficient handling of memory-intensive applications. The R720 and R720xd are designed with efficiency in mind, allowing organizations to optimize their resource utilization while maintaining high performance.
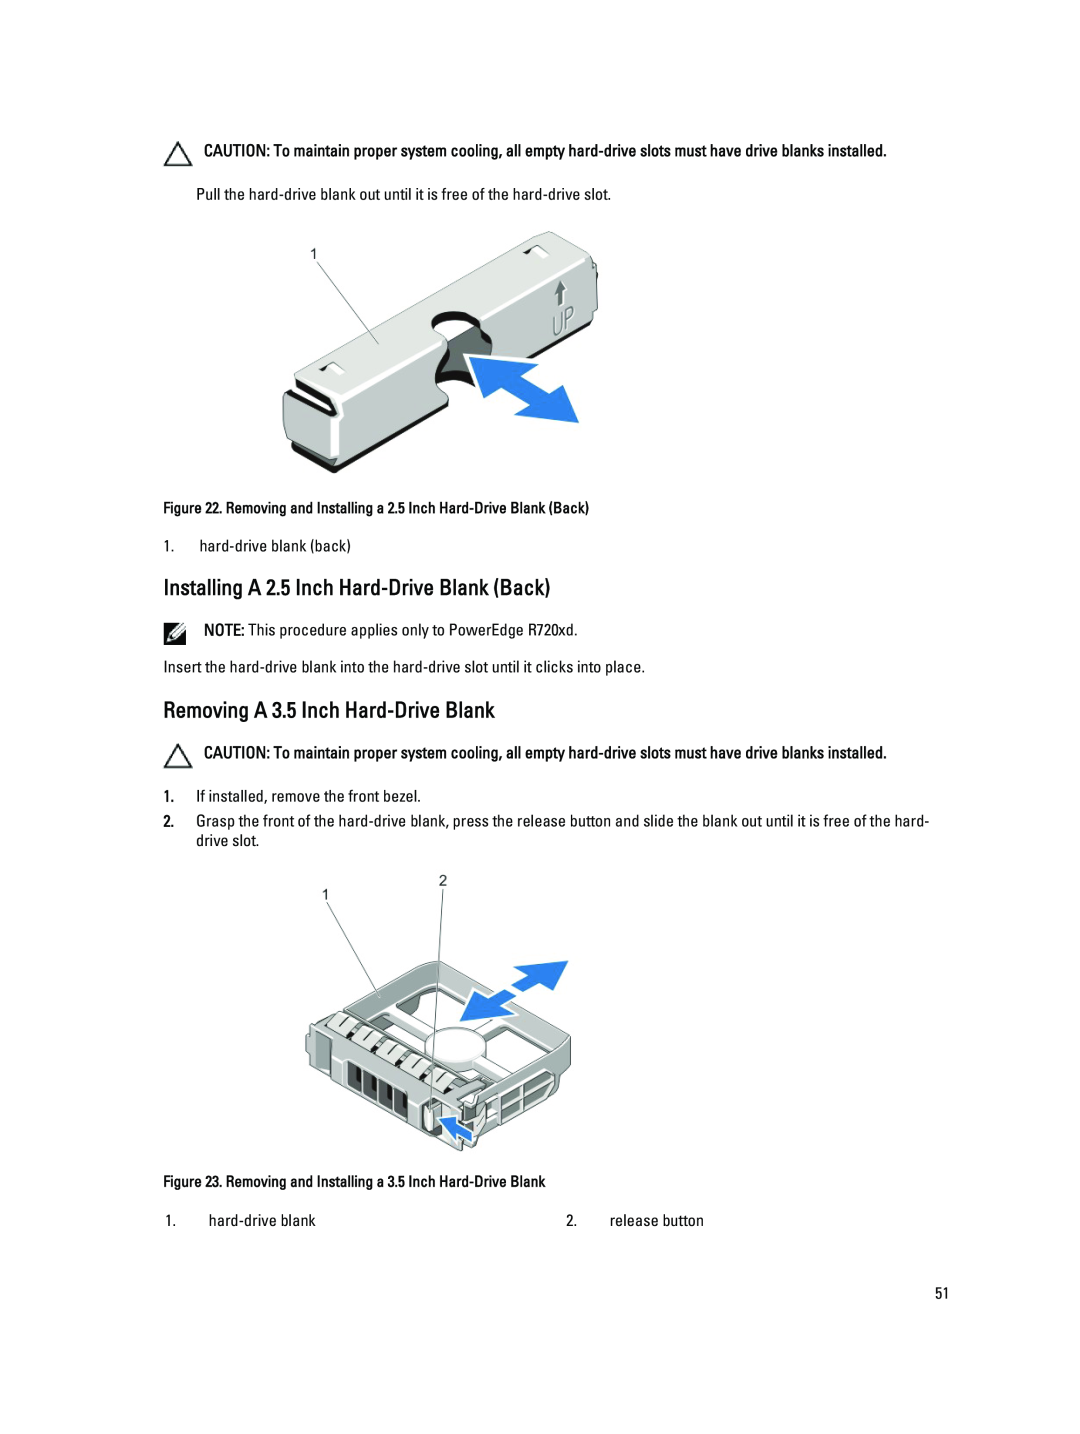
One of the most noteworthy features of the R720 and R720xd is the flexible storage options. The R720 can accommodate up to 16 2.5-inch drives, while the R720xd extends this capacity to 24 2.5-inch drives or 12 3.5-inch drives, greatly enhancing storage scalability. This flexibility is essential for businesses with growing data needs, allowing them to configure the server according to their specific requirements.
Both servers come with the iDRAC7 (Integrated Dell Remote Access Controller), which provides advanced management capabilities. iDRAC7 enables IT administrators to remotely monitor and control the server, simplifying the management of hardware functions and system updates. The optional Lifecycle Controller further streamlines server deployment and management, offering integrated systems management capabilities.
In terms of networking, the R720 and R720xd support a variety of network interface cards, including 1 GbE and 10 GbE options. This ensures that organizations can select the right networking capabilities for their specific workload and performance requirements.
Power efficiency is another significant characteristic of these servers. Equipped with Dell’s Energy Smart technologies, they can reduce power consumption and operating costs. Features like power capping and efficient fan control help achieve optimal thermal management in the data center.
In summary, the Dell PowerEdge R720 and R720xd are robust and versatile servers that offer exceptional performance for mission-critical applications. With their advanced processor support, memory capacity, flexible storage configurations, and comprehensive management features, they are well-suited for organizations looking to enhance their IT infrastructure.