Advanced Operation
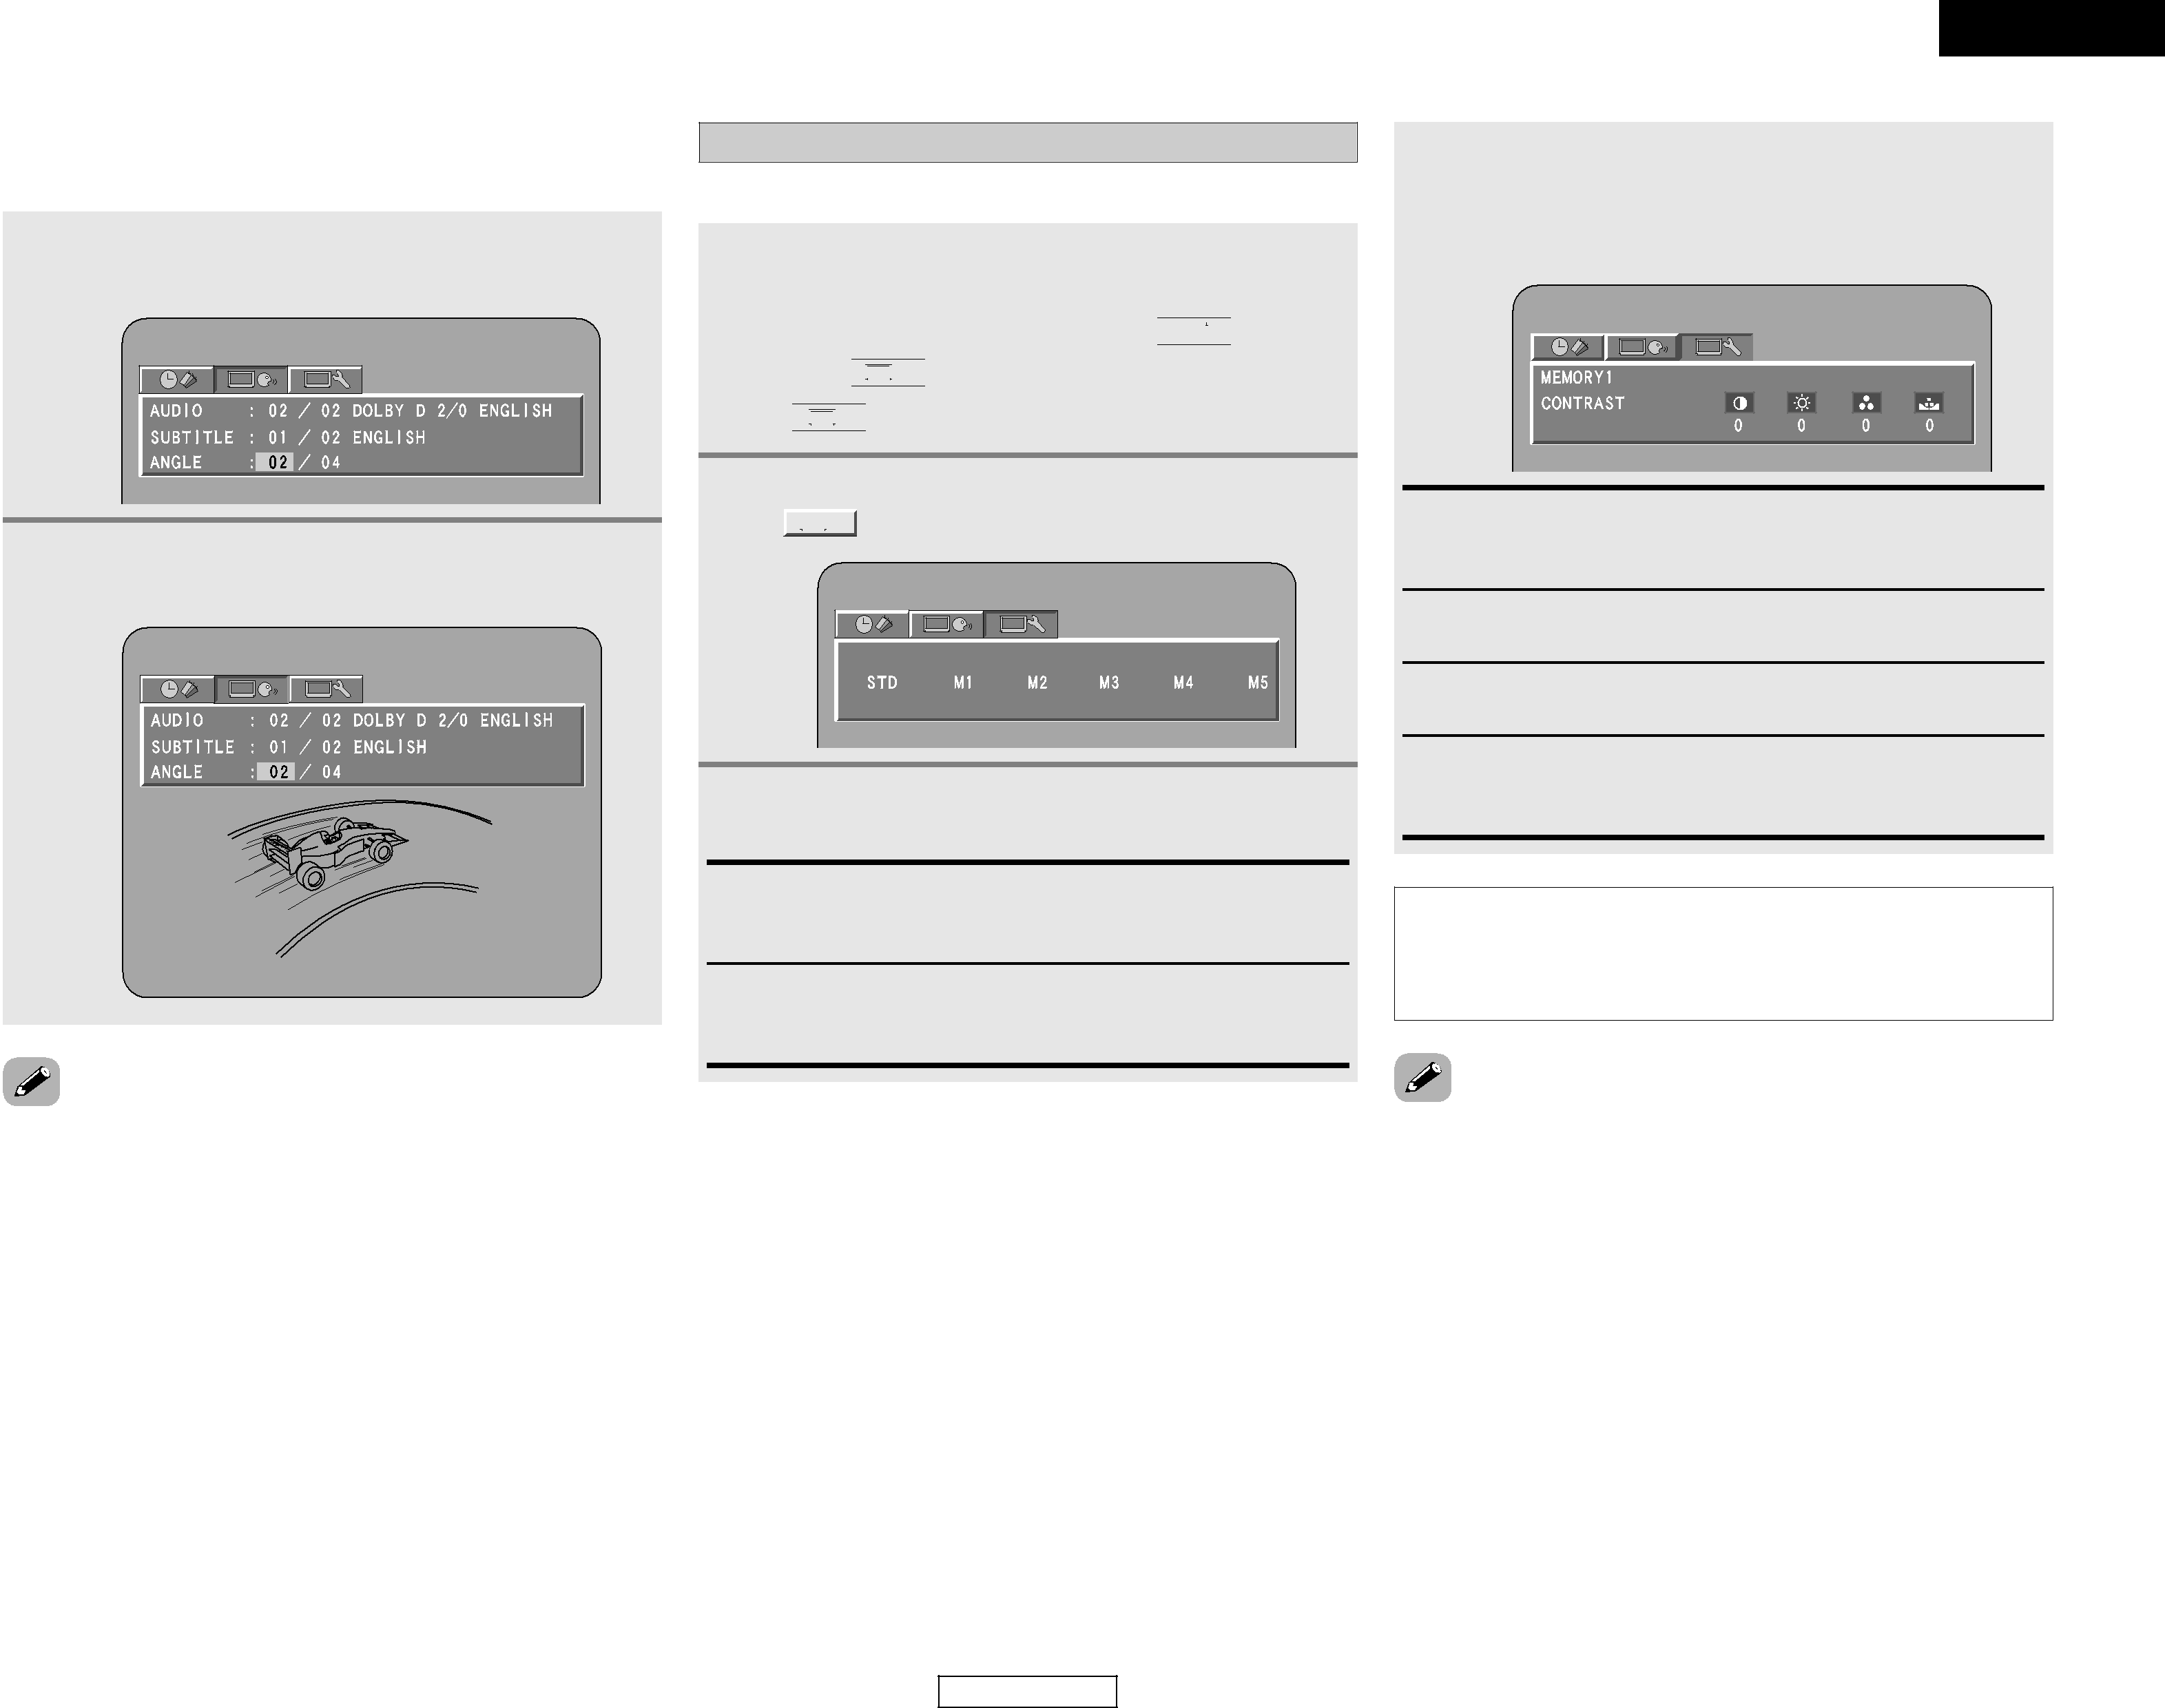
2Switching the angle (Multiple angle function)
1 Press the CURSOR • or ª button to select “ANGLE”.
2 Press the CURSOR 0 or 1 button and the
NUMBER buttons to select.
•The multiple angle function only works with discs on which multiple angles are recorded.
•At scenes where multiple angles are recorded, the angle can be switched.
Adjusting the picture quality
The quality of the picture when playing discs can be adjusted.
1 When DVD function is selected:
During playback, press the DISPLAY button.
• A screen with the time display icon (  ), selection
icon (  ) and picture quality adjustment icon
(  ) are displayed.
2 Press the CURSOR 0 or 1 button to select
“  ” icon, then press the CURSOR ª button.
3 Press the CURSOR 0 or 1 button to select the item, then press the ENTER button.
STD:
Both the picture quality and functions are set back to the standard settings set upon shipment from the factory.
M1 ~ M5:
Picture quality settings you have adjusted can be stored at five memory positions. (Set at step 4)
40
ENGLISH
Advanced Operation
4 Press the CURSOR 0 or 1 button to select the picture quality item, then press the CURSOR • or ª button to adjust the value.
• All the adjustments are stored in the memory.
CONTRAST
This adjusts the contrast between light and dark portions of the picture.
BRIGHTNESS (0 ~ +12) (Factory default: 0):
This adjust the brightness (vividness) of the picture.
COLOR
This adjusts the color density.
HUE
This adjusts the balance between green and red. (This setting does not affect component outputs.)
NOTE:
•Depending on the disc being played, the picture or sound may be disturbed when the
•To complete the picture quality adjustment: Press the DISPLAY button again.
ENGLISH