Operating fireplace

Continued

8.Push in gas control knob all the way and hold. Immediately light the pilot by repeatedly de- pressing the piezo spark ignitor until a flame appears. Continue to hold for about one (1) minute after the pilot is lit. Release gas control knob and it will pop back. Pilot should remain lit. If it goes out, repeat steps 5 through 8.

If gas control knob does not pop up when released, stop and immediately call your service technician or gas supplier.

If the pilot will not stay lit after several tries, turn the gas control knob to “OFF” and call your service technician or gas supplier.

9.Turn on all electric power to fireplace.

10.Turn gas control knob counterclockwise to “ON”.

11.This valve is equipped with a HI/LO fea- ture. Set fireplace input as desired.

12.Close lower louver panel.

TO TURN OFF GAS

TO APPLIANCE

1.

Open lower louver panel.

2.

Set the wall switch to the OFF position or


the HRC selector switch (when equipped)


to prevent draining the battery.

3.

Turn off all electric power to the appliance


if service is to be performed.

4.Keep gas control knob pressed in for 30 sec- onds after lighting pilot. After 30 seconds, release gas control knob. Follow steps 9 through 12 under Lighting Instructions.

5.Replace glass door (see Removing/Replacing Glass Door, page 29).

optional Hand-Held

REMOTE OPERATION

Note: All remote control accessories must be purchased separately (see Accessories, page 45). Follow instructions included with the remote control.

NOTICE: You must light the pilot before using the hand-held re- mote control unit. See Lighting Instructions, page 31.

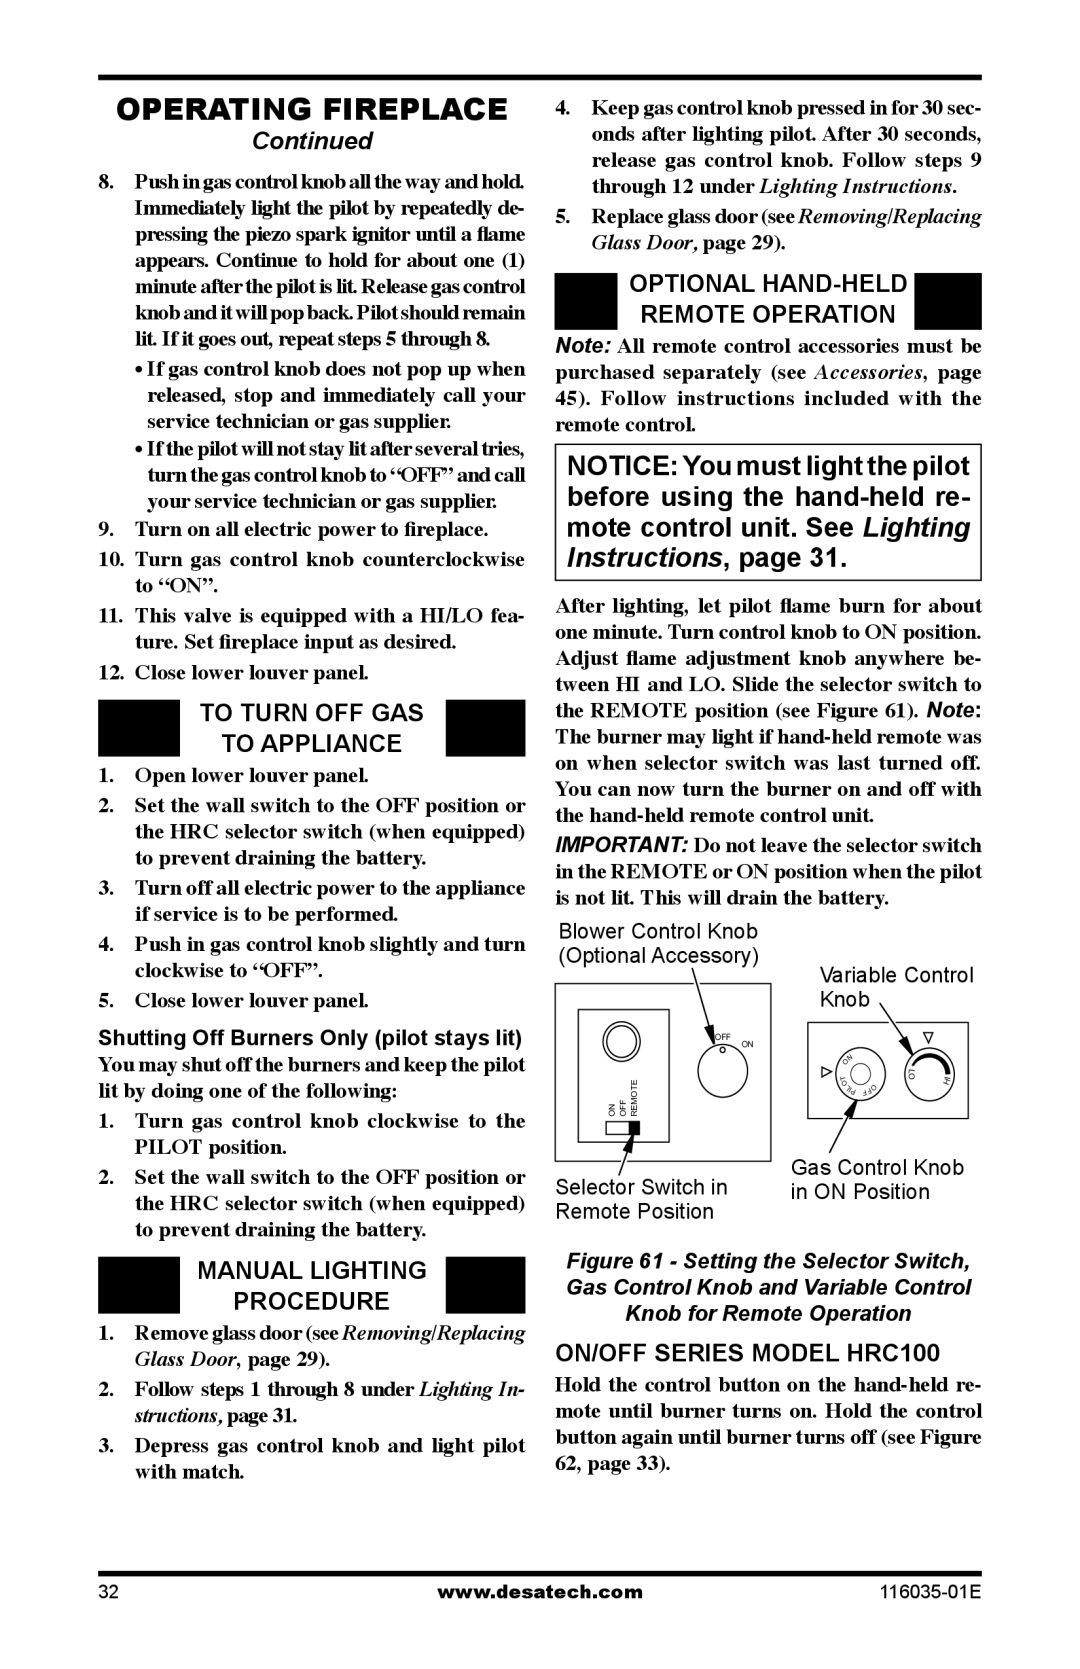
After lighting, let pilot flame burn for about one minute. Turn control knob to ON position. Adjust flame adjustment knob anywhere be- tween HI and LO. Slide the selector switch to the REMOTE position (see Figure 61). Note: The burner may light if hand-held remote was on when selector switch was last turned off. You can now turn the burner on and off with the hand-held remote control unit.

IMPORTANT: Do not leave the selector switch in the REMOTE or ON position when the pilot is not lit. This will drain the battery.

4.

Push in gas control knob slightly and turn


clockwise to “OFF”.

5.

Close lower louver panel.

Shutting Off Burners Only (pilot stays lit) You may shut off the burners and keep the pilot lit by doing one of the following:

1.Turn gas control knob clockwise to the PILOT position.

2.Set the wall switch to the OFF position or the HRC selector switch (when equipped) to prevent draining the battery.

Blower Control Knob (Optional Accessory)

OFF ON

REMOTE

OFF

ON

Selector Switch in Remote Position

Variable Control Knob

N


O

L


T

O

I

O

O

H

L


I

F


P F


Gas Control Knob in ON Position

MANUAL LIGHTING

PROCEDURE

1.Remove glass door (see Removing/Replacing Glass Door, page 29).

2.Follow steps 1 through 8 under Lighting In- structions, page 31.

3.Depress gas control knob and light pilot with match.

Figure 61 - Setting the Selector Switch,

Gas Control Knob and Variable Control

Knob for Remote Operation

On/Off Series Model HRC100

Hold the control button on the hand-held re- mote until burner turns on. Hold the control button again until burner turns off (see Figure 62, page 33).

32

www.desatech.com

116035-01E

Page 32
Image 32
Desa (V)CD36RPE, (V)CD36TP To Turn OFF GAS To Appliance, Optional Hand-Held, Remote Operation, Manual Lighting Procedure

V)CD36RN, (V)CD36TN, (V)CD36RPE, (V)CD36RNE, (V)CD36RP specifications

The Desa (V)CD36TPE, (V)CD36TP, (V)CD36TNE, (V)CD36RP, and (V)CD36RNE represent a series of cutting-edge heating solutions designed to meet the diverse needs of modern users. These models stand out for their efficiency, user-friendly features, and advanced technologies that ensure optimal performance and comfort.

One of the main features of these Desa models is their impressive heating capacity. Each unit provides a reliable source of warmth, making them suitable for various environments, from residential homes to larger commercial spaces. The versatility of these models ensures that they can accommodate different room sizes and heating requirements effortlessly.

The Desa models incorporate advanced heating technologies, including efficient radiant heating systems. This technology allows for quicker heat distribution and a more comfortable ambient temperature. Users can enjoy the benefits of even heat coverage, eliminating cold spots and ensuring a pleasant living or working environment.

Energy efficiency is another critical characteristic of the Desa models. Designed with modern energy-saving features, these units help reduce energy consumption while maintaining powerful heating capabilities. This aspect not only leads to cost savings on energy bills but also contributes to a more sustainable approach to heating.

Convenience is paramount in the design of the (V)CD36 series. Many of these models come equipped with programmable thermostats and remote control options, enabling users to set their desired heating schedule with ease. This flexibility allows for personalized comfort and lets users maintain their preferred temperatures without unnecessary manual adjustments.

Safety features are also a top priority in the (V)CD36 series. Each model is equipped with essential safety mechanisms, including automatic shut-off systems and tip-over protection, ensuring peace of mind when the units are in operation.

The aesthetic design of the Desa (V)CD36 series complements various interior styles. With sleek finishes and a modern silhouette, these heating solutions blend seamlessly into any décor while providing essential functionality.

In summary, the Desa (V)CD36TPE, (V)CD36TP, (V)CD36TNE, (V)CD36RP, and (V)CD36RNE models exemplify innovation in heating technology, offering energy efficiency, safety, and user convenience. These features make them an excellent choice for anyone seeking reliable and effective heating solutions.