Working with Discs
Drying Time
Drying times will vary based on the disc type and ink density used. Most discs should dry within seconds; however, depending on ink density, some discs may require much longer to dry. In general, do not touch the printed surface until you are sure it is dry and only handle the disc by holding the edge.
Note The printer is designed to print only on
Designs containing large amounts of black color may be damp after printing. To avoid this, reduce the amount of black in the design.
Loading Discs
Keep the following important points in mind when loading discs into the printer:
•Never remove a disc during printing (while it is spinning). Always wait for the disc to stop spinning. The ink status light will blink yellow, which indicates that the disc is finished printing.
•Avoid touching the bottom part of the disc. Always handle the disc by its outer edge. You can also support the disc by inserting a finger through its center hole.
•Always use an
•Before printing, make sure the disc size and other characteristics (finish, hub
•Make sure you insert the disc with the printable surface facing up. The printable surface is typically white, but can also be silver, red, blue, green, or other colors, depending on the disc’s finish. See "About Printable CDs/DVDs" on page 5 for information.
To load a disc into the printer
1Carefully raise the front cover to its upright position. The ink status light on top of the printer blinks yellow.
2If another disc is already on the disc tray, remove the disc, touching the disc only on the outer edges.
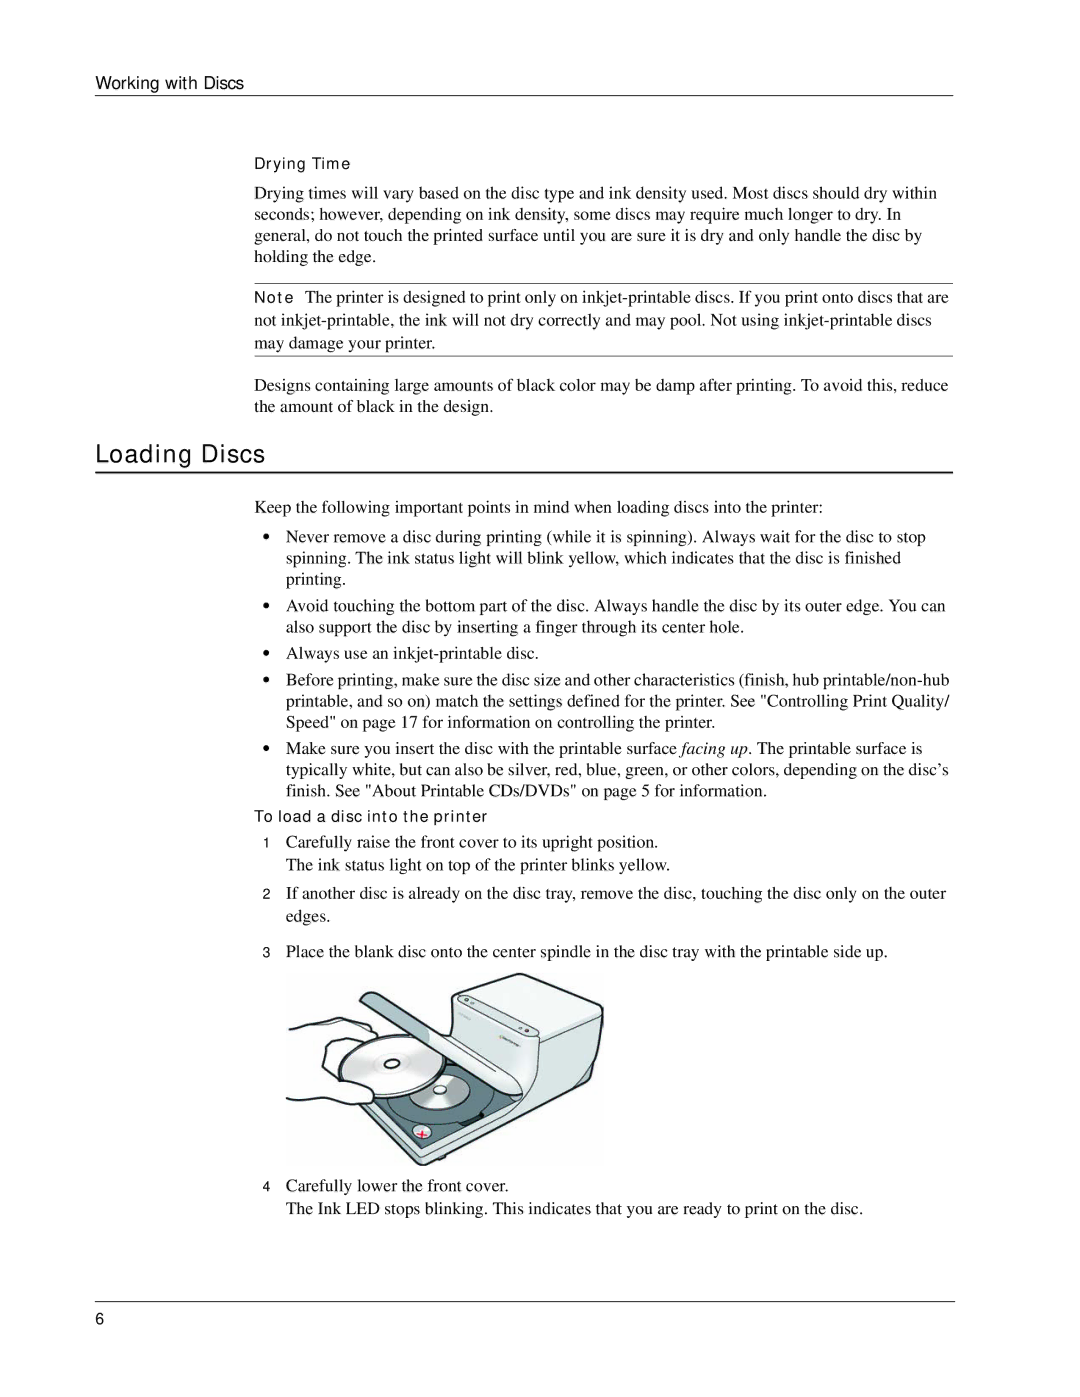
3Place the blank disc onto the center spindle in the disc tray with the printable side up.
4Carefully lower the front cover.
The Ink LED stops blinking. This indicates that you are ready to print on the disc.
6