4.Press again to show both status information and camera information.
5.Press again to hide all information.
4.10 SEQUENCE
1.By mouse: Click Sequence button ![]() to enter the auto sequential switching mode.
to enter the auto sequential switching mode.
2.By front panel: Click Sequence button on front panel to enter the auto sequential switching mode.
4.11 MONITOR
The DVR can connect to main monitor and call monitors simultaneously, but only one of them can be controlled at one time. This feature allows user to switch control between three monitors.
Switch control by using a mouse
Click on “Monitor” button in menu or click global information icon “![]() ” to switch control to call monitor.
” to switch control to call monitor.
“![]() “ button means the main monitor is selected. “
“ button means the main monitor is selected. “![]() “ button means the call monitor 1 is selected.
“ button means the call monitor 1 is selected.
“![]() ” means the call monitor 2 (HDMI monitor) is selected.
” means the call monitor 2 (HDMI monitor) is selected.
Switch control from front panel
Click “Monitor” button on front panel to switch control of monitor. The light right next to “Monitor” button indicates which monitor is active: “M” indicates main monitor, “1” indicates call monitor 1, “2” indicates call monitor 2.
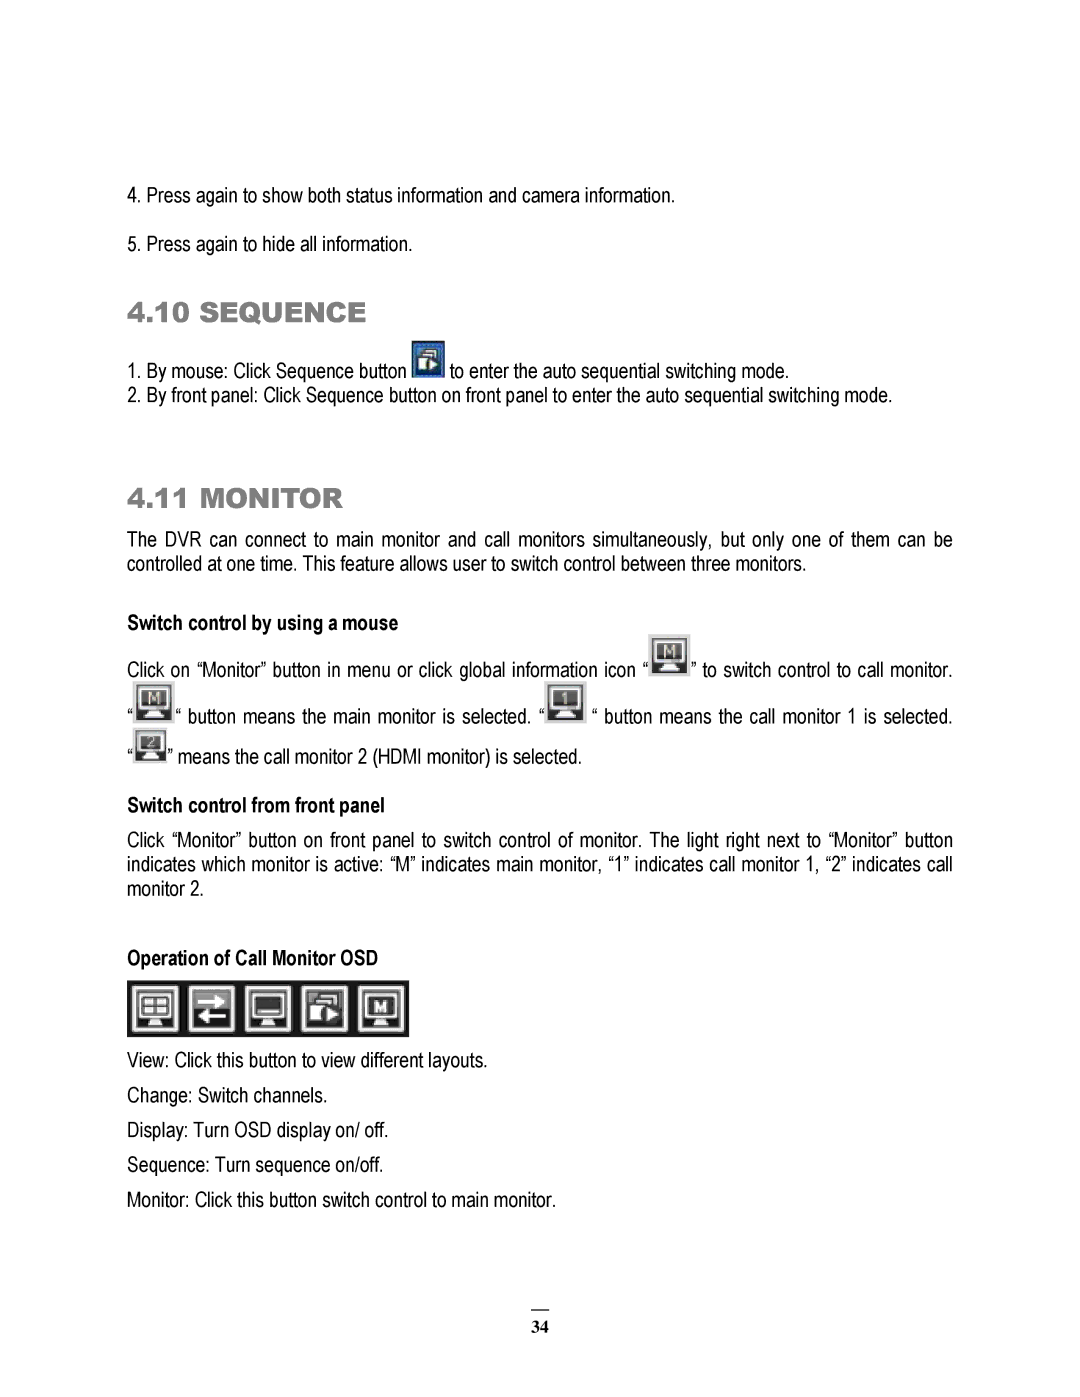
Operation of Call Monitor OSD
View: Click this button to view different layouts.
Change: Switch channels.
Display: Turn OSD display on/ off.
Sequence: Turn sequence on/off.
Monitor: Click this button switch control to main monitor.
34