INSTALLATION
19)Connect the DC spark generator wires to the SIT Valve with the screw, which is provided in the kit.
20)Locate the ground lug at the receptical box, left of the unit.
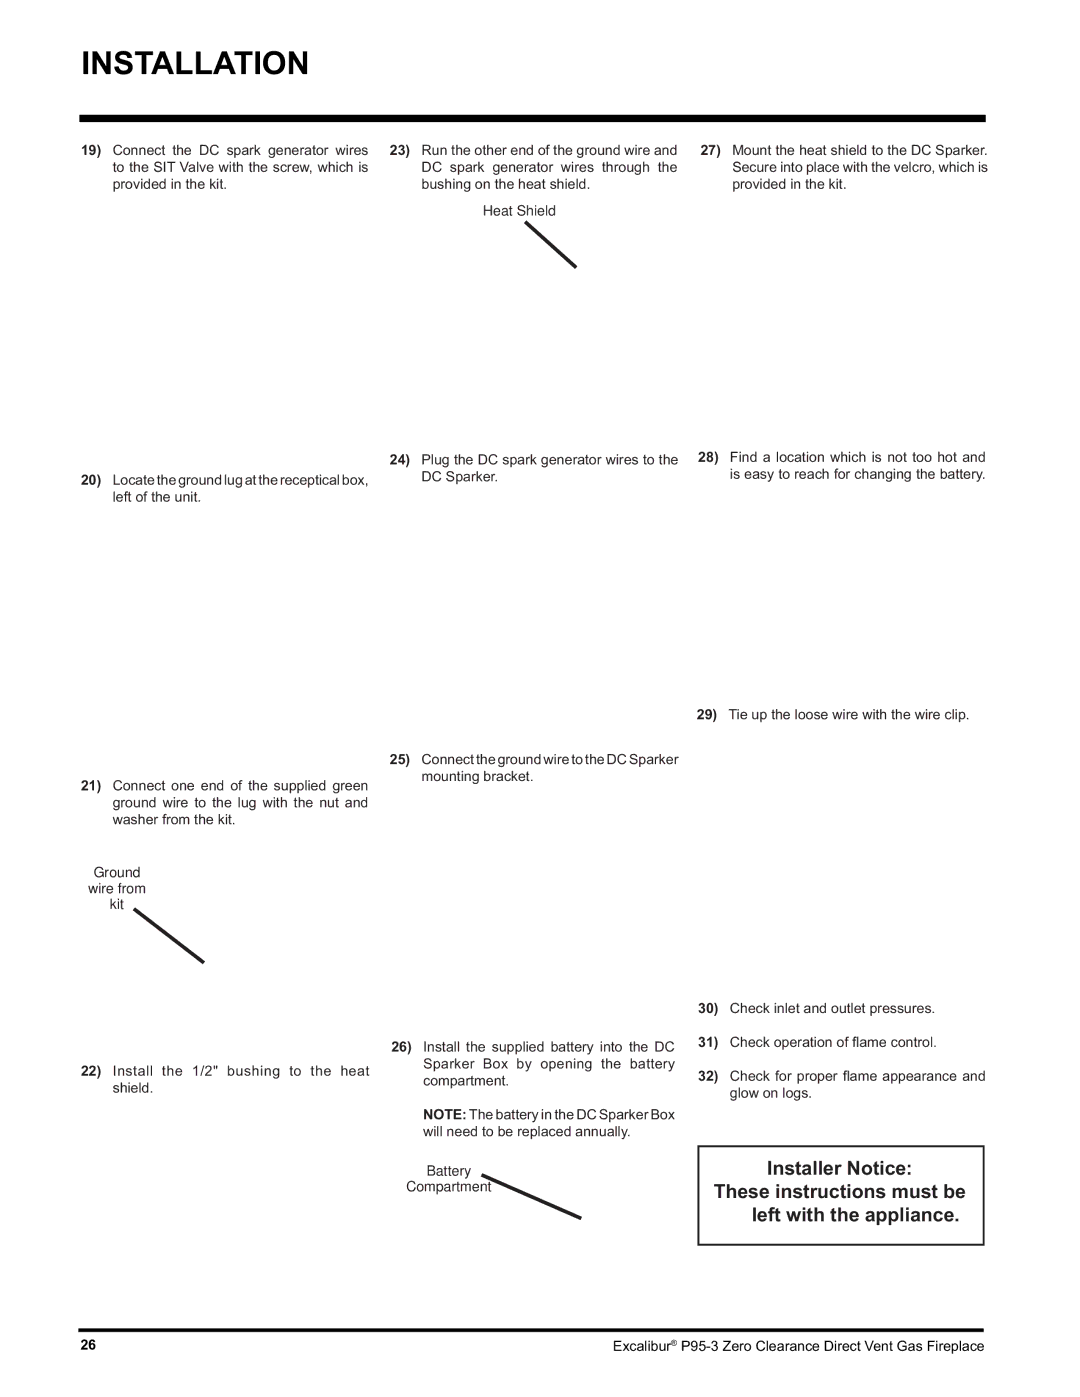
23)Run the other end of the ground wire and DC spark generator wires through the bushing on the heat shield.
Heat Shield
24)Plug the DC spark generator wires to the DC Sparker.
27)Mount the heat shield to the DC Sparker. Secure into place with the velcro, which is provided in the kit.
28)Find a location which is not too hot and is easy to reach for changing the battery.
29)Tie up the loose wire with the wire clip.
25) Connect the ground wire to the DC Sparker
21) Connect one end of the supplied green ground wire to the lug with the nut and washer from the kit.
Ground
wire from
kit
mounting bracket.
22)Install the 1/2" bushing to the heat shield.
26)Install the supplied battery into the DC Sparker Box by opening the battery compartment.
NOTE: The battery in the DC Sparker Box will need to be replaced annually.
Battery
Compartment
30)Check inlet and outlet pressures.
31)Check operation of fl ame control.
32)Check for proper fl ame appearance and glow on logs.
Installer Notice:
These instructions must be left with the appliance.
26 | Excalibur® |