INSTALLATION
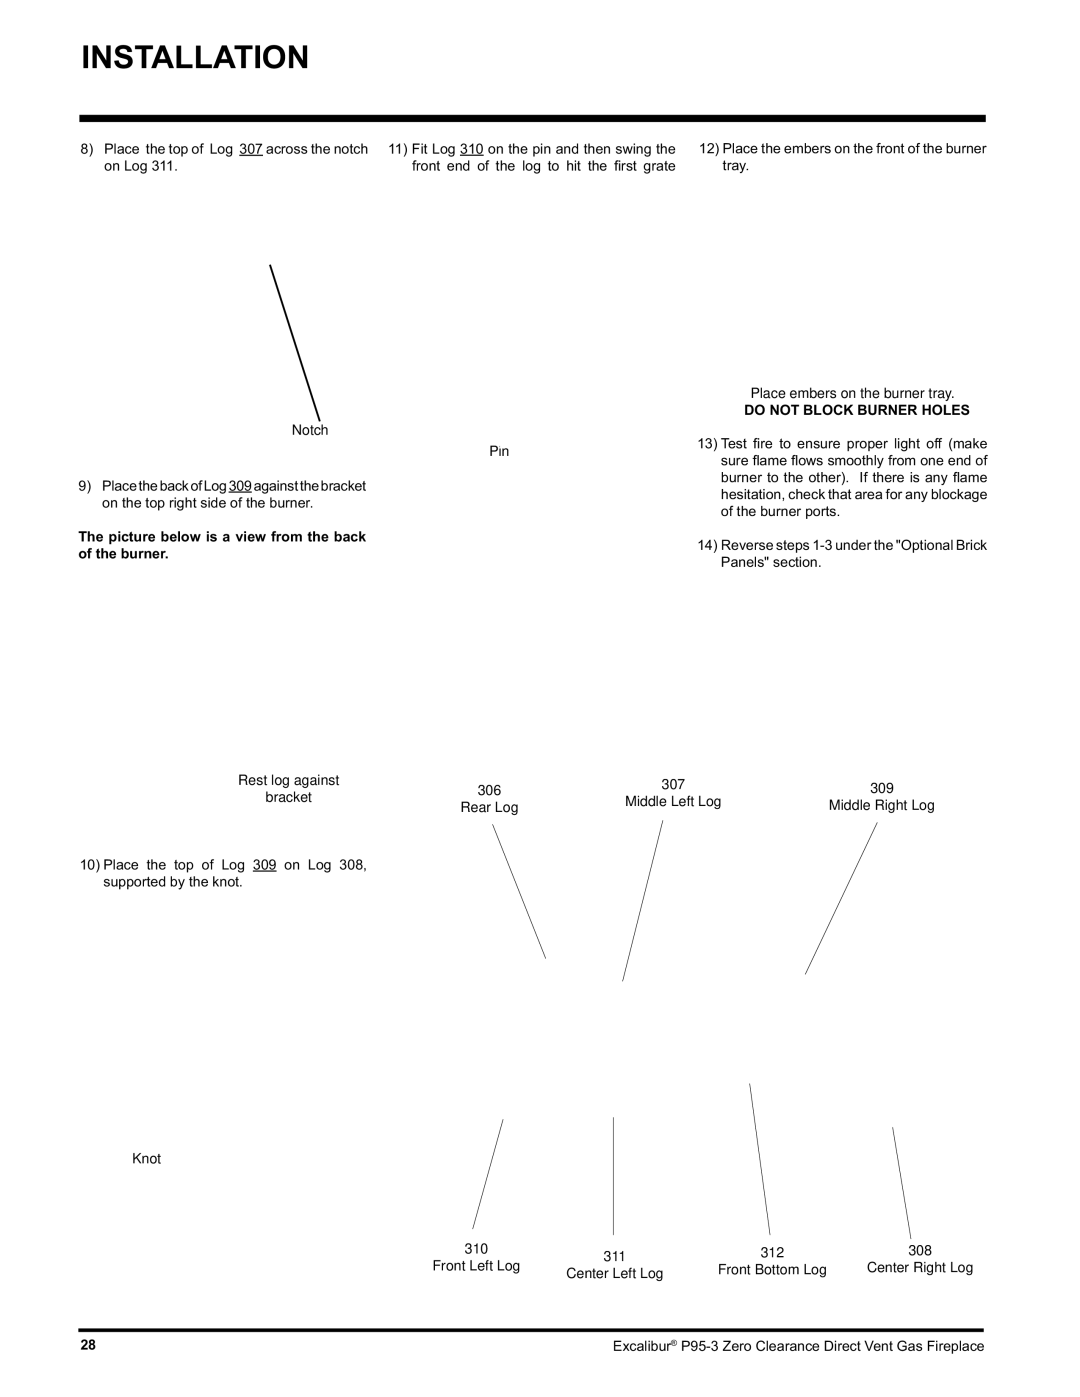
8)Place the top of Log 307 across the notch on Log 311.
11)Fit Log 310 on the pin and then swing the front end of the log to hit the fi rst grate
12)Place the embers on the front of the burner tray.
306
311
307
310
Notch
Pin
9)PlacethebackofLog309againstthebracket on the top right side of the burner.
The picture below is a view from the back of the burner.
309
Rest log against
bracket306 Rear Log
311
Place embers on the burner tray.
DO NOT BLOCK BURNER HOLES
13)Test fi re to ensure proper light off (make sure fl ame fl ows smoothly from one end of burner to the other). If there is any fl ame hesitation, check that area for any blockage of the burner ports.
14)Reverse steps
307 | 309 |
Middle Left Log | Middle Right Log |
10)Place the top of Log 309 on Log 308, supported by the knot.
309
308
Knot
310
Front Left Log
311 | 312 | 308 |
Center Left Log | Front Bottom Log | Center Right Log |
28 | Excalibur® |
