Web Browser Operation
Model 8800 User's Manual
1The central position of the window is the camera view. If you selected “Automatically Open All Previews” at Login, all available camera feeds display. A
2In the bottom left corner of each individual camera view, is the status (e.g., previewing or idle). In the example, the camera is in preview mode.
3The right bottom corner of each channel view has the camera view tools.
Increase/decrease image contrast.
Increase/decrease brightness.
Start/stop voice monitoring (icon turns green when recording).
Start/stop recording (icon turns green when recording and opens a dialog for local storage).
Take snapshot of the displayed image.
Close the window view (click on a channel in the channel list on the left to reopen the window).
4The status of camera views with no video feed is indicated as idle.
5Available Cameras list. Click on a channel to display this camera view. Press the buttons at the bottom of the camera list to Open All or Close All camera views.
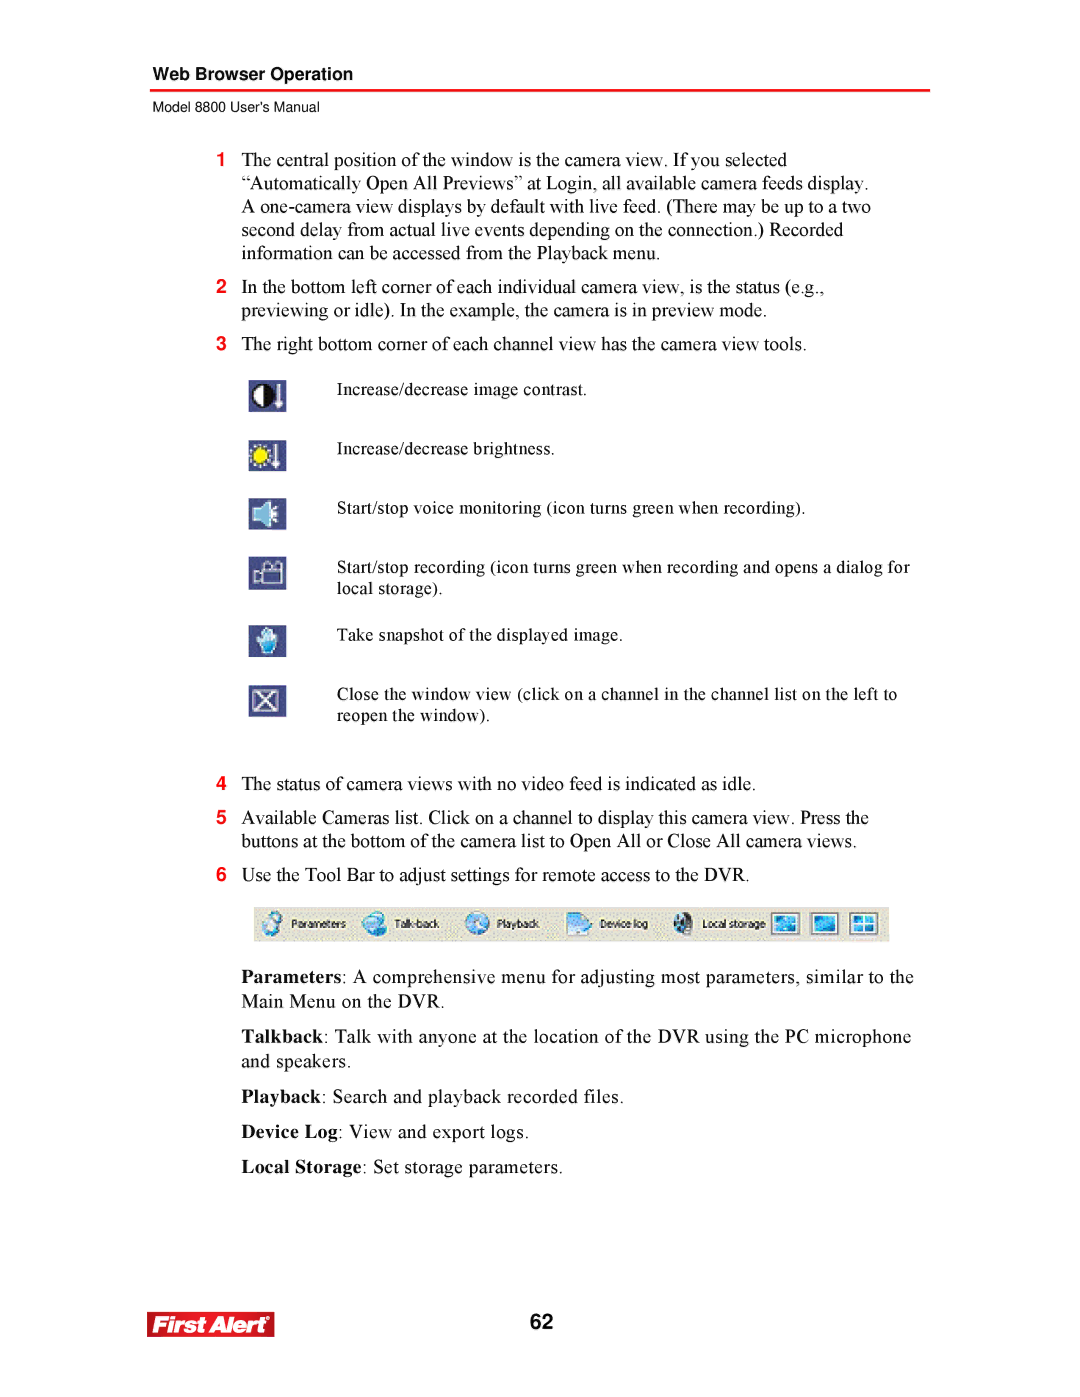
6Use the Tool Bar to adjust settings for remote access to the DVR.
Parameters: A comprehensive menu for adjusting most parameters, similar to the Main Menu on the DVR.
Talkback: Talk with anyone at the location of the DVR using the PC microphone and speakers.
Playback: Search and playback recorded files.
Device Log: View and export logs.
Local Storage: Set storage parameters.
62