First Alert FA148CPSSIA Special Messages, Task, Command/Explanation, Go to a Data Field, above

Models: FA148CPSSIA

1 40
Download 40 pages 18.24 Kb
Page 3
Image 3
Task

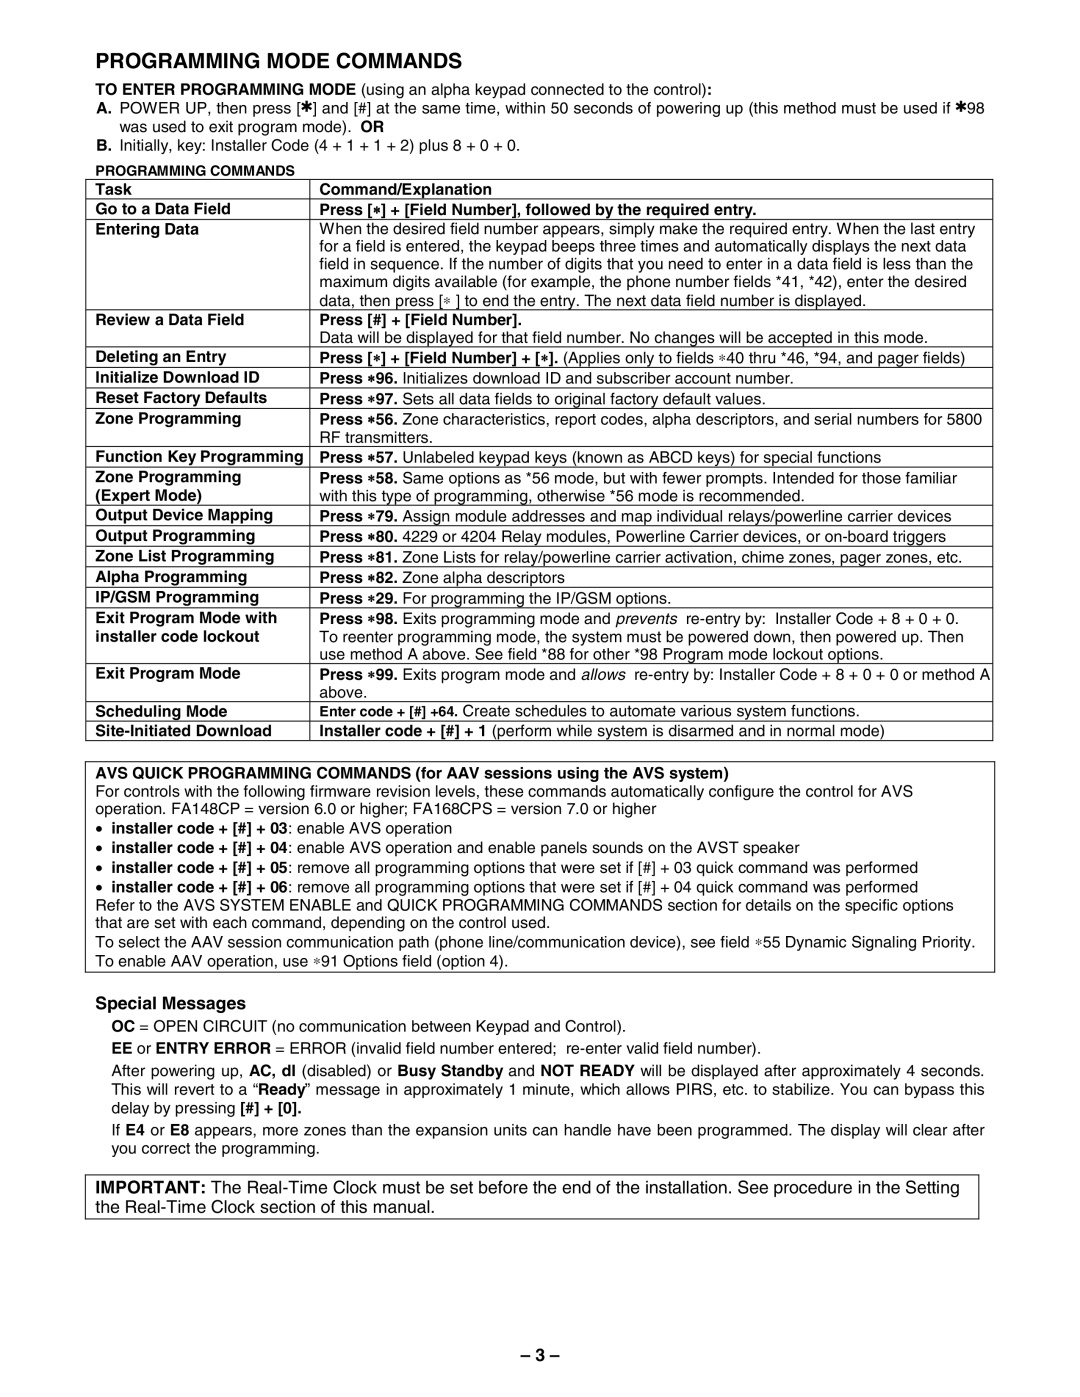
PROGRAMMING MODE COMMANDS

TO ENTER PROGRAMMING MODE (using an alpha keypad connected to the control):

A.POWER UP, then press [] and [#] at the same time, within 50 seconds of powering up (this method must be used if 98 was used to exit program mode). OR

B.Initially, key: Installer Code (4 + 1 + 1 + 2) plus 8 + 0 + 0.

PROGRAMMING COMMANDS

Task

Command/Explanation

Go to a Data Field

Press [] + [Field Number], followed by the required entry.

Entering Data

When the desired field number appears, simply make the required entry. When the last entry


for a field is entered, the keypad beeps three times and automatically displays the next data


field in sequence. If the number of digits that you need to enter in a data field is less than the


maximum digits available (for example, the phone number fields *41, *42), enter the desired


data, then press [] to end the entry. The next data field number is displayed.

Review a Data Field

Press [#] + [Field Number].


Data will be displayed for that field number. No changes will be accepted in this mode.

Deleting an Entry

Press [] + [Field Number] + []. (Applies only to fields 40 thru *46, *94, and pager fields)

Initialize Download ID

Press 96. Initializes download ID and subscriber account number.

Reset Factory Defaults

Press 97. Sets all data fields to original factory default values.

Zone Programming

Press 56. Zone characteristics, report codes, alpha descriptors, and serial numbers for 5800


RF transmitters.

Function Key Programming

Press 57. Unlabeled keypad keys (known as ABCD keys) for special functions

Zone Programming

Press 58. Same options as *56 mode, but with fewer prompts. Intended for those familiar

(Expert Mode)

with this type of programming, otherwise *56 mode is recommended.

Output Device Mapping

Press 79. Assign module addresses and map individual relays/powerline carrier devices

Output Programming

Press 80. 4229 or 4204 Relay modules, Powerline Carrier devices, or on-board triggers

Zone List Programming

Press 81. Zone Lists for relay/powerline carrier activation, chime zones, pager zones, etc.

Alpha Programming

Press 82. Zone alpha descriptors

IP/GSM Programming

Press 29. For programming the IP/GSM options.

Exit Program Mode with

Press 98. Exits programming mode and prevents re-entry by: Installer Code + 8 + 0 + 0.

installer code lockout

To reenter programming mode, the system must be powered down, then powered up. Then


use method A above. See field *88 for other *98 Program mode lockout options.

Exit Program Mode

Press 99. Exits program mode and allows re-entry by: Installer Code + 8 + 0 + 0 or method A


above.

Scheduling Mode

Enter code + [#] +64. Create schedules to automate various system functions.

Site-Initiated Download

Installer code + [#] + 1 (perform while system is disarmed and in normal mode)

AVS QUICK PROGRAMMING COMMANDS (for AAV sessions using the AVS system)

For controls with the following firmware revision levels, these commands automatically configure the control for AVS operation. FA148CP = version 6.0 or higher; FA168CPS = version 7.0 or higher

installer code + [#] + 03: enable AVS operation

installer code + [#] + 04: enable AVS operation and enable panels sounds on the AVST speaker

installer code + [#] + 05: remove all programming options that were set if [#] + 03 quick command was performed

installer code + [#] + 06: remove all programming options that were set if [#] + 04 quick command was performed Refer to the AVS SYSTEM ENABLE and QUICK PROGRAMMING COMMANDS section for details on the specific options

that are set with each command, depending on the control used.

To select the AAV session communication path (phone line/communication device), see field 55 Dynamic Signaling Priority. To enable AAV operation, use 91 Options field (option 4).

Special Messages

OC = OPEN CIRCUIT (no communication between Keypad and Control).

EEor ENTRY ERROR = ERROR (invalid field number entered; re-enter valid field number).

After powering up, AC, dI (disabled) or Busy Standby and NOT READY will be displayed after approximately 4 seconds. This will revert to a “Ready” message in approximately 1 minute, which allows PIRS, etc. to stabilize. You can bypass this delay by pressing [#] + [0].

If E4 or E8 appears, more zones than the expansion units can handle have been programmed. The display will clear after you correct the programming.

IMPORTANT: The Real-Time Clock must be set before the end of the installation. See procedure in the Setting the Real-Time Clock section of this manual.

– 3 –

Page 3
Image 3
First Alert FA148CPSSIA Special Messages, Task, Command/Explanation, Go to a Data Field, Entering Data, Deleting an Entry