Advanced Imager Operation 3
Setting Alarm Limits
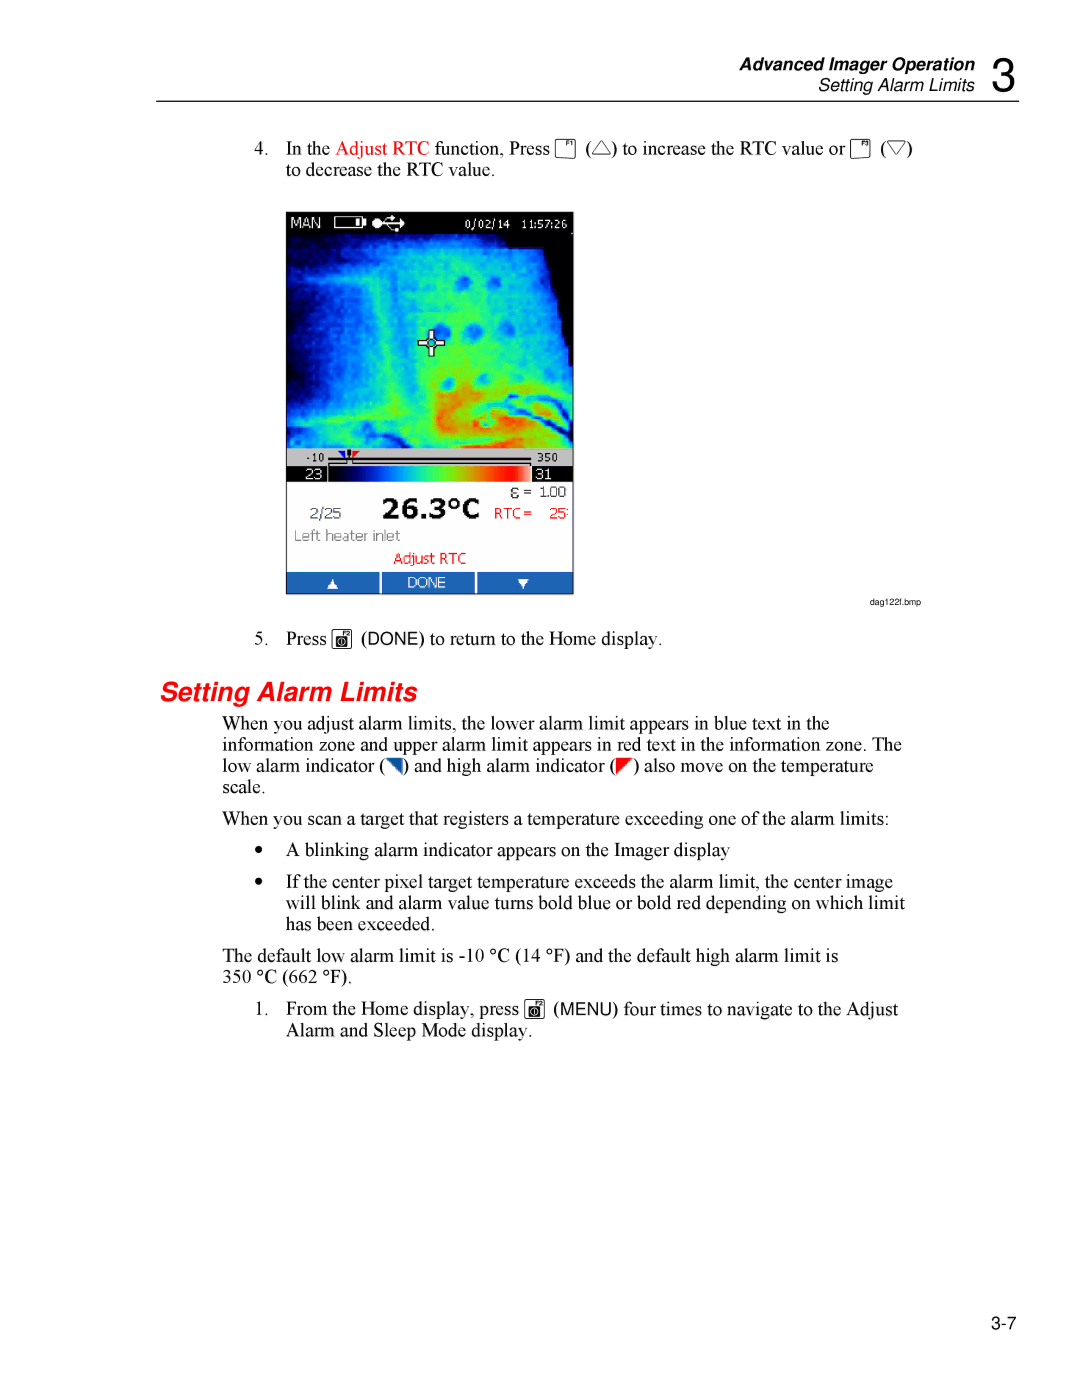
4.In the Adjust RTC function, Press F(2) to increase the RTC value or H(1) to decrease the RTC value.
dag122f.bmp
5. Press G(DONE) to return to the Home display.
Setting Alarm Limits
When you adjust alarm limits, the lower alarm limit appears in blue text in the information zone and upper alarm limit appears in red text in the information zone. The low alarm indicator (![]() ) and high alarm indicator (
) and high alarm indicator (![]() ) also move on the temperature scale.
) also move on the temperature scale.
When you scan a target that registers a temperature exceeding one of the alarm limits:
•A blinking alarm indicator appears on the Imager display
•If the center pixel target temperature exceeds the alarm limit, the center image will blink and alarm value turns bold blue or bold red depending on which limit has been exceeded.
The default low alarm limit is
350°C (662 °F).
1.From the Home display, press G(MENU) four times to navigate to the Adjust Alarm and Sleep Mode display.
