ProHD
Page
Legal Notices
Contacting Focus Enhancements
Serial Number
FCC Class a
Symbols Used in This Documentation
Symbol Used In the ProHD DR-HD100 Unit
Documentation Read, Retain, and Follow Instructions
Power Sources
Electrical Precautions Do Not Expose to Moisture
On / OFF Switch in Stand-By Position
Do Not Overload Power Outlets
Grounding or Polarization
Lightning and Power Surges
Outdoor Antenna Grounding
Maintenance and Moving Cleaning
Power Lines
Optical Precaution
Servicing
Operating Environment Location
Accessories and Replacement Parts
Safety Check
Ventilation
Table of Contents
DR-HD100 Using with a Computer
DR-HD100 Functions
Upgrade Errors
LCD Display Symbols and Text
Technical Specifications
Page
Page
Introduction
DTE Eliminates Pre-edit Processing
Unpacking
Missing or Damaged Components
DR-HD100 Features
Features
DR-HD100 offers the following features
Compact, Lightweight, Rugged Design
Quickstart
LCD Display
Physical Description and Basic Controls
Front Panel Controls
Function buttons A, B, C
Navigation Buttons
Power On Button
Power on button provides two functions
Transport Control Buttons
Fast Forward and Reverse
Search Modes and HD Recorder Mode
Some HDV Camcorders Require a Moment to Synchronize
Fast Forward and Reverse Search Compatible Camcorders
Using Back Index with Short Clips
Back Index WW
Fast Charge Mode Maximum charging rate
Top panel contains the following connectors and LEDs
Floating Charge Mode Charging almost completed
Power on Power On but there is no activity
Camera FireWire Connector
Computer FireWire Connector
Remote Control, Serial Connector
Channel Audio
Rear panel contains the following important items
Rear Panel
Side Panel
Side panel contains cooling vents as illustrated below
Power Speaker
Bottom Panel
Contains the following selections
Only appears for several seconds upon power up
DR-HD100 Menu System
Provides lists to select play material from
Contains the following disk and clip functions
Contains the following hard drive selections
EXT CTL File
When selecting HD Recorder the format displayed is
Contains the following recording functions
Powering the DR-HD100
Connecting the DR-HD100 to AC Power
Installing a Battery
Installing / Removing the Battery Pack
Removing a Battery
Charging the Battery
Using FireWire to Charge DR-HD100
DR-HD100 Supplied with 6-pin to 6-pin FireWire Cable
Connecting a DR-HD100 to a DV/HD Camcorder
GY-HD100/101 FireWire Connector
To power OFF Hold down for 3-5 seconds
Power On the DR-HD100
Record and Playback with the DR-HD100
Select HDD Recorder Mode
DV Formats RAW DV AVI TYPE1 AVI TYPE2 Canopus AVI
Select a DV/HD File Format
DV24p and PAL 25p Modes
Lcdlight on
Setup
Set Time and Date
SET Date
SET Time
There are four modes of recording with the DR-HD100
Series to enable control of the DR-HD100
Record With the DR-HD100
Control with the DR-HD100 transport buttons
Verify Record Mode Matches Source Video Content and Format
Troubleshooting Counter Not Incrementing
Short Delay When Switching from VTR to Camera Mode
Manual Recording
Creating a New File without Dropping Frames
Important GY-HD100 Setting
Control Local JVC GY-HD Syncro Slave AV / C
GY-HD100 OTHER→BACK Spacehdv Setting
Series Record and Split Slave Control Modes
Syncro Slave
Control JVC GY-HD Syncro Slave AV / C -EXTERNAL
External
Recording Timecode in the File
Function buttons
Playback on the DR-HD100
DR-HD100 Using with a Computer
Recording for Unsupported NLE
Initial Setup
For More Information
Use this procedure for Windows XP, 2000, 98SE and ME
Mounting the DR-HD100 in Windows
DR-HD100 Video Clips in Reel Folder
HD Resolution and Frames
DR-HD100 and FAT
Using Avid OMF Clips Required for DV mode only
Organize OMF Function
Locate and select the DR-HD100 under Media Drives
If Drive Does Not Appear
Dismounting the DR-HD100 Windows
To do dismount the DR-HD100
Before Connecting DR-HD100 to a Computer
Mounting the DR-HD100 Macintosh
Dismounting the DR-HD100 Macintosh
To dismount the DR-HD100 from a Mac
Clipping to a Belt
Mounting Hardware
Mounting DR-HD100 to a Camcorder
Belt Mount Clip Front View
Navigation Tip Jump to Top of Display Using the Left Button
Jump to Home display Using Select Button
General Screen Information
Welcome Screen
Counter
Home Screen
Reel Disp
Disp display Information Fields
Field Data Type Number Data Description
Press OK to clear the screen and return to the last screen
Power Remaining
DR-HD100 System Information Screens
DV Ntsc or PAL and HD
Record Screens
Record Normal Retro Disk Retro Cache Loop Record
Normal Record
Retro Cache Record Mode
Retro Cache Back
Retro Disk HDD Avail
Retro Disk Record Mode
Retro Time
Saving Loop Record Clips
Loop Record
Another Method to Capture Single Frames
Time Lapse Record DV modes only
Time Lapse
Power-cycle After Changing Recorder Modes
HDD Mode Screen
Switching Between Recorder Modes DV and HD
This screen displays the following items
USE EXT DR-HD
Setting Up Master and Slave DR-HD100
Master DR-HD100 Slave DR-HD100
DV Formats RAW DV AVI Type 1 AVI Type 2 Canopus AVI
Format Screen
DV Formats
DV formats include
HD Format Screen
Check regularly for updates
HD Formats
Setup Screens
EXT CTL Pause EXT CTL Frame EXT CTL File
Date
Time
LCD Light On, Off, Auto
Alarm On, Off
Version
Version
Displays the first frame of the clip
Stop Frame, Gray, No video
EXT CTL OFF, Pause, Frame, File
Displays a black frame
Following are timecode TC functions
When the DR-HD100 powers up in TC Regen mode, it
TC SET and UB SET Can Be Set at the Same Time
TC SET
TC SET
UB SET
UB SET
SET Contrast Value Back
Enables the drop-frame function
TC DROP, NON-DROP Ntsc only
Use with TC Free RUN or TC Regen
Functions Screen
Functions FA JVC GY-HD FA Sync FA AV / C FA External
Functions List
Menu
FB Blank
Stop Counter
Assigning Clips to Reels
Blank
Reel
Utilities Screen
Utilities available are
Organize OMF
Organize Reel
Organize Pinn
Use this item to delete a selected clip
Delete Clip
YES Back
Use Delete Clip Sparingly
Format Disk Press YES to Erase ALL Data YES Back
Format Disk
This selection formats the disk as follows
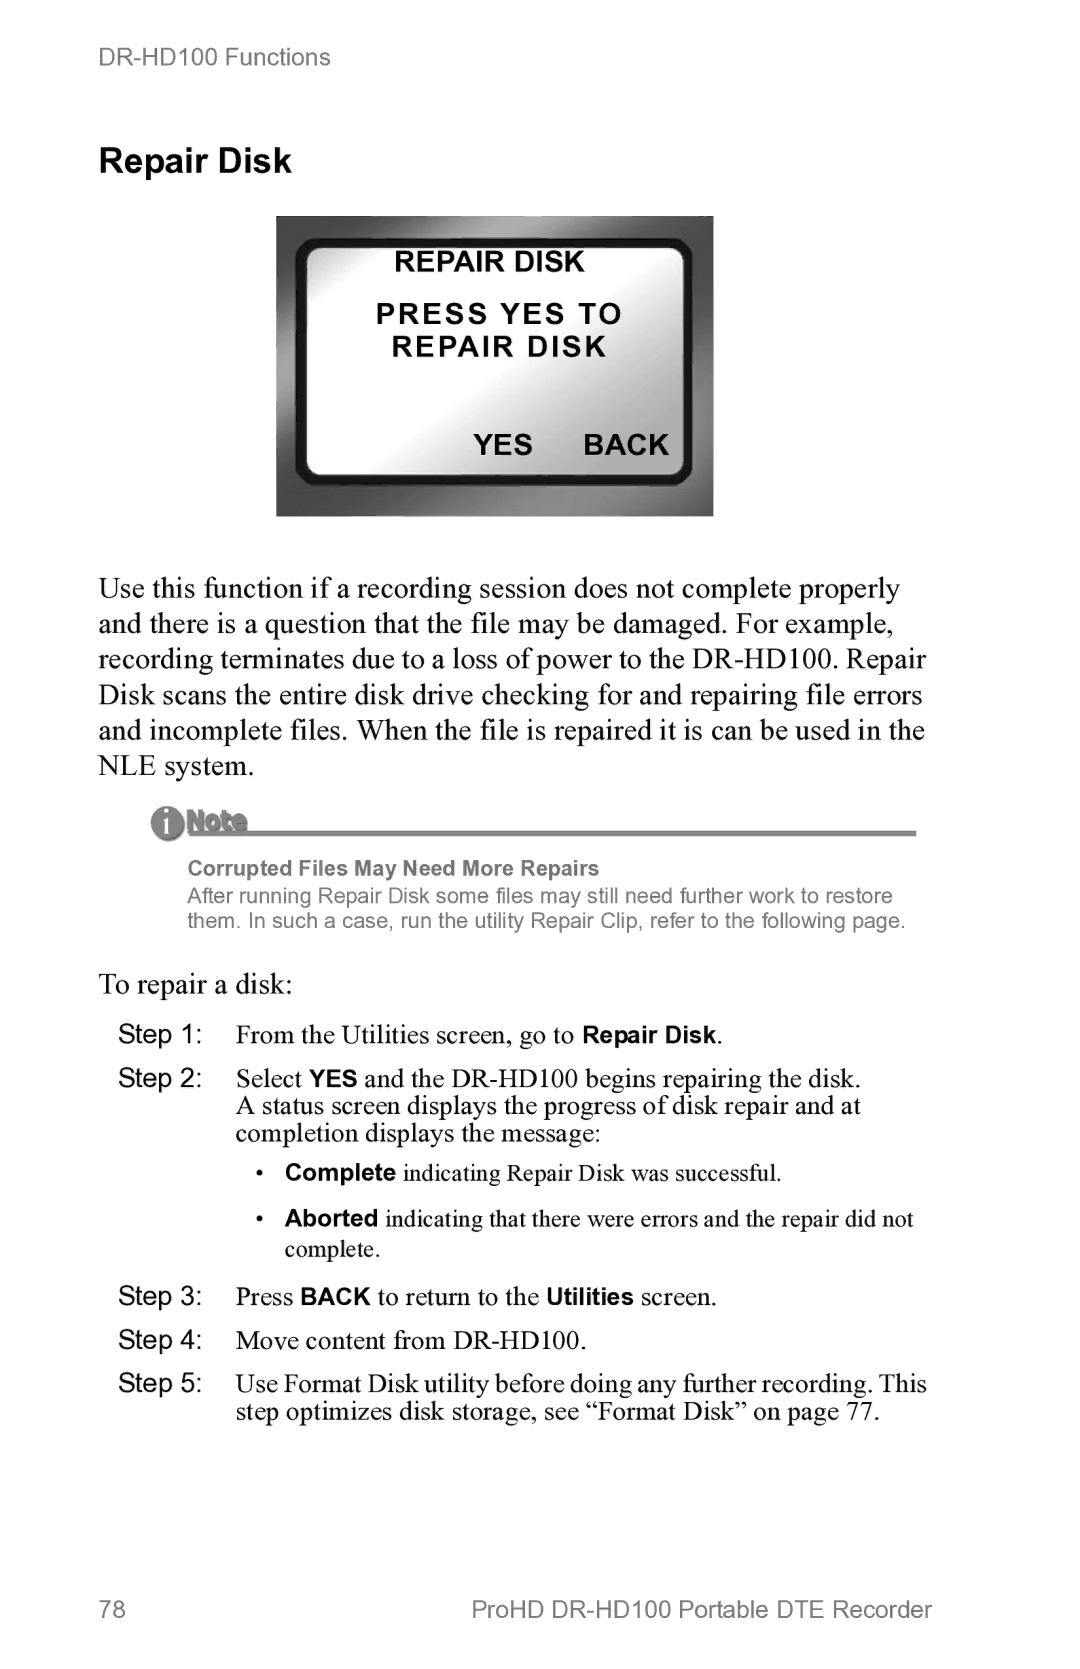
Repair Disk Press YES to YES Back
Repair Disk
To repair a disk
Repair Clip DV Mode only
Repair Clip
File Name
File Name
Upgrade
Upgrade Complete Please Restart
Upgrade Errors
Upgrade Error Wrong Product Exit
Upgrade Error File Not Found Exit
System Reset
Diagnostic
System Reset Continue to SYSTEM? YES Back
Status
Battery
Status
Reels
Reels Screen
Placing a Clip in a Reel
From the Reels screen, choose the Reels as follows
Using a Wired Remote Control
Optional Wired Remote Control p/n ACSS-0019-01
Play Screen
Play Play Clip Loop Clip Loop ALL Play ALL
Play From Screen
Play from Track List Reel List
Transport Keys Keeper
Control Screen
Control Local JVC GY-HD Syncro Slave AV/C
Reel
Do Not Use AV/C control in Record Mode
Camcorder Requirements for External Control Mode
LCD Display Symbols and Text
GY-HD100 1394 REC Trig Mode
REC
Physical Description
Power
Audio/Video/Timecode Specification
Input/Outputs
Disk Information
DTE File Formats
Log Files
Temperature
Error Messages
Warranty
Years, DR-HD100 Days Accessories including the battery
Compatible Camcorders and Accessories
Page
Release Part Number MANL-0995-04