GB

5

FREECOM FHD-1

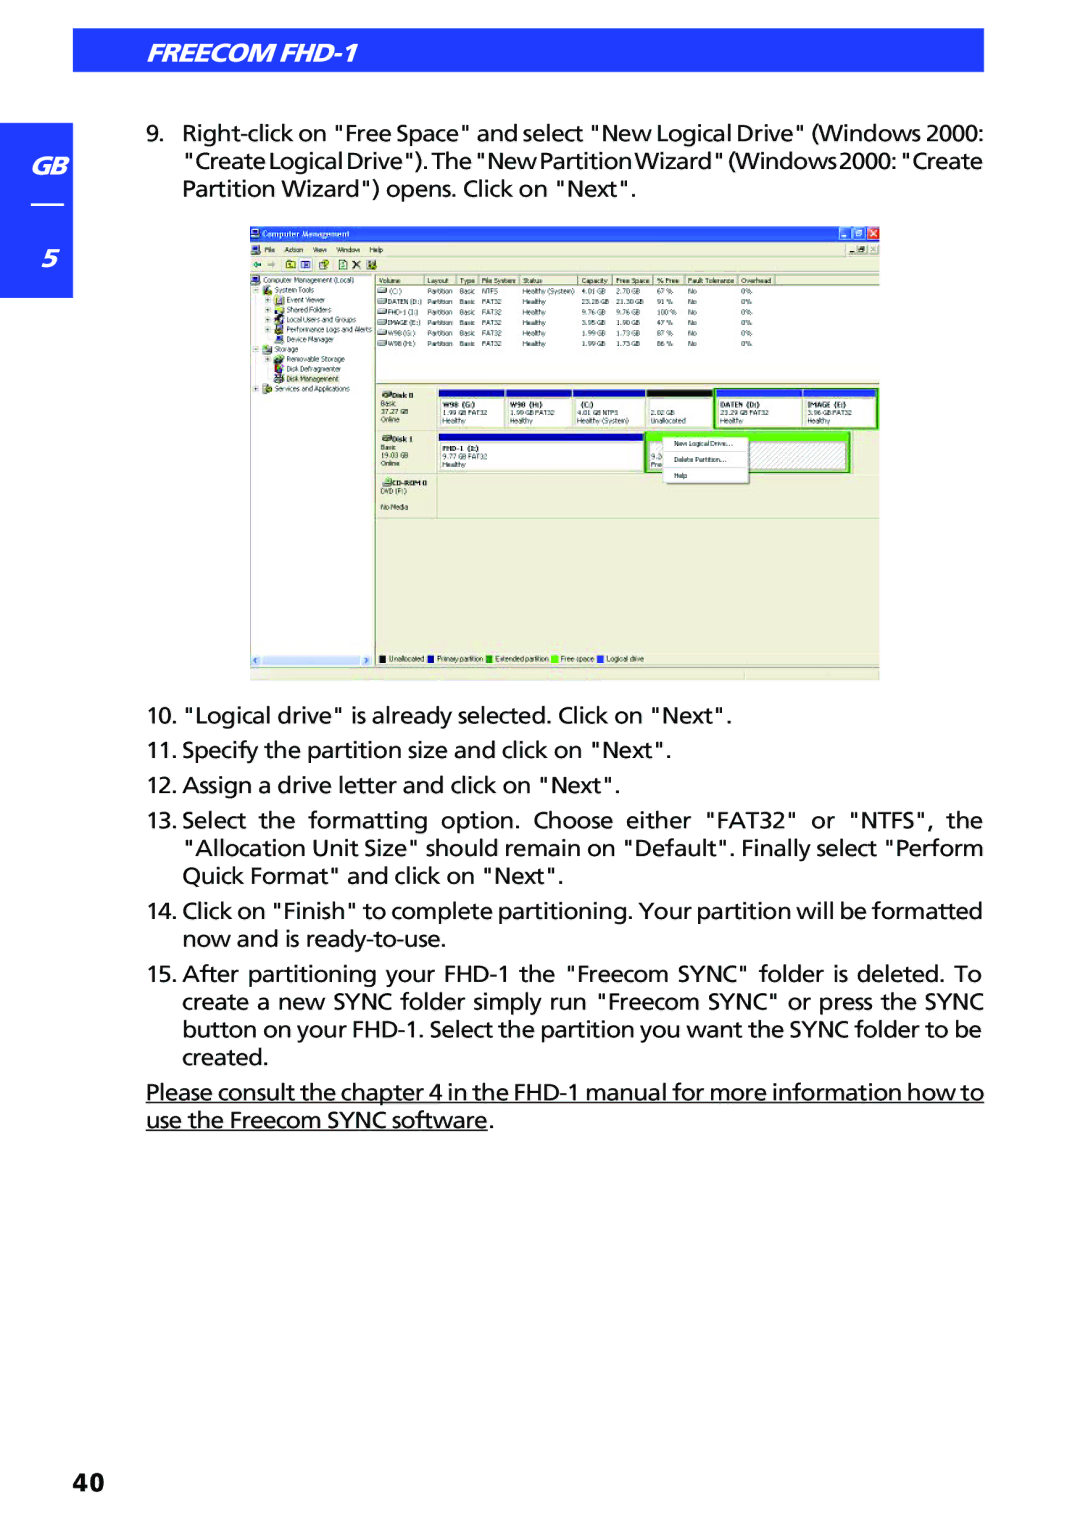
9.Right-click on "Free Space" and select "New Logical Drive" (Windows 2000: "CreateLogicalDrive").The"NewPartitionWizard"(Windows2000:"Create Partition Wizard") opens. Click on "Next".

10."Logical drive" is already selected. Click on "Next".

11.Specify the partition size and click on "Next".

12.Assign a drive letter and click on "Next".

13.Select the formatting option. Choose either "FAT32" or "NTFS", the "Allocation Unit Size" should remain on "Default". Finally select "Perform Quick Format" and click on "Next".

14.Click on "Finish" to complete partitioning. Your partition will be formatted now and is ready-to-use.

15.After partitioning your FHD-1 the "Freecom SYNC" folder is deleted. To create a new SYNC folder simply run "Freecom SYNC" or press the SYNC button on your FHD-1. Select the partition you want the SYNC folder to be created.

Please consult the chapter 4 in the FHD-1 manual for more information how to use the Freecom SYNC software.

40

Page 40
Image 40
Freecom Technologies manual Freecom FHD-1