*8196329* specifications
Frymaster 8196329 is a state-of-the-art commercial fryer that is engineered to meet the demands of busy kitchens while ensuring the highest quality of frying results. Known for its reliability and efficiency, this fryer's innovative features make it a preferred choice among chefs and restaurant operators.One of the standout features of the Frymaster 8196329 is its advanced oil filtration system. This system extends the life of the cooking oil, resulting in lower operational costs and improved food quality. The automatic filtration process removes impurities from the oil, enhancing flavor and ensuring a consistent frying experience. This feature is especially beneficial in high-volume environments, as it allows for minimal downtime and easy maintenance.
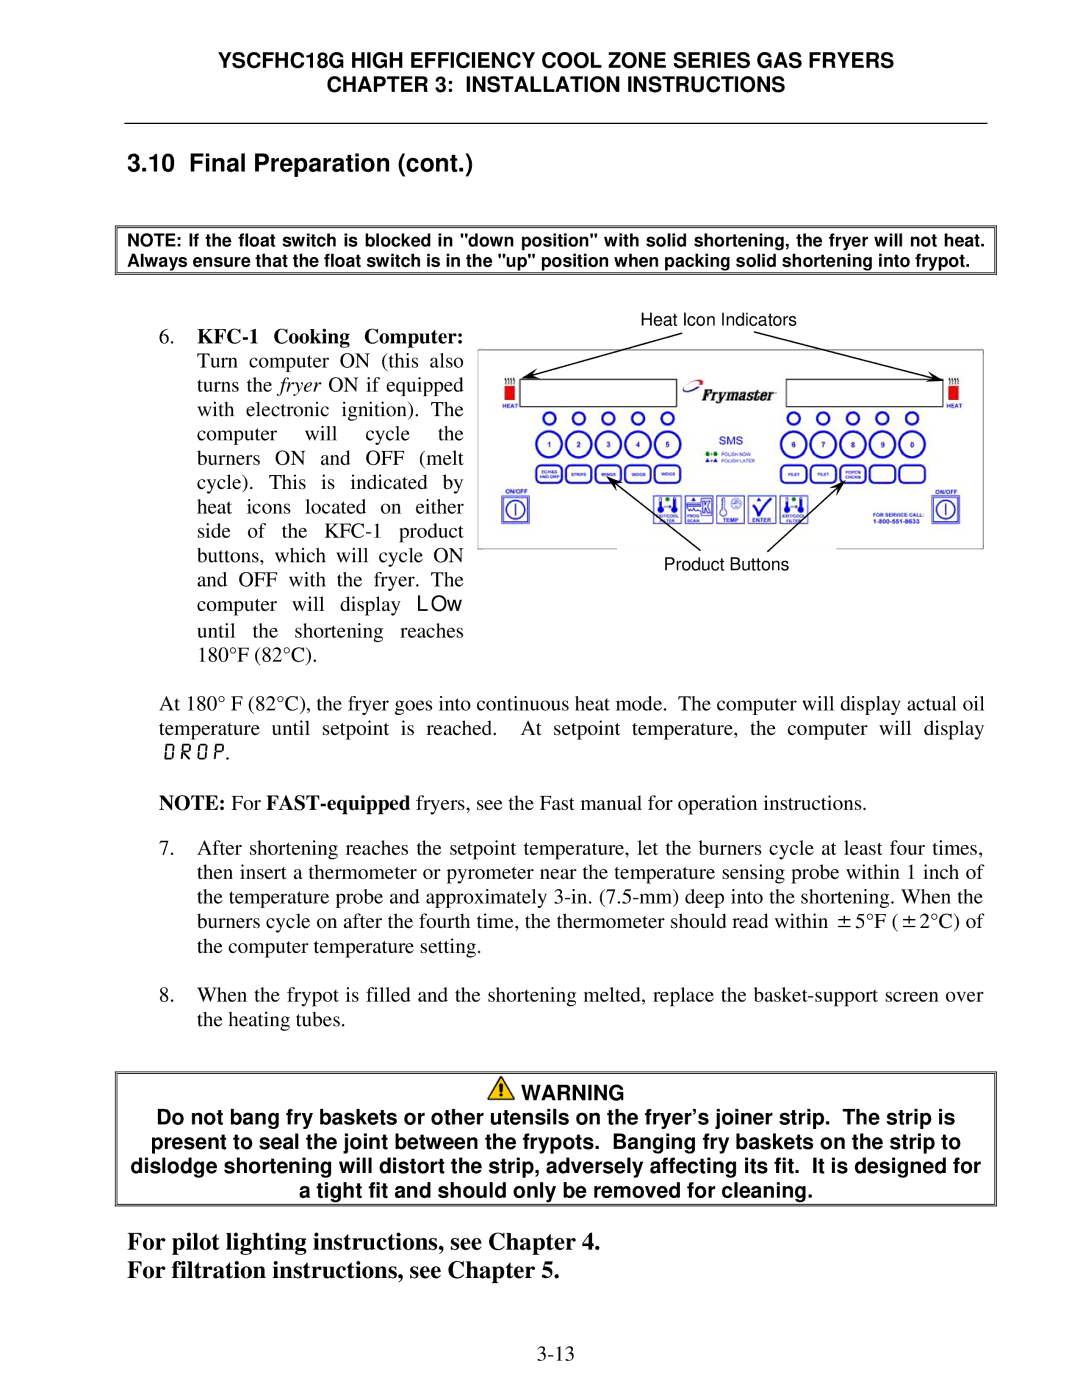
The Frymaster 8196329 is equipped with a variety of cooking controls that enhance usability. Its digital control panel offers precise temperature settings, promoting better control over the frying process. The intelligent temperature adjustment technology ensures that the oil maintains the optimal frying temperature, which is crucial for achieving perfectly crispy results. This ensures food is cooked uniformly while saving energy.
In addition to its cooking controls, the Frymaster 8196329 boasts a large capacity, accommodating various food types, from French fries to chicken wings. With multiple fry baskets, operators can cook different items simultaneously, thus increasing kitchen efficiency. The fryer's design promotes even heat distribution, which results in a consistent texture across all fried foods.
Another notable characteristic of the Frymaster 8196329 is its robust construction. Designed with heavy-duty materials, this fryer is built to withstand the rigorous demands of any commercial kitchen. The easy-to-clean surfaces and ergonomic design make maintenance less cumbersome, allowing kitchens to maintain a high standard of cleanliness.
The energy efficiency of the Frymaster 8196329 cannot be understated. With features designed to minimize energy consumption while maximizing output, it promotes a more sustainable approach to frying. This not only benefits the environment but also contributes to cost savings in the long run.
In summary, the Frymaster 8196329 embodies the perfect blend of technology, efficiency, and durability. With its advanced oil filtration system, intuitive controls, ample cooking capacity, and energy-efficient operation, it remains a top choice for those seeking high-quality performance in commercial frying applications.