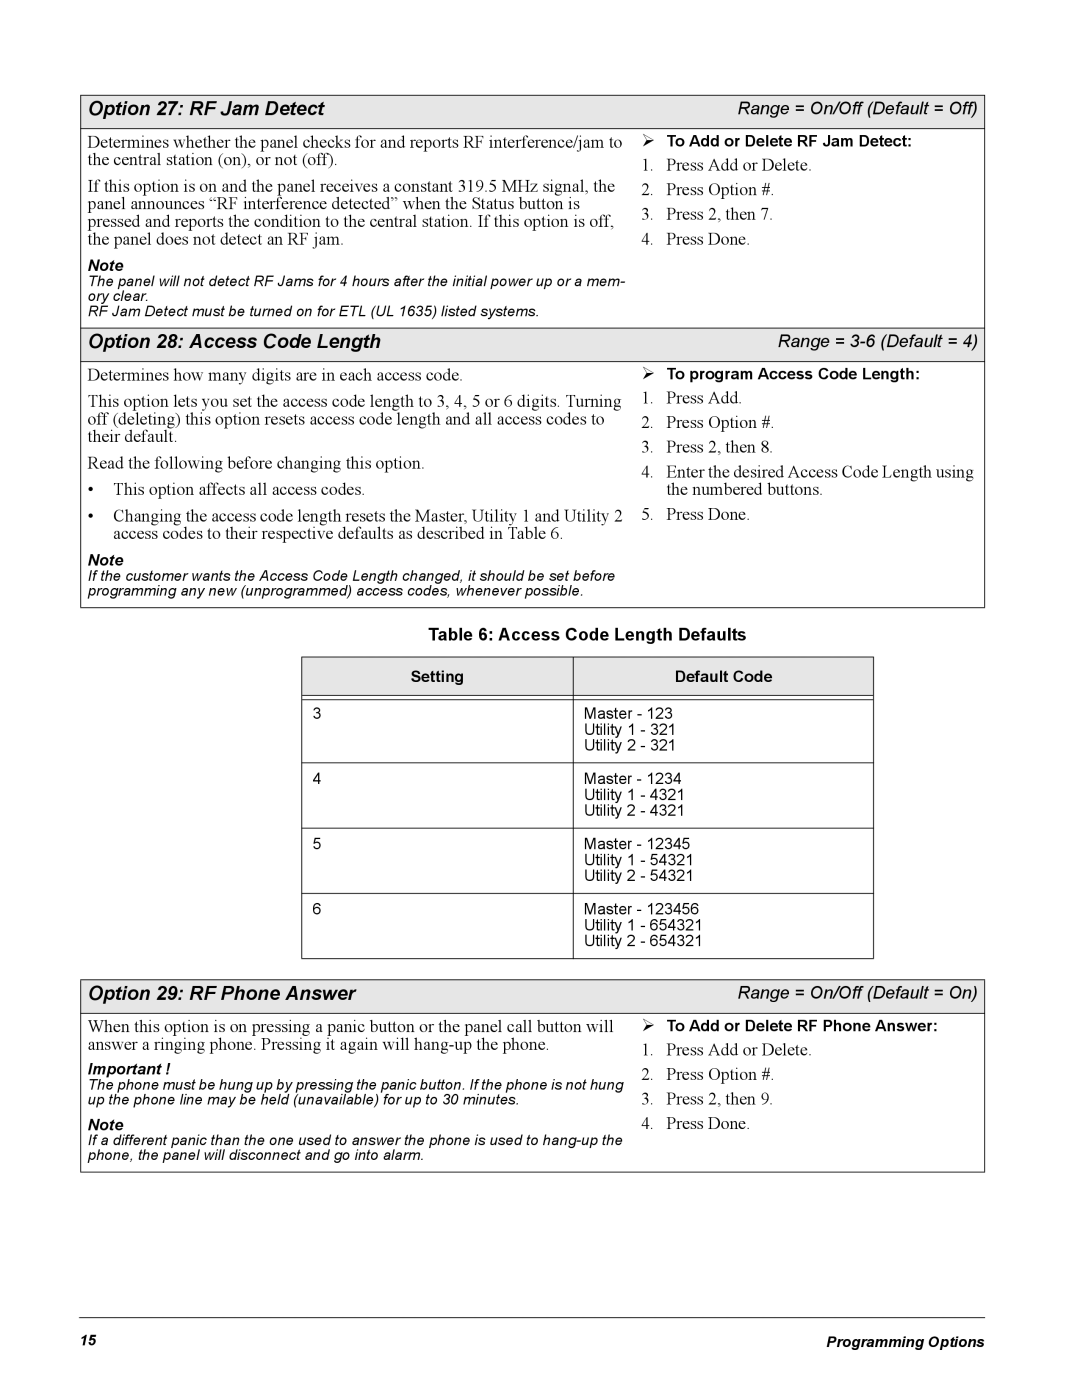
Option 27: RF Jam Detect |
|
| Range = On/Off (Default = Off) | |||
Determines whether the panel checks for and reports RF interference/jam to | ¾ To Add or Delete RF Jam Detect: | |||||
the central station (on), or not (off). |
| 1. | Press Add or Delete. | |||
If this option is on and the panel receives a constant 319.5 MHz signal, the | 2. | Press Option #. | ||||
panel announces “RF interference detected” when the Status button is |
| 3. | Press 2, then 7. | |||
pressed and reports the condition to the central station. If this option is off, | ||||||
the panel does not detect an RF jam. |
| 4. | Press Done. | |||
Note |
|
|
|
| ||
The panel will not detect RF Jams for 4 hours after the initial power up or a mem- |
|
|
| |||
ory clear. |
|
|
|
| ||
RF Jam Detect must be turned on for ETL (UL 1635) listed systems. |
|
|
|
| ||
|
|
|
|
|
|
|
Option 28: Access Code Length |
|
| Range = | |||
|
|
|
|
|
| |
Determines how many digits are in each access code. |
| ¾ To program Access Code Length: | ||||
This option lets you set the access code length to 3, 4, 5 or 6 digits. Turning | 1. | Press Add. | ||||
off (deleting) this option resets access code length and all access codes to | 2. | Press Option #. | ||||
their default. |
| 3. | Press 2, then 8. | |||
Read the following before changing this option. |
| |||||
| 4. | Enter the desired Access Code Length using | ||||
• This option affects all access codes. |
| |||||
|
| the numbered buttons. | ||||
• Changing the access code length resets the Master, Utility 1 and Utility 2 | 5. | Press Done. | ||||
access codes to their respective defaults as described in Table 6. |
|
|
|
| ||
Note |
|
|
|
| ||
If the customer wants the Access Code Length changed, it should be set before |
|
|
| |||
programming any new (unprogrammed) access codes, whenever possible. |
|
|
|
| ||
|
|
|
| |||
| Table 6: Access Code Length Defaults | |||||
|
|
|
|
|
|
|
| Setting |
|
|
| Default Code |
|
|
|
|
|
| ||
|
|
|
|
| ||
| 3 |
| Master - 123 |
| ||
|
|
| Utility 1 - 321 |
| ||
|
|
| Utility 2 - 321 |
| ||
|
|
|
|
| ||
| 4 |
| Master - 1234 |
| ||
|
|
| Utility 1 - 4321 |
| ||
|
|
| Utility 2 - 4321 |
| ||
|
|
|
|
| ||
| 5 |
| Master - 12345 |
| ||
|
|
| Utility 1 - 54321 |
| ||
|
|
| Utility 2 - 54321 |
| ||
|
|
|
|
| ||
| 6 |
| Master - 123456 |
| ||
|
|
| Utility 1 - 654321 |
| ||
|
|
| Utility 2 - 654321 |
| ||
|
|
|
|
|
|
|
|
|
|
| |||
Option 29: RF Phone Answer |
|
| Range = On/Off (Default = On) | |||
|
| |||||
When this option is on pressing a panic button or the panel call button will | ¾ To Add or Delete RF Phone Answer: | |||||
answer a ringing phone. Pressing it again will |
| 1. | Press Add or Delete. | |||
Important ! |
| 2. | Press Option #. | |||
The phone must be hung up by pressing the panic button. If the phone is not hung | ||||||
up the phone line may be held (unavailable) for up to 30 minutes. |
| 3. | Press 2, then 9. | |||
Note |
| 4. | Press Done. | |||
If a different panic than the one used to answer the phone is used to |
|
|
| |||
phone, the panel will disconnect and go into alarm. |
|
|
|
| ||
|
|
|
|
|
|
|
15 | Programming Options |
