Control Panel
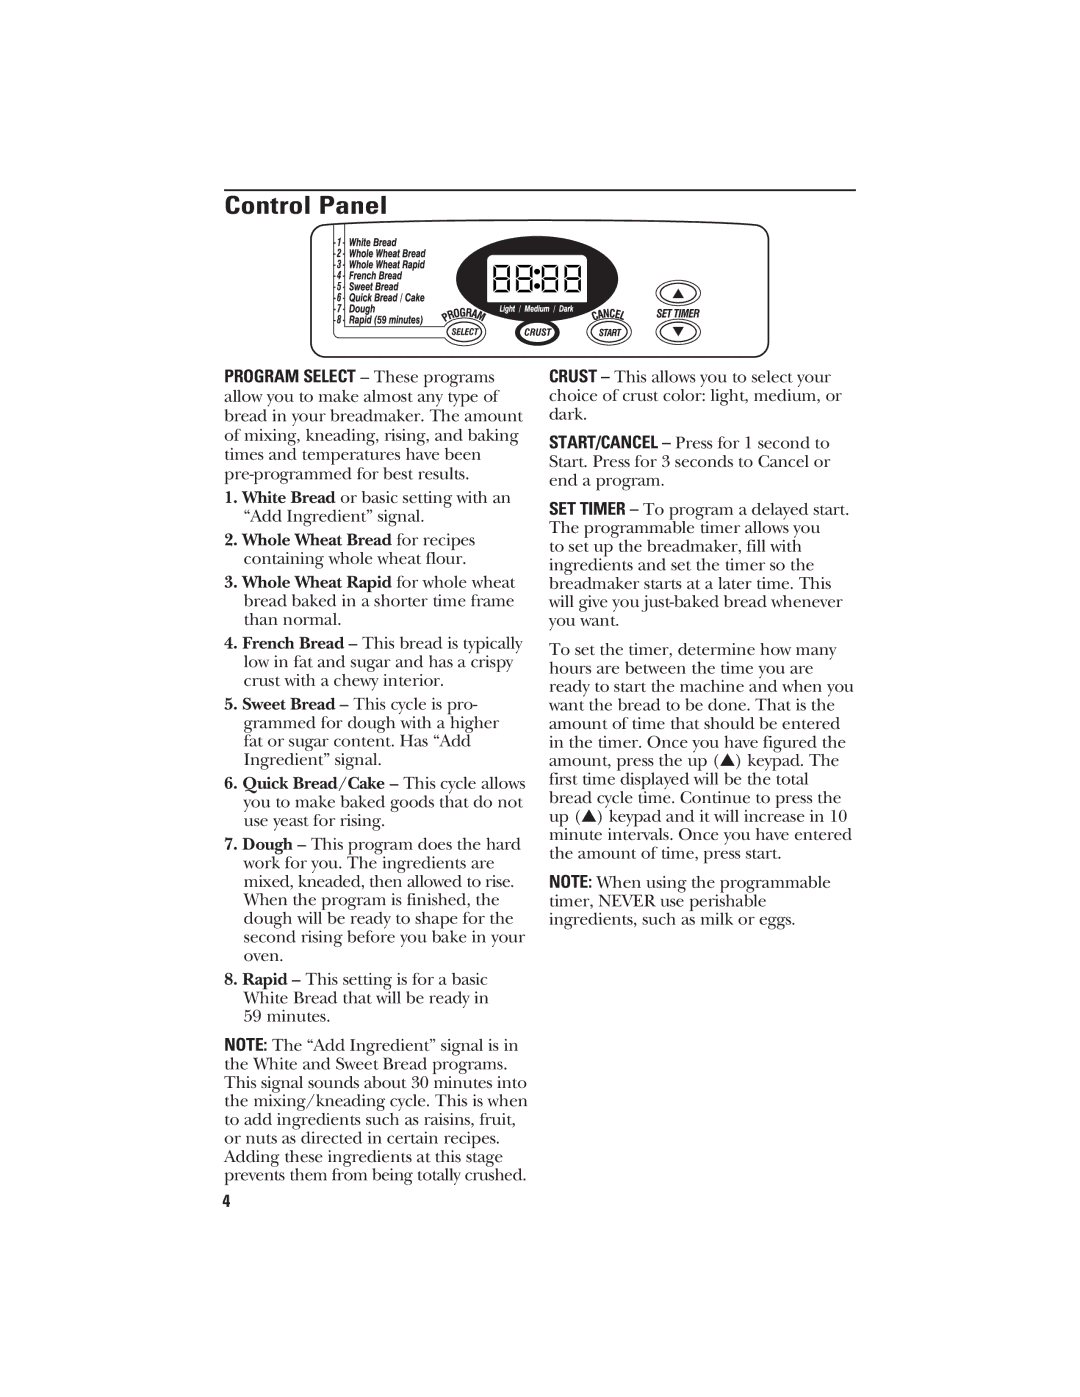
PROGRAM SELECT – These programs allow you to make almost any type of bread in your breadmaker. The amount of mixing, kneading, rising, and baking times and temperatures have been
1.White Bread or basic setting with an “Add Ingredient” signal.
2.Whole Wheat Bread for recipes containing whole wheat flour.
3.Whole Wheat Rapid for whole wheat bread baked in a shorter time frame than normal.
4.French Bread – This bread is typically low in fat and sugar and has a crispy crust with a chewy interior.
5.Sweet Bread – This cycle is pro- grammed for dough with a higher fat or sugar content. Has “Add Ingredient” signal.
6.Quick Bread/Cake – This cycle allows you to make baked goods that do not use yeast for rising.
7.Dough – This program does the hard work for you. The ingredients are mixed, kneaded, then allowed to rise. When the program is finished, the dough will be ready to shape for the second rising before you bake in your oven.
8.Rapid – This setting is for a basic White Bread that will be ready in 59 minutes.
NOTE: The “Add Ingredient” signal is in the White and Sweet Bread programs. This signal sounds about 30 minutes into the mixing/kneading cycle. This is when to add ingredients such as raisins, fruit, or nuts as directed in certain recipes. Adding these ingredients at this stage prevents them from being totally crushed.
CRUST – This allows you to select your choice of crust color: light, medium, or dark.
START/CANCEL – Press for 1 second to Start. Press for 3 seconds to Cancel or end a program.
SET TIMER – To program a delayed start. The programmable timer allows you to set up the breadmaker, fill with ingredients and set the timer so the breadmaker starts at a later time. This will give you
To set the timer, determine how many hours are between the time you are ready to start the machine and when you want the bread to be done. That is the amount of time that should be entered in the timer. Once you have figured the amount, press the up (▲) keypad. The first time displayed will be the total bread cycle time. Continue to press the up (▲) keypad and it will increase in 10 minute intervals. Once you have entered the amount of time, press start.
NOTE: When using the programmable timer, NEVER use perishable ingredients, such as milk or eggs.
4
