qMain Menu → Alarms → Alarm Latch
This feature determines how the unit latches alarm conditions.
Select from the following options:
Latched: The alarm is activated until it is silenced and acknowledged by the user.
Transparent: The alarm is active only while receiving alarm input. The alarm condition is canceled when the alarm input ceases.
Latched
Transparent
Timed Out
Timed Out: The alarm condition is latched for the amount of time selected in this menu, then it is automatically silenced and acknowledged. If the alarm input exceeds the duration specified in this menu, the unit silences and acknowledges the alarm when the alarm input ceases. Select the timeout duration, the range is from 1 to 250 seconds.
Transparent alarms cannot be silenced and acknowledged. If transparent mode is preferred, but the ability to silence and acknowledge alarms is desired, select Timed Out and set the Alarm Timeout to two seconds.
qMain Menu → Alarms → Alarm Action
This menu is not available on
Input: Select the input you wish to configure.
Freeze: Selecting Yes will freeze the alarm camera display (quadrant 1) at the time the alarm is activated.
Cameras: This setting determines the four cameras displayed
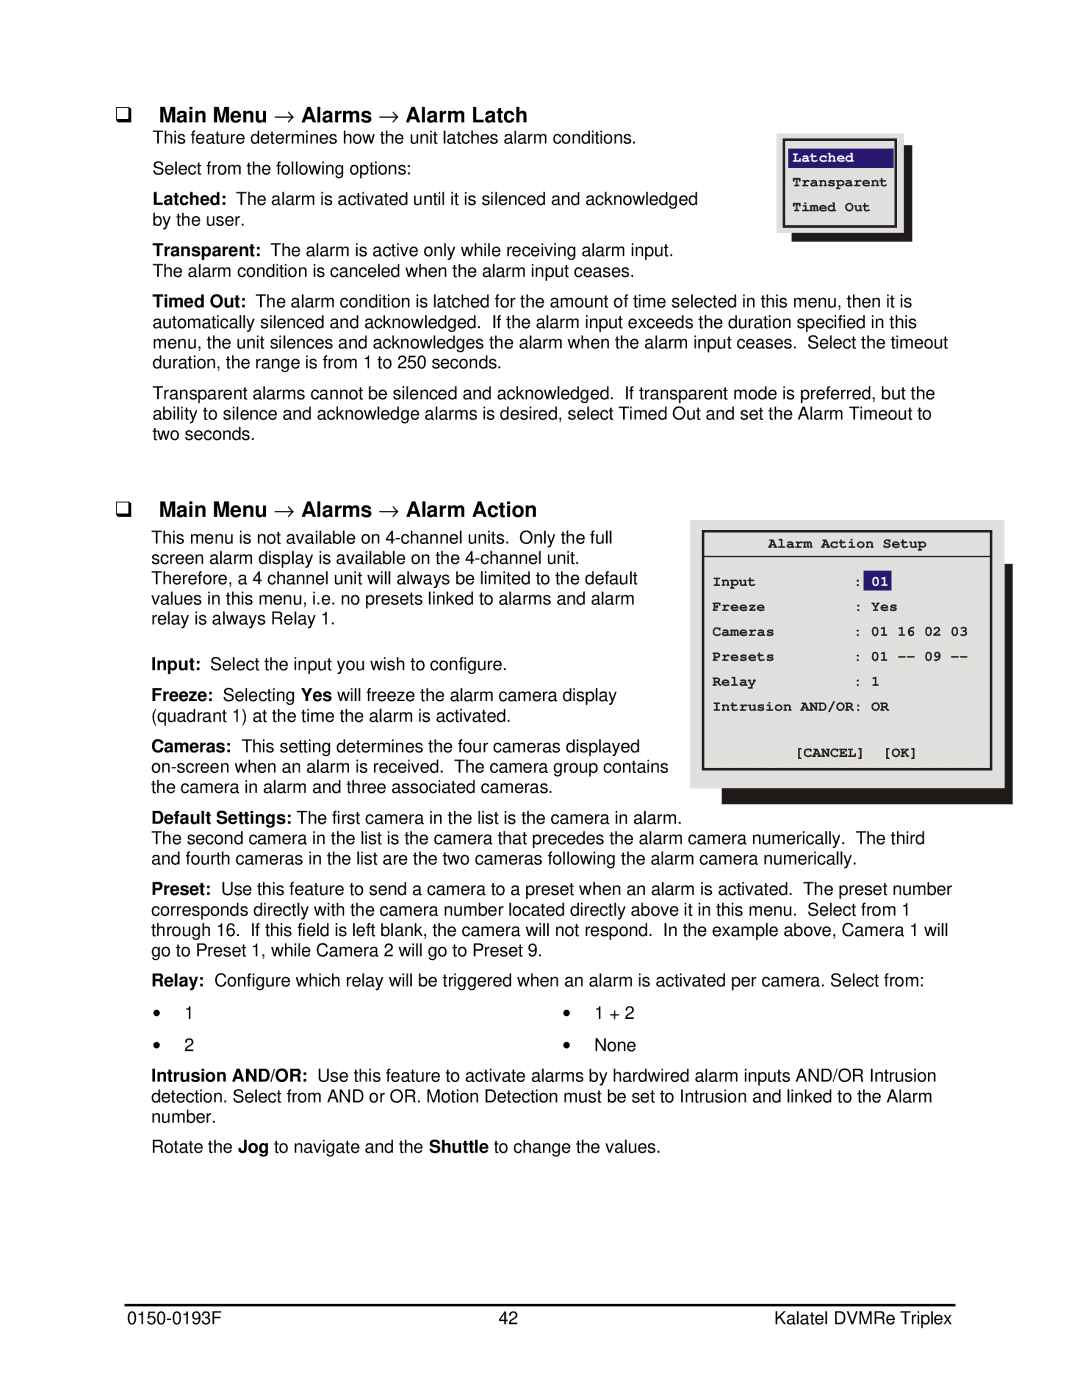
Alarm Action Setup
Input | : | 01 | |
Freeze | : Yes | ||
Cameras | : 01 | 16 02 03 | |
Presets | : 01 | ||
Relay | : | 1 |
|
Intrusion AND/OR: | OR | ||
| [CANCEL] | [OK] | |
Default Settings: The first camera in the list is the camera in alarm.
The second camera in the list is the camera that precedes the alarm camera numerically. The third and fourth cameras in the list are the two cameras following the alarm camera numerically.
Preset: Use this feature to send a camera to a preset when an alarm is activated. The preset number corresponds directly with the camera number located directly above it in this menu. Select from 1 through 16. If this field is left blank, the camera will not respond. In the example above, Camera 1 will go to Preset 1, while Camera 2 will go to Preset 9.
Relay: Configure which relay will be triggered when an alarm is activated per camera. Select from:
∙ | 1 | ∙ | 1 + 2 |
∙ | 2 | ∙ | None |
Intrusion AND/OR: Use this feature to activate alarms by hardwired alarm inputs AND/OR Intrusion detection. Select from AND or OR. Motion Detection must be set to Intrusion and linked to the Alarm number.
Rotate the Jog to navigate and the Shuttle to change the values.
42 | Kalatel DVMRe Triplex |