f
See RoastingChart on page 30.
~Rep 1: Check the weight of the meat and place, fat side up, on the ack in the broiler pan that came with your range. This helps the meat to baste itself.
$Nep2: Use shelf position “A”or “B”;or the one indicated on Roast- ing Chart, page 30. Place Oven Shelf on correct embossed shelf support. For very tall roasts, remove second oven shelf.
Step 3: Turn the OVEN TEMP Knob
t.3250.(The exception is small poultry which is roasted at 3750.)
—Step 4: Close the oven door and turn the OVEN SET Knob to BAKE,
T | i | |
@Be sure meat is cooked to your | Step 2: Position oven shelf as indi- | |
satisfaction. Most meats continue to | cated on Broiling Chart, page 31. | |
cook slightly while standing after |
| |
being removed from the oven, This |
| |
should be taken into consideration |
| |
when determining your cooking |
| |
time. |
| |
@Always use a roasting pan that |
| |
fits the size of your meat. A roast |
| |
placed in a pan too small for its size |
| |
will drip over the edge. |
| |
@You may cook frozen meat roasts . |
| |
without thawing. However, you | Step 3: Turn the OVEN SET Knob | |
must allow more cooking time. For | and OVEN TEMP Knob to BROIL. | |
large roasts, add | Both Oven Indicator Lights come on. | |
pound. For roasts under 5 pounds, | Step 4: Leave oven door ajar about | |
add 10 minutes per pound. | ||
3 inches (except chicken, see | ||
@To slow down surface browning | ||
below). The door will stay open itself | ||
on turkeys, you can use a foil “tent”. | yet the proper temperature will be | |
The | maintained in the oven. During | |
loosely over the poultry so the heat | cooking, turn the food only once. | |
can circulate under the foil. | Step 5: Turn OVEN SET Knob to | |
~ Most frozen poultry should be | ||
OFF and serve food immediately. | ||
thawed before cooking to ensure it | Leavethe pan outside the oven to | |
is done evenly. Some, however, can | cool during the meal for easy | |
be cooked successfully without | cleaning. | |
thawing. Check the packer’s label |
| |
for specific directions. |
|
-
w
!iii
S
E
-
.
E&&a:::‘
m
~
—
—
—
—
omes on and remains on until temperature is reached.
Step 5: Place your meat inside the oven, making sure the pan is not touching the oven walls or door.
Step 6: Turn off the heat when the roasting cycle is complete.
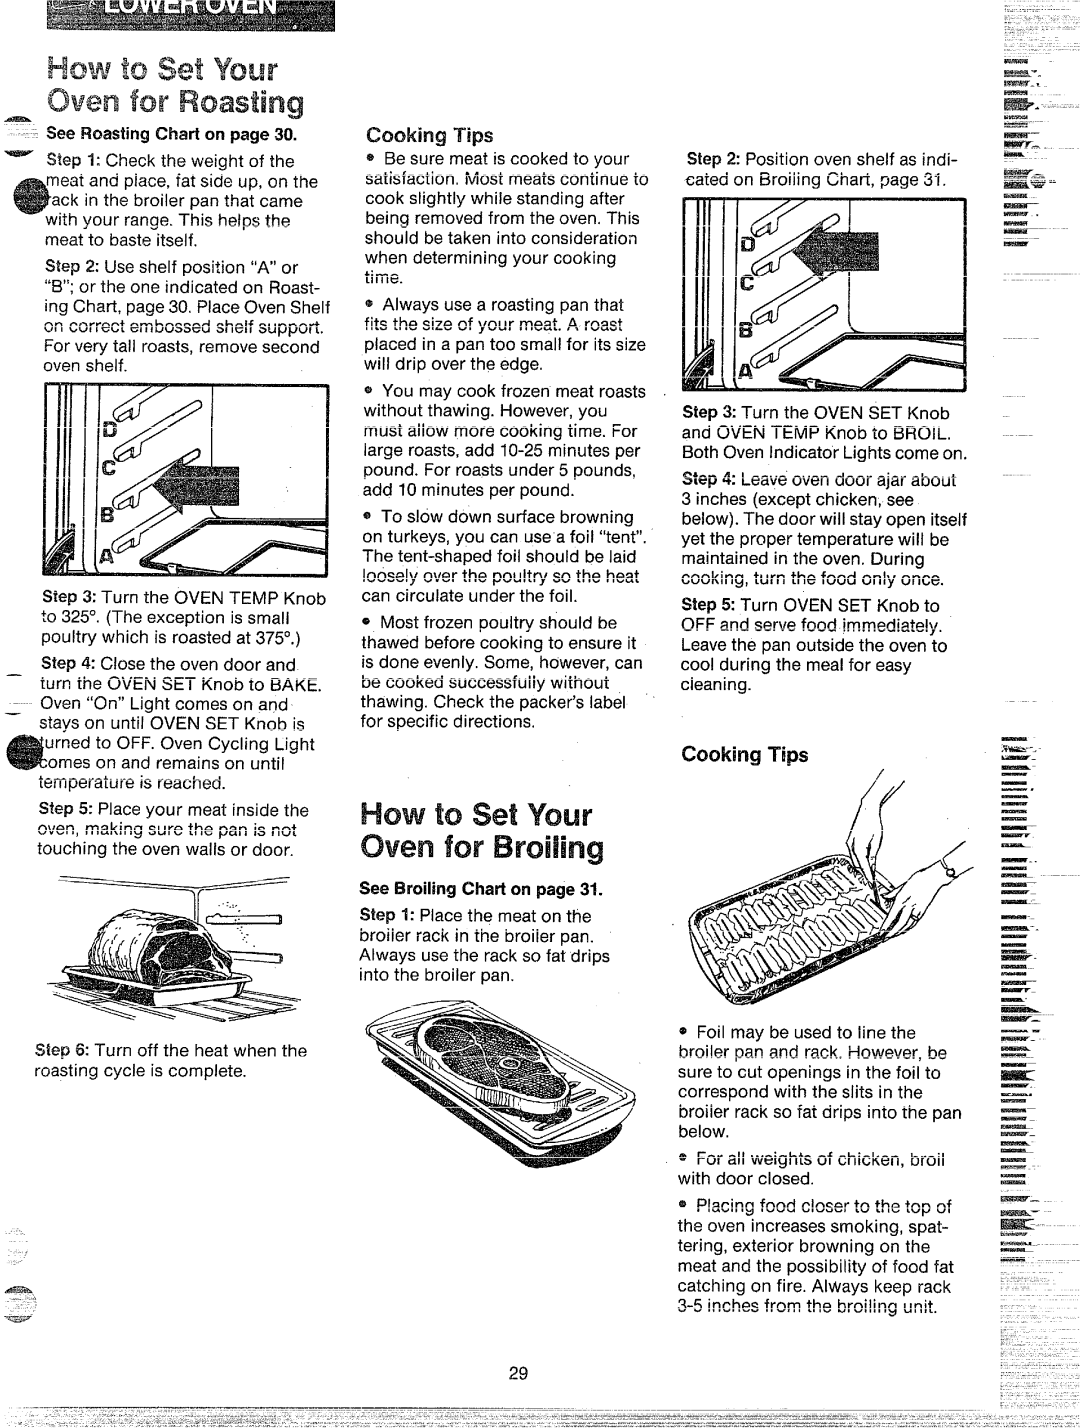
See Broiling Chart on page 3fl.
Step 1: Place the meat on the broiler rack in the broiler pan. Always use the rack so fat drips into the broiler pan.
C -2
/
*Foil may be used to line the broiler pan and rack. However, be sure to cut openings in the foil to correspond with the slits in the broiler rack so fat drips into the pan below.
@For all weights of chicken, broil with door closed.
~Placing food closer to the top of the oven increases smoking, spat- tering, exterior browning on the meat and the possibility of food tat catching on fire. Always keep rack
.
—
—
—
—
—
—
—
—
—
—
—
—
—
—
—
—
—
—
—
—
—
—
—
29