Meter Operation
Work Orders and Job Numbers
When the meters were programmed by the System Administrator, one of the two Work Order processing methods below was selected.
•Work Order/Job Number at the PC only
•Work Order/Job Number at the PC and Meter
Work Orders are a maximum of (12) characters and the Job Number is a maximum of (3) characters. The Work Order number is separated from the Job Number with a dash
The characters
Assigning Work Orders and Job Numbers from the PC
Work Orders and Job Numbers are assigned to a meter from the PC using the “Entering Work Orders” button in the software. This feature is password protected.
1.Click on the Entering Work Orders button. Type in the user name and password and click Submit.
2.Click on the Add Work Order box. Select meter from the pull down screen. Type in a Work Order (up to 12 characters). Tab or mouse click to the Job Number box and enter the Job Number (up to 3 characters) if desired, then click Send.
3.If the Work Order is received by the designated meter, the PC Work Order list will be updated to show “Dispense Pending” in the status column.
If the Work Order is not received by the meter, a
Assigning Work Orders and Job Numbers at the Meter
Work Orders and Job Numbers can be assigned at the meter using the meter Work Order screen and meter keypad buttons. The screen shows previously assigned Work Orders and the Enter New option.
To enter a new Work Order follow the procedure below:
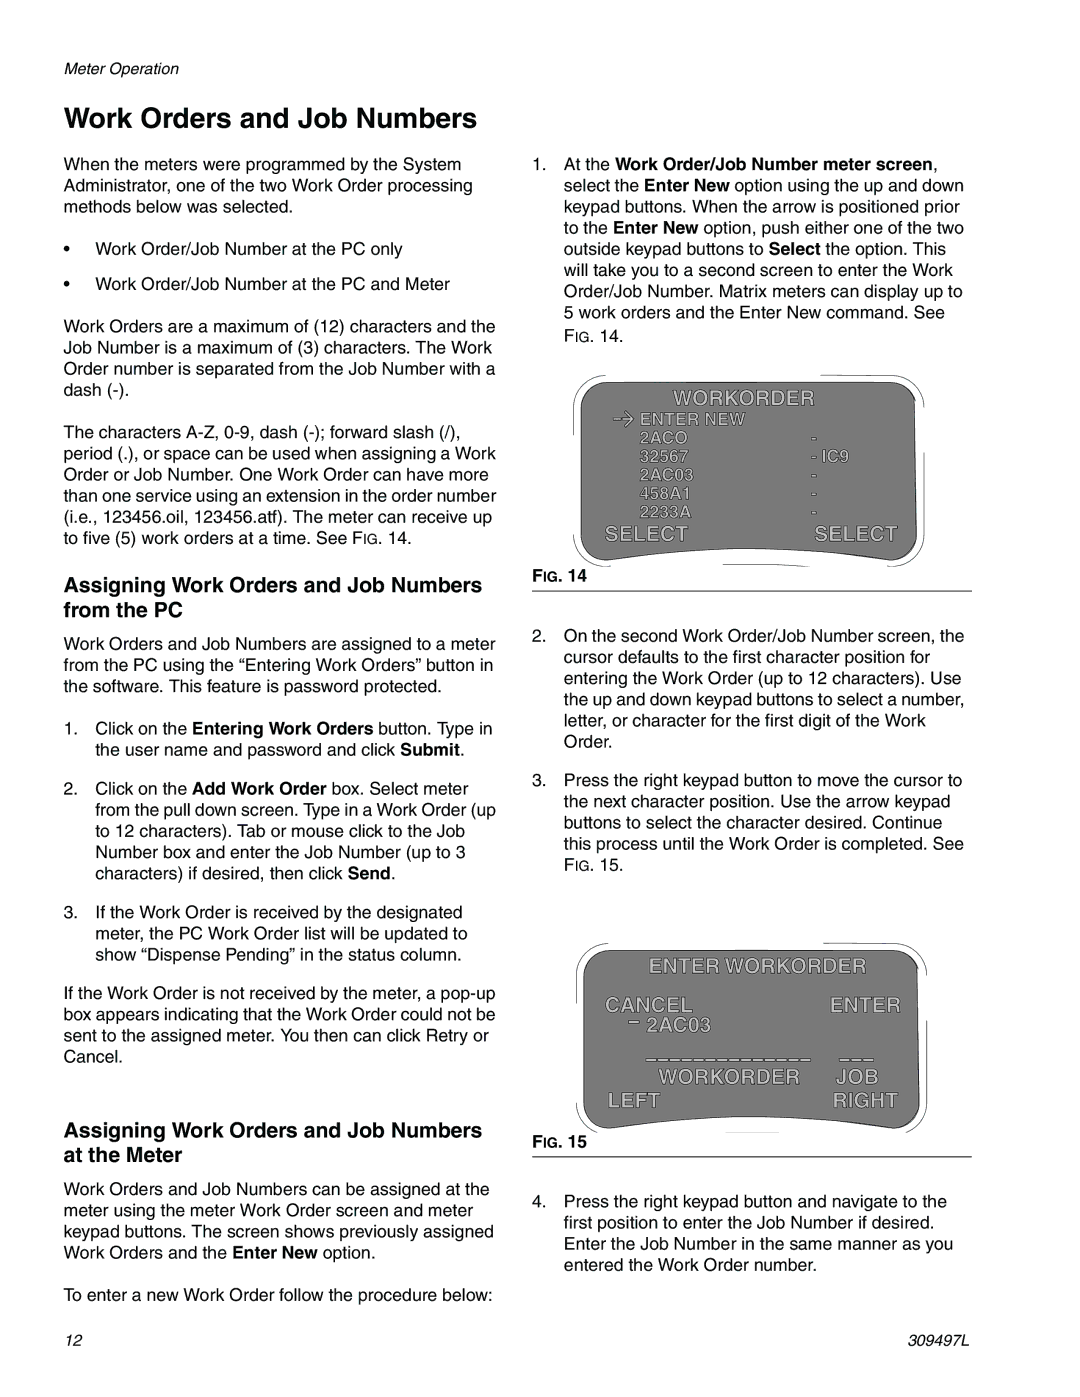
1.At the Work Order/Job Number meter screen, select the Enter New option using the up and down keypad buttons. When the arrow is positioned prior to the Enter New option, push either one of the two outside keypad buttons to Select the option. This will take you to a second screen to enter the Work Order/Job Number. Matrix meters can display up to 5 work orders and the Enter New command. See FIG. 14.
WORKORDER
|
| ENTER NEW | - |
|
| ||
|
| 2ACO | |
32567 | - IC9 | ||
|
| 2AC03 | - |
|
| 458A1 | - |
|
| 2233A | - |
SELECT | SELECT | ||
FIG. 14
2.On the second Work Order/Job Number screen, the cursor defaults to the first character position for entering the Work Order (up to 12 characters). Use the up and down keypad buttons to select a number, letter, or character for the first digit of the Work Order.
3.Press the right keypad button to move the cursor to the next character position. Use the arrow keypad buttons to select the character desired. Continue this process until the Work Order is completed. See FIG. 15.
ENTER WORKORDER
CANCELENTER 2AC03
WORKORDER JOB
LEFTRIGHT
FIG. 15
4.Press the right keypad button and navigate to the first position to enter the Job Number if desired. Enter the Job Number in the same manner as you entered the Work Order number.
12 | 309497L |