F2 - Imaging Demo
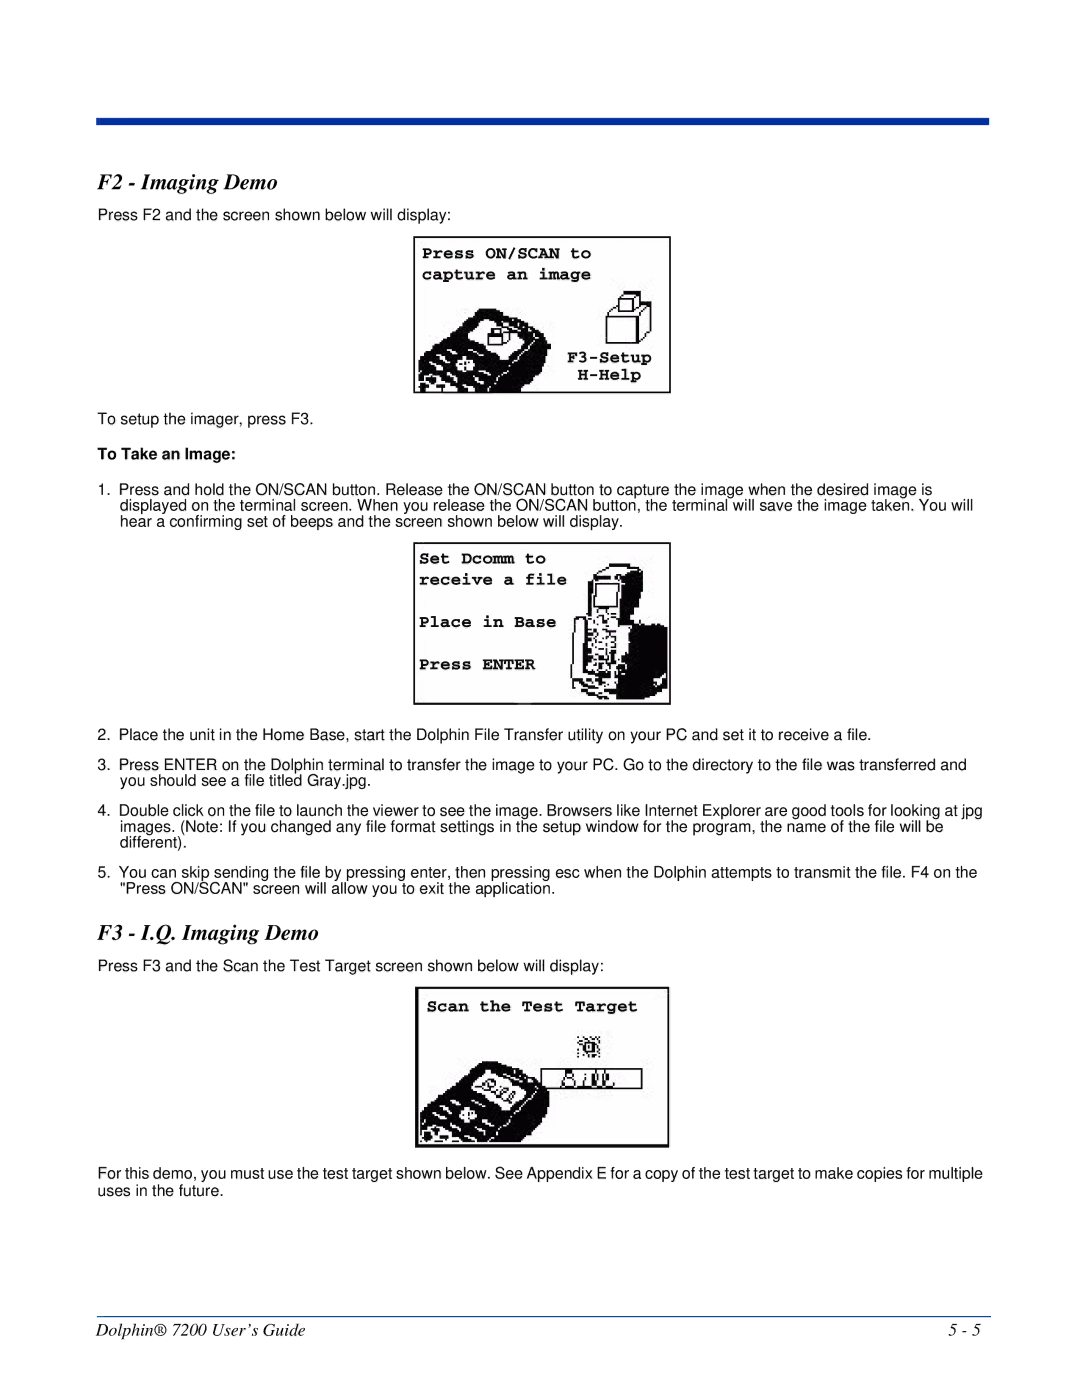
Press F2 and the screen shown below will display:
Press ON/SCAN to capture an image
F3-Setup
H-Help
To setup the imager, press F3.
To Take an Image:
1.Press and hold the ON/SCAN button. Release the ON/SCAN button to capture the image when the desired image is displayed on the terminal screen. When you release the ON/SCAN button, the terminal will save the image taken. You will hear a confirming set of beeps and the screen shown below will display.
Set Dcomm to receive a file
Place in Base
Press ENTER
2.Place the unit in the Home Base, start the Dolphin File Transfer utility on your PC and set it to receive a file.
3.Press ENTER on the Dolphin terminal to transfer the image to your PC. Go to the directory to the file was transferred and you should see a file titled Gray.jpg.
4.Double click on the file to launch the viewer to see the image. Browsers like Internet Explorer are good tools for looking at jpg images. (Note: If you changed any file format settings in the setup window for the program, the name of the file will be different).
5.You can skip sending the file by pressing enter, then pressing esc when the Dolphin attempts to transmit the file. F4 on the "Press ON/SCAN" screen will allow you to exit the application.
F3 - I.Q. Imaging Demo
Press F3 and the Scan the Test Target screen shown below will display:
Scan the Test Target
For this demo, you must use the test target shown below. See Appendix E for a copy of the test target to make copies for multiple uses in the future.
Dolphin® 7200 User’s Guide | 5 - 5 |