Dolphin EVS Engine
The EVS engine provides
The EVS engine eliminates the need for an application to directly access the hardware layer. The EVS engine maintains an image of the display in memory (118 pixels wide by 73 pixels tall). All application screen access (read/write) is filtered so as to write to the display image rather to the hardware. The EVS engine then updates the hardware (e.g. writes to the display) as necessary. This process allows for support of a single display plane that combines graphics and text.
The EVS engine consists of three basic parts:
1.A TSR (EVS.EXE) that traps standard video BIOS (INT 10H) calls, and overlays hardware specific support for the Dolphin LCD.
2.A set of API routines that allow easy access to the EVS specific routines. These functions have been merged into the standard Dolphin Development API and are documented in the Dolphin API Help file (DAPI.HLP).
3.Application and system level Status line support.
For more on the Dolphin EVS Engine, see the Dolphin OS and Development System electronic help file.
Dolphin ROM Image and Bootloader
Important Notice: Before installing the Dolphin OS and Development System, you must remove all previous installations. To do this, delete the C:\DOLPHIN directory and all files contained within as well as the Dolphin Group or Folder. Only install the most recent release of the Dolphin ROM IMAGE and Bootloader. Loading an old version of the ROM IMAGE or Bootloader can make the Dolphin unstable or inoperable, and requiring you to return the unit to Hand Held Products for repair.
Upgrading the Dolphin ROM Image
The Dolphin terminal has a Bootloader incorporated that allows the developer to upgrade or reload the ROM IMAGE.
Follow these steps to manually reload the ROM IMAGE and Operating System from DOS:
1.Verify that Configuration Switch 2 on the back of the Dolphin HomeBase is set to "Fixed BPS" and Switch 1 is set to "Single". Power must be turned off and then on to accept the new dip switch settings.
2.Make sure the serial cable is properly installed and power is properly connected to the HomeBase. Make sure no other communications programs are running on the PC.
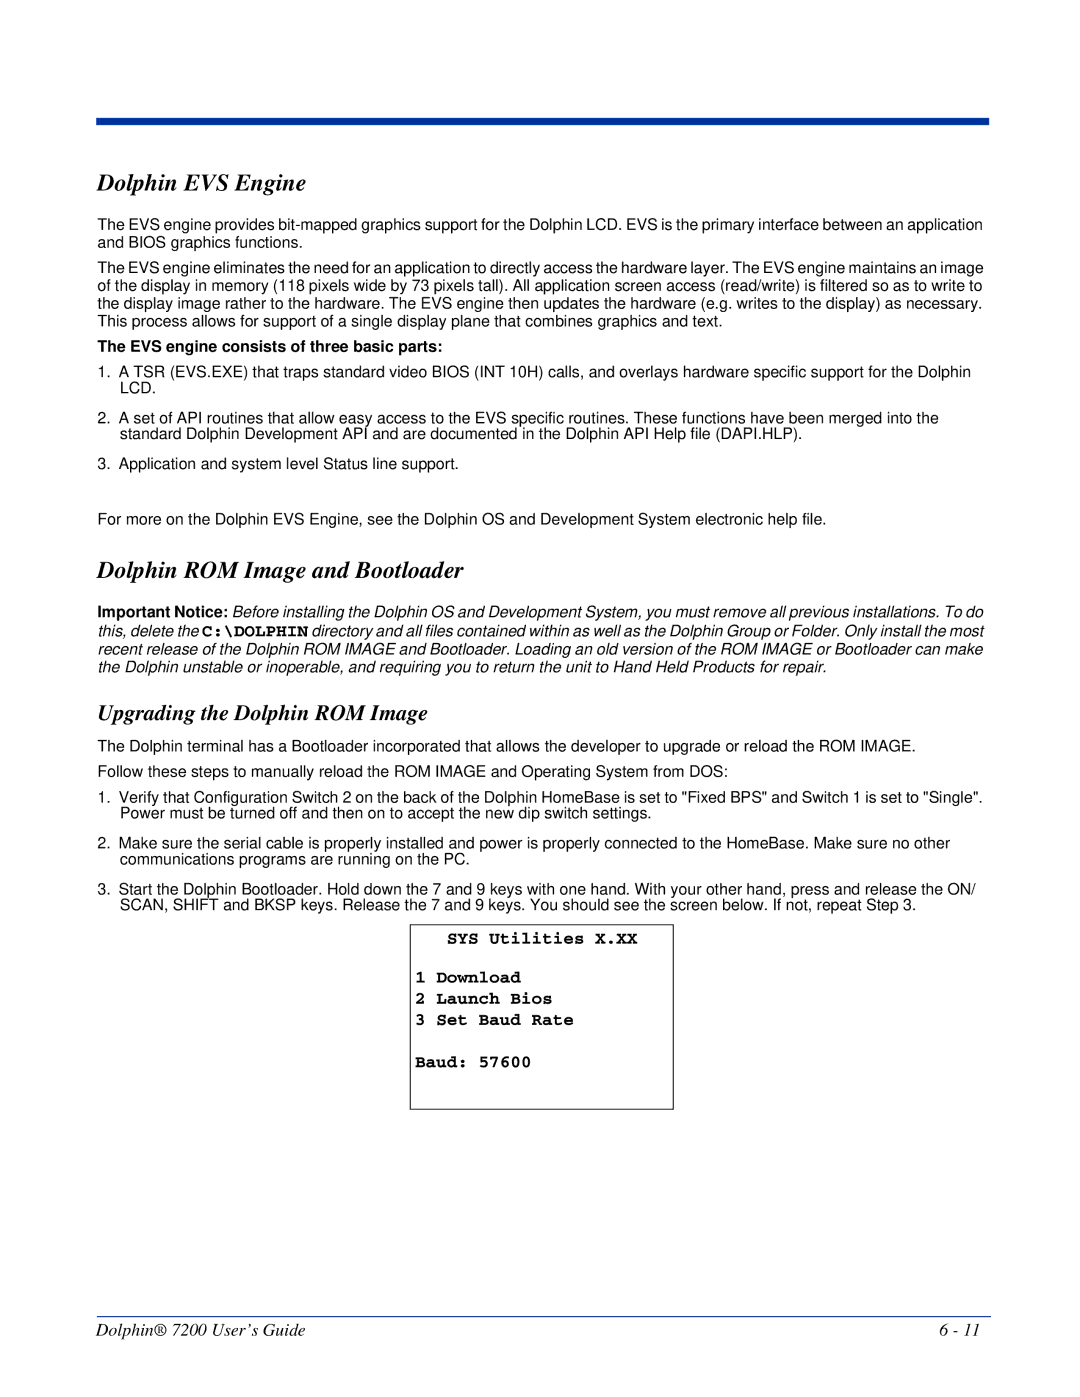
3.Start the Dolphin Bootloader. Hold down the 7 and 9 keys with one hand. With your other hand, press and release the ON/ SCAN, SHIFT and BKSP keys. Release the 7 and 9 keys. You should see the screen below. If not, repeat Step 3.
SYS Utilities X.XX
1Download
2Launch Bios
3Set Baud Rate
Baud: 57600
Dolphin® 7200 User’s Guide | 6 - 11 |
